
I’m not a quilter, I’m most definitely a garment sewer and the few quilts I’ve made have been out of leftover scraps from my garment projects. Then one day I was mindlessly scrolling through instagram and I spot a quilt pattern for a gum blossom. It was stunning and on impulse I bought the pattern and kit for the project.
It sat for awhile till I had some time and I thought I’d better start as I wanted to give it as a gift for Christmas. The pattern was actually a hand drawn to scale drawing of the final piece and the instructions told you to trace out each individual piece and then add seam allowance around each one. You then referred to another chart to figure out what colour each piece would be. Another list would then tell you what colour code then corresponded to the fabrics included in the kit. I found this frustrating as it all could’ve been laid out in a much clearer way that reduced the amount of back and forth for the sewer and given this was not a cheap pattern or kit the lack of attention to detail was doubly frustrating.
Oh and the most frustrating drive me bonkers almost give up the entire thing was that the the images didn’t match the same orientation as the pattern. Some are mirror images, some are not. Zero consistency. So frustrating.

Eventually I got all the pieces cut out and started to assemble. At first I followed the instructions which were adamant that you were not to press any of the seams and that some panels were to be joined to the halfway mark and then left. It was looking and feeling like a big hot mess. I ditched the instructions, laid out all the pieces in formation on my desk and then picked the up one by one, attached and pressed them and suddenly it all came together much faster than trying to follow the instructions.
Once I had the one panel done it as fine but it was too big for a cushion, too small for a blanket. Other patterns were included in the booklet so I drew a square the same size as the first panel, hand drew out the designs, cut it up and added seam allowance then cut out the fabrics and sewed it all together.
 I needed some extra fabric so I popped over to The Selvedge Society who were supremely helpful in matching colours, choosing a Liberty cotton backing and suggesting the most amazing spot to use for the binding. After such an enormous struggle of frustration to get some straight forward good advice was just so wonderful.

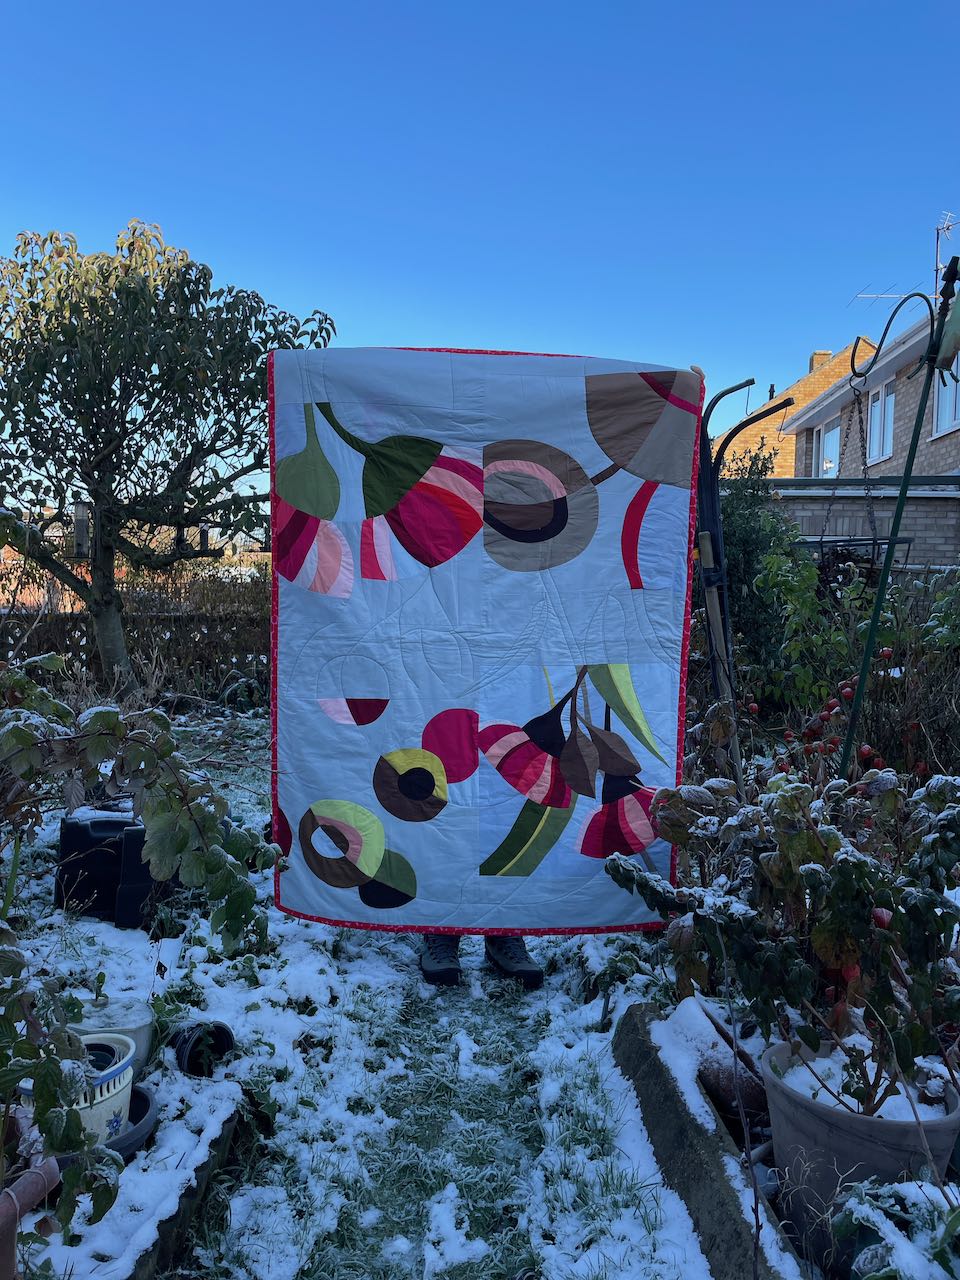
While the pattern and instructions were lesson in frustration the final quilt looks good. I need to do better with my binding corners and when I washed it one of the original fabrics from the kit bled onto the pale blue resulting in some very panicked colour removing.
Will I quilt again yes, will I use this pattern again a solid no.
Photos taken while on holidays in England in a frosty and cold -7 degrees


