

It seems that bra making is capturing everyone’s interest so I thought I would do a few more technical posts on how I create my own patterns for bras. This way you can see how to create a pattern from a favorite bra you already own. Today is part 1 and I’ll be following up with more posts covering the steps. I do hope that this is useful for you, I know it was the information I was looking for when I wanted to make bras and I couldn’t find it so did it my own way instead.
First up grab a bra you like the fit of but is looking a little worse for wear. In my last bra post I referred to these as zombie bras, as in not quite dead. You want one that still retains the majority of shape and stretch as the more warped it is the more fit tests you are going to have to do to refine the pattern. You could of course use a brand new bra but sometimes we can’t always afford to do that. If you can though, go for it. Using a brand new one means it hasn’t had time to warp or stretch so you should end up with less faffing about to get your fit perfect.
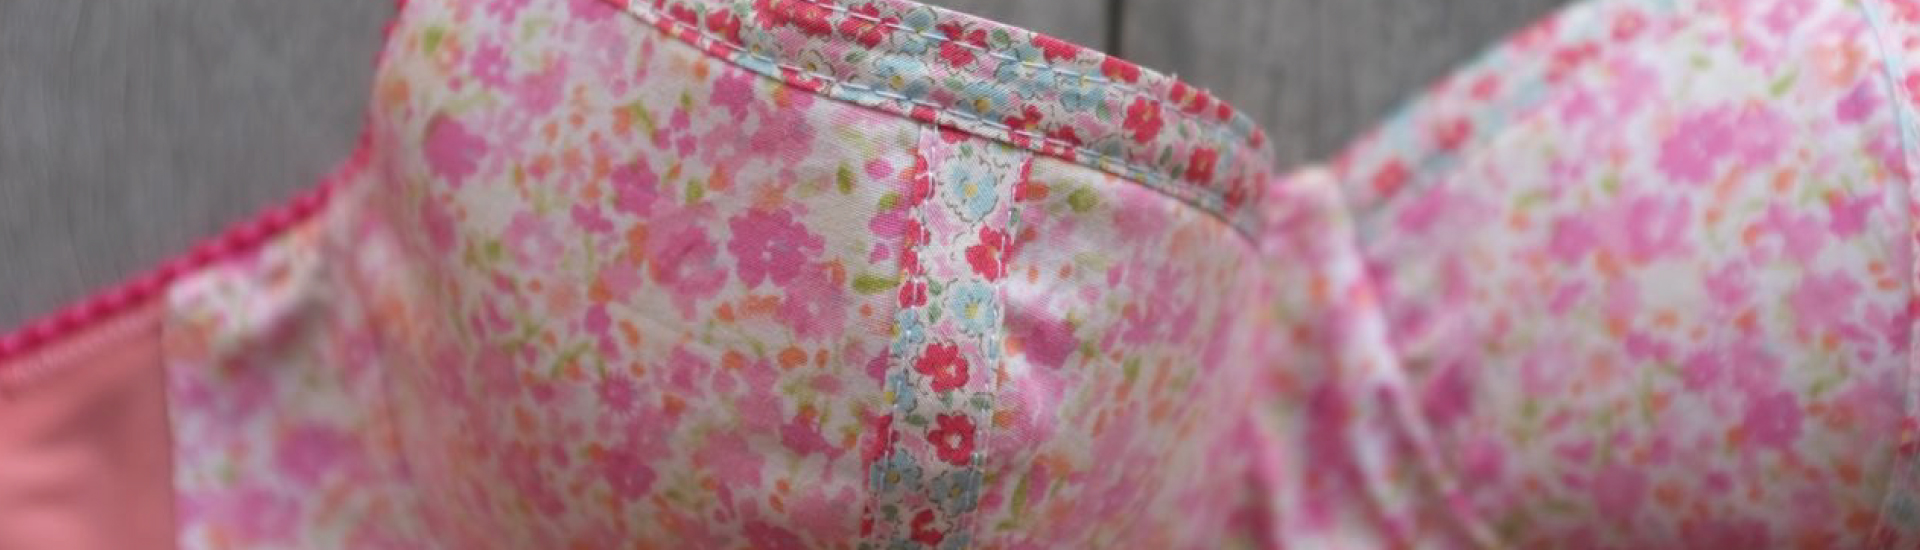
Photograph it.

Include detail shots, like how the band/cups are constructed. Interior shots are good too.

What the back looks like.

Then unpick it

As you unpick, it’s a good idea to keep notes on the construction methods used. Like was it straight stitch or zig zag, was there a bar tack at the very top or a few millimeters away from the very edge. Was the elastic sandwiched in between the underwire casing and the outer fabric. I tend to take photos as well as notes to help jog my memory.
Once you have it fully unpicked then grab your iron and get pressing. You want all the wrinkles out and your pieces as flat as possible. Be careful though. What you are looking for here is to press the pieces to their original shape. In the photo above you can see the back of the bra is a floppity looking. It’s quite stretched and in all honesty not perfect for this project. So I press it flat with some of the wrinkles in it. I don’t want to press it out to the newly warped shape. Press but be mindful of not distorting the original shape.
Now that I have all the pieces and they are more or less the correct shape I’m going to scan them. That way I can create a digital pattern for myself. If you don’t want a digital pattern you can create a traditional paper pattern also.
 I’m going to leave it there for now so you can get unpicking. The next post will be covering how to make the pattern and then we will continue on from there. If you need anything clarified or just have more questions, ask away in the comments.


This is so cool! I love the idea of scanning the pieces! For me, the *only* problem is that I don’t have a RTW bra that I love. Sad, huh?
oh no! to not have a bra you love is sad. Do you have one that is close to being the right fit and that with a few tweaks could be your perfect bra? That would be a good start point for using this method?
Thanks so much for these posts, Susan! A week ago, I’d have said I have no motivation to take on bra making, but not I’m determined to use this method to put a proper bra in a swimsuit, which is pretty similar, just with a little more room for error, I think. From there, who knows where I’ll go?! I’m ready to start ripping apart my favourite, now useless due to poking out underwire issues, bra. The rest is in pretty good shape, if not for the bloody underwires.
oh those darn underwires that poke out! I curse those.
Am so glad it’s got you motivated, it’s one of those resources was looking for myself and couldn’t find so created my own.
I’ve broken it down into a few posts and am thinking I’ll need a swimwear one myself so will write it up and add it in!
This is so dang smart! Looking forward to the next installation 😀
lazy, the word you’re looking for is lazy. I thought about creating a pattern from scratch and once the maniacal laughter stopped, figured out an easier way to get it done.
This is great! I’ve actually just purchased a bra pattern from Etsy (and accidentally bought two ready made by the same seller for comparison, construction notes etc). The hardest thing I’m finding even though I haven’t actually started is the choosing fabrics and finding the right bits and bobs to put together. A list of resources would be great. On a side note I’ve cut out another 4 pairs of Charlottes in Liberty. Love!
Oh how wonderful you have got a start with a pattern and comparison pieces, or as I like to justify my purchases “construction samples” ha!
More Liberty! swoon! you must have the loveliest knicker drawer.
Oh cool! Will go looking for a sad zombie and see how I go 🙂
Bring on the next post. I’m so ready to make bras.
Yay!
I am such a duffer! I read all these posts on bra making, but didn’t really connect these with you. It was lovely to meet you this morning Susan, and I shall be giving you due credit when I blog my many makes from the shop.
Oh don’t worry it happens all the time, I guess it’s all out of context when people see me at work and it doesn’t make sense.
Was so lovely to meet you and am so glad you are happy with your lovely purchases!