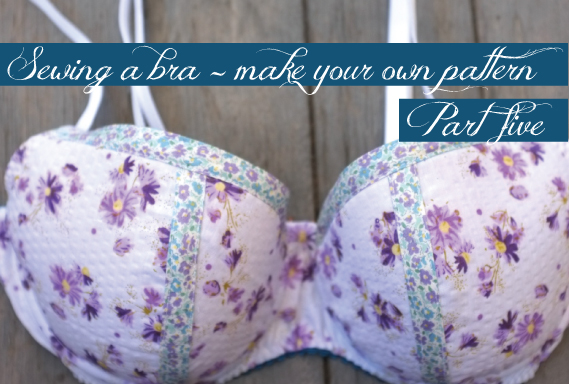

A finished bra, a properly finished bra.

For this version I’ve gone with a plain woven cotton fabric for the cups, cradle and bridge. Seams are covered with some pretty bias tape and white mesh used for the back. I used some teal coloured underwear elastic from the stash for the edges. Underwires, foam lining and bra strapping were purchased but the O ring, sliders and back fastener were all salvaged from a worn out bra.

A few people have asked how the plain cotton wears, I find it great to wear and I like the fact I can use up scraps. It’s also a nice stable fabric to sew which can be handy when you are going through a process it’s easier to put some known variables into the mix. So instead of having to deal with a super slinky slippery fabric on top of sorting out tension and fit, it’s easier to use a cotton and perfect the techniques before moving onto harder to deal with fabrics.
After the disaster sewing of the last one I played around with the zig zag stitch on my machine until I perfected the settings. I’ve now got the instructions on how to recreate those settings written in my process notes so I can replicate perfect stitching every time.
I’ve made a few minor alterations notes but want to do some wash and wear tests before I make another one to ensure I’ve got my pattern perfect before I make ALL the bras. For ease of sewing I already know I want to increase one of the seam allowances as it’s so small and fiddly now. Will increase it and trim it to make the sewing easier.
Like all sewing, bra making is not difficult to do but takes time to perfect and I’ve thoroughly enjoyed the process of making my own pattern and creating bras from it.
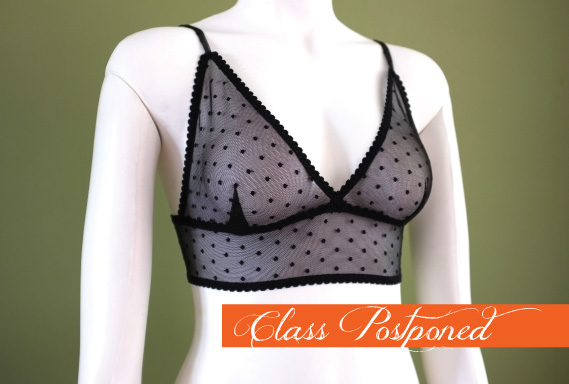
Seems like more than a few of you have been interested in DIYing your own bra pattern as I’ve had many requests to teach classes on the process. So I’m in the midst of working out the logistics am happy to announce that…
DIY bra classes will be coming soon to Sydney!
Be sure to sign up to the newsletter or follow on instagram to ensure you get first notice about it.