
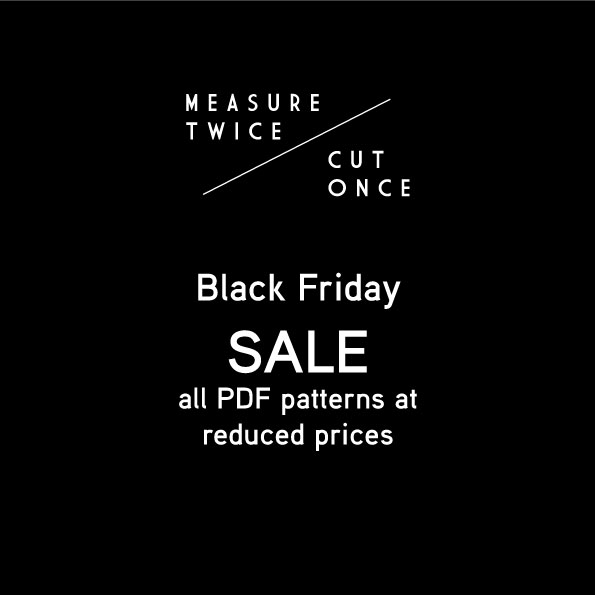

Good news, all PDF patterns at reduced prices until Monday! Head on over to get shopping!

Every so often I get all excited about making pretty knickers and want to run out and buy heaps of new fabrics. However one the reasons I started sewing my own knickers was to stash bust.
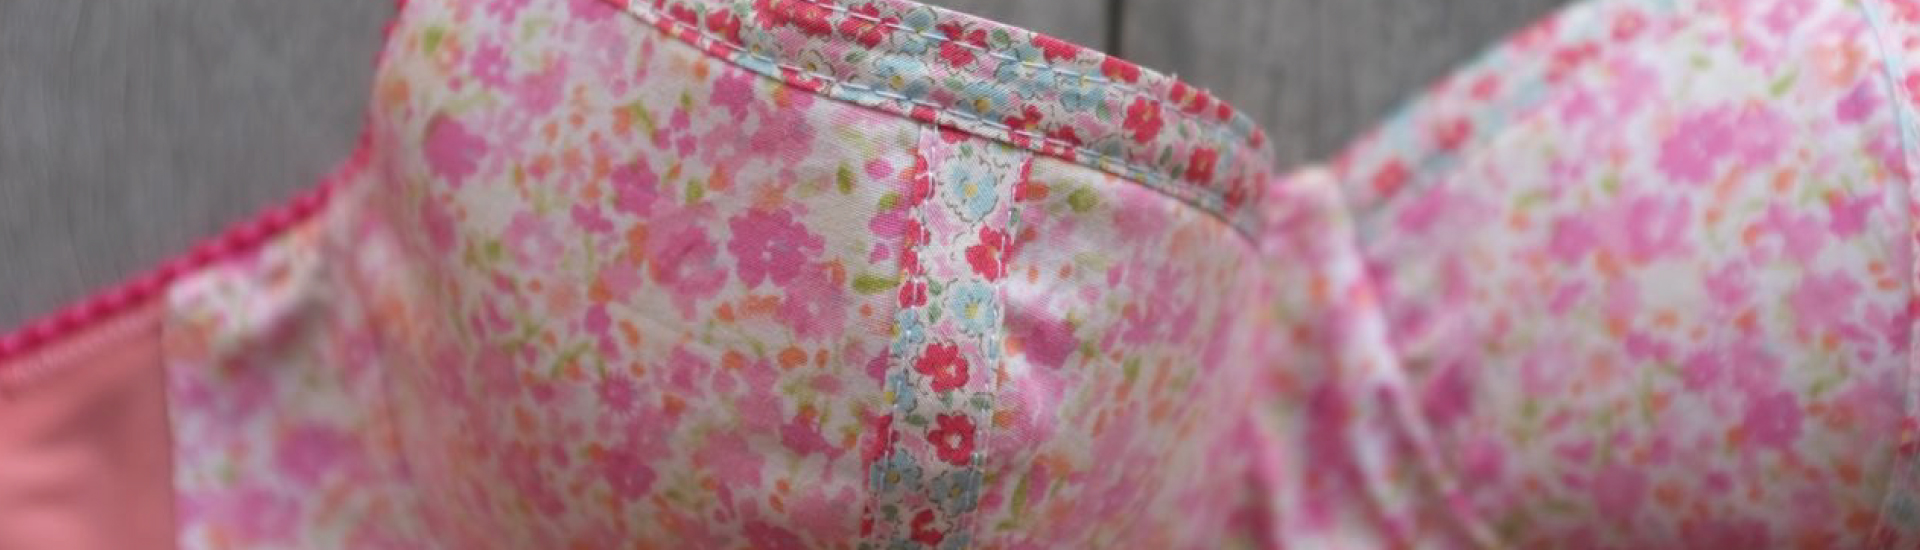
Woven knickers are lovely to wear, breatheable, great for the summer time and while not as smooth as knit fabrics they are undeniably sweet and very comfortable. So as part of Everyone Deserves Pretty Knickers week I have gone through the stash, picked out some pretty lawns and soft cottons and cut out some styles.
I’ve chosen The Georgiana Knickers which I like as a cute bikini style and The Jane Knickers a great sleep short for the summer.


Each night I’m going to sew a little bit and hopefully by the end of the week I’ve reduced the fabric stash and have pretty knickers!
If you like the idea of stash busting and some lovely to wear woven knickers you can follow the sewalongs from the first Everyone Deserves Pretty Knickers week. I’ll be posting my progress on instagram and don’t forget to use the #everyonedeservesprettyknickers hashtag if you are making your own pretty knickers this week!
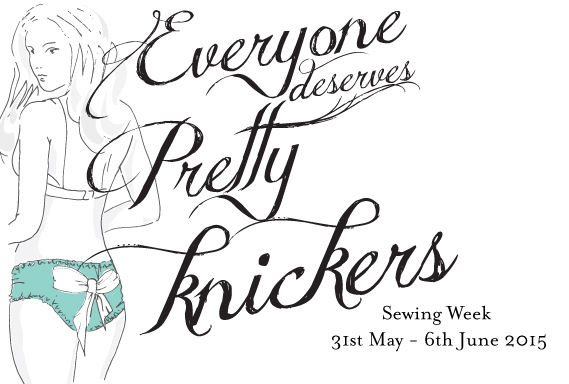
It’s Everyone Deserves Pretty Knickers Week!
Choose your favourite patterns and get to making some new pairs or take a leap and make your very first pair. It doesn’t matter how you celebrate the week it’s all about giving it a try and enjoying making some pretty knickers!
To help celebrate I’m offering 10% the entire Measure Twice Cut Once site. You can try some knicker patterns or stock up on supplies like this lovely red lace kit
 or this stunning blue

and there are options for elastics and trims too.
Use the code
take10%off
at the checkout to get you ready to celebrate and make some pretty knickers!


Today marks 1 year of Measure Twice Cut Once having digital patterns for sale. Now I had wanted to celebrate by releasing a new range but it’s not ready yet. So I’ve decided to celebrate by giving you 15% off all digital patterns for the next week.
Use the code go15off at the shopping cart to take 15% off all digital patterns. Does not apply to workshops or kits and supplies.
Happy Sewing!

It seems that bra making is capturing everyone’s interest so I thought I would do a few more technical posts on how I create my own patterns for bras. This way you can see how to create a pattern from a favorite bra you already own. Today is part 1 and I’ll be following up with more posts covering the steps. I do hope that this is useful for you, I know it was the information I was looking for when I wanted to make bras and I couldn’t find it so did it my own way instead.
First up grab a bra you like the fit of but is looking a little worse for wear. In my last bra post I referred to these as zombie bras, as in not quite dead. You want one that still retains the majority of shape and stretch as the more warped it is the more fit tests you are going to have to do to refine the pattern. You could of course use a brand new bra but sometimes we can’t always afford to do that. If you can though, go for it. Using a brand new one means it hasn’t had time to warp or stretch so you should end up with less faffing about to get your fit perfect.
Photograph it.

Include detail shots, like how the band/cups are constructed. Interior shots are good too.

What the back looks like.

Then unpick it

As you unpick, it’s a good idea to keep notes on the construction methods used. Like was it straight stitch or zig zag, was there a bar tack at the very top or a few millimeters away from the very edge. Was the elastic sandwiched in between the underwire casing and the outer fabric. I tend to take photos as well as notes to help jog my memory.
Once you have it fully unpicked then grab your iron and get pressing. You want all the wrinkles out and your pieces as flat as possible. Be careful though. What you are looking for here is to press the pieces to their original shape. In the photo above you can see the back of the bra is a floppity looking. It’s quite stretched and in all honesty not perfect for this project. So I press it flat with some of the wrinkles in it. I don’t want to press it out to the newly warped shape. Press but be mindful of not distorting the original shape.
Now that I have all the pieces and they are more or less the correct shape I’m going to scan them. That way I can create a digital pattern for myself. If you don’t want a digital pattern you can create a traditional paper pattern also.
 I’m going to leave it there for now so you can get unpicking. The next post will be covering how to make the pattern and then we will continue on from there. If you need anything clarified or just have more questions, ask away in the comments.


