Posted on Leave a comment

Sewing Adventures – Liberty Tana Lawn Harriet Bra

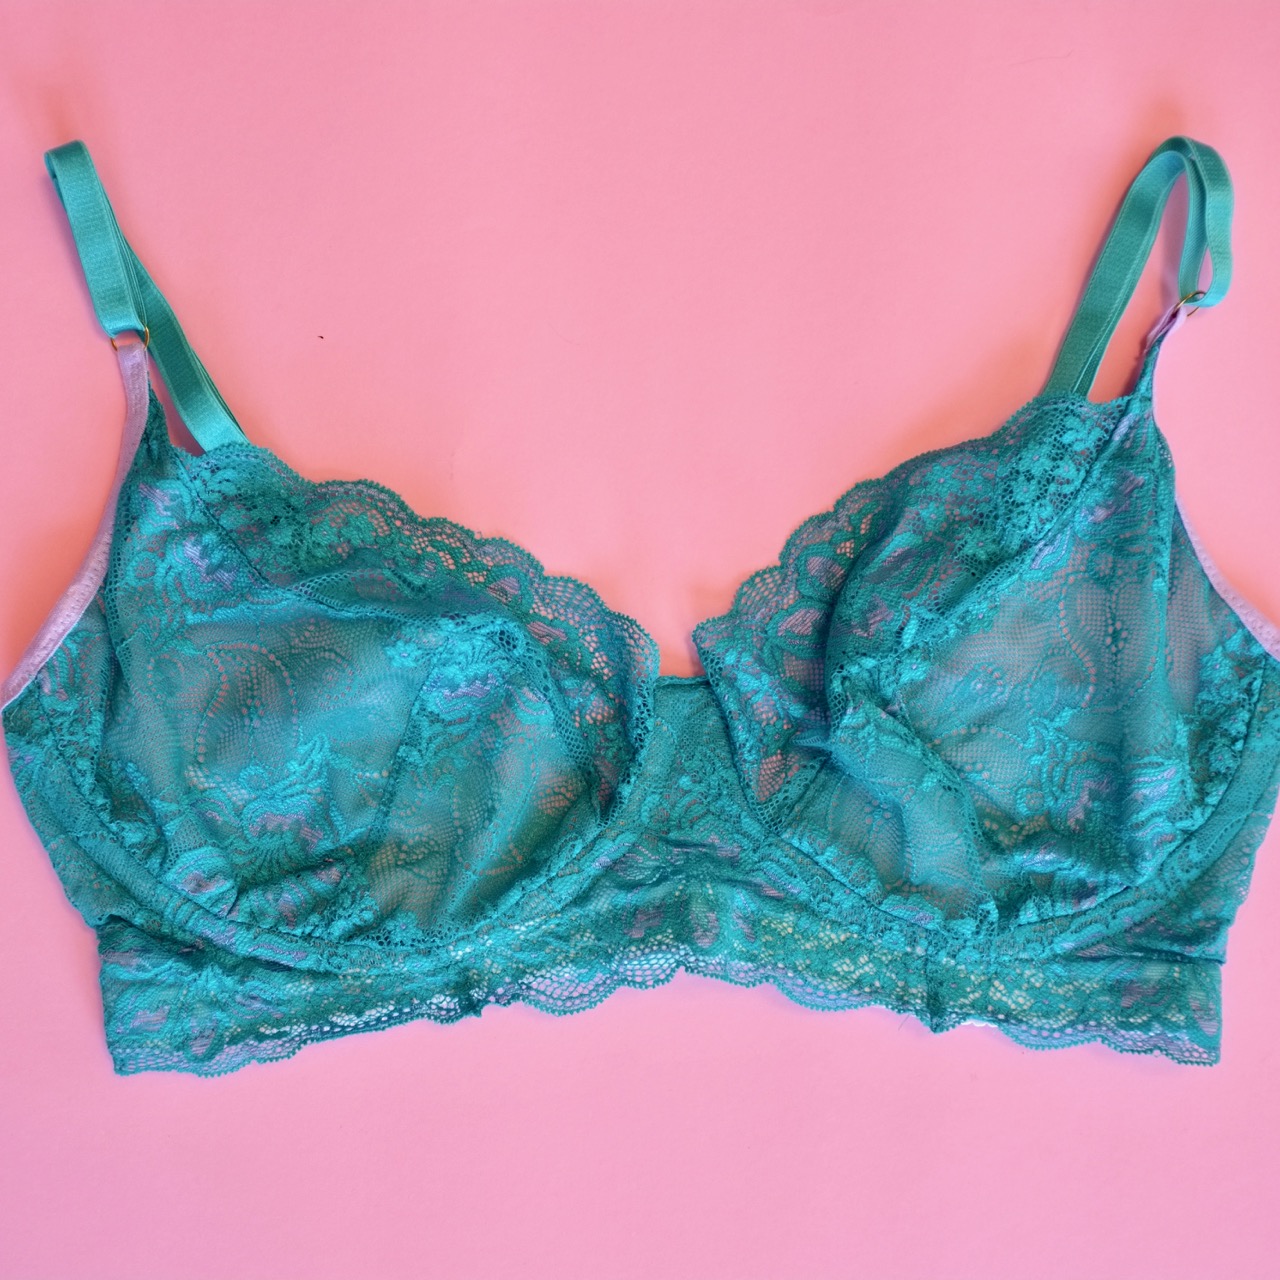
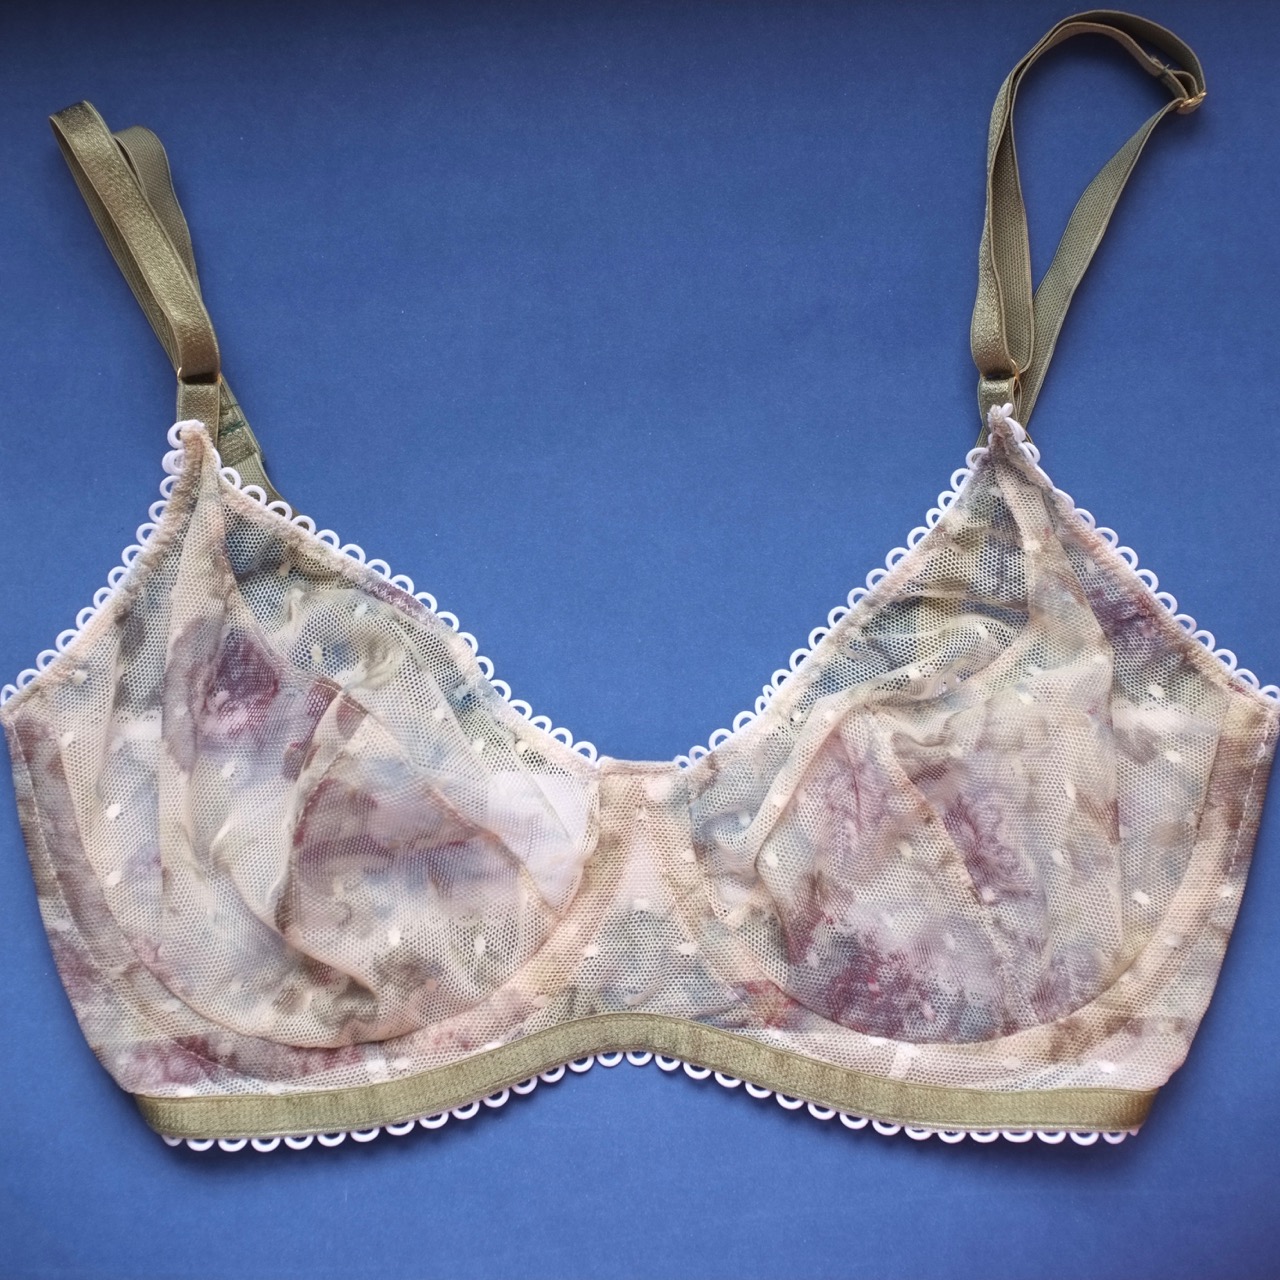
Summers seem to be getting longer and hotter, in fact it was the ongoing heat of last summer that seriously kicked me into gear over making my own bras. No longer did I want to wear padded non breathable sweaty inducing bras ever again. As such I’ve been working with lace, lightweight lining and basically anything that is going to get my bras feeling lighter and more breathable.

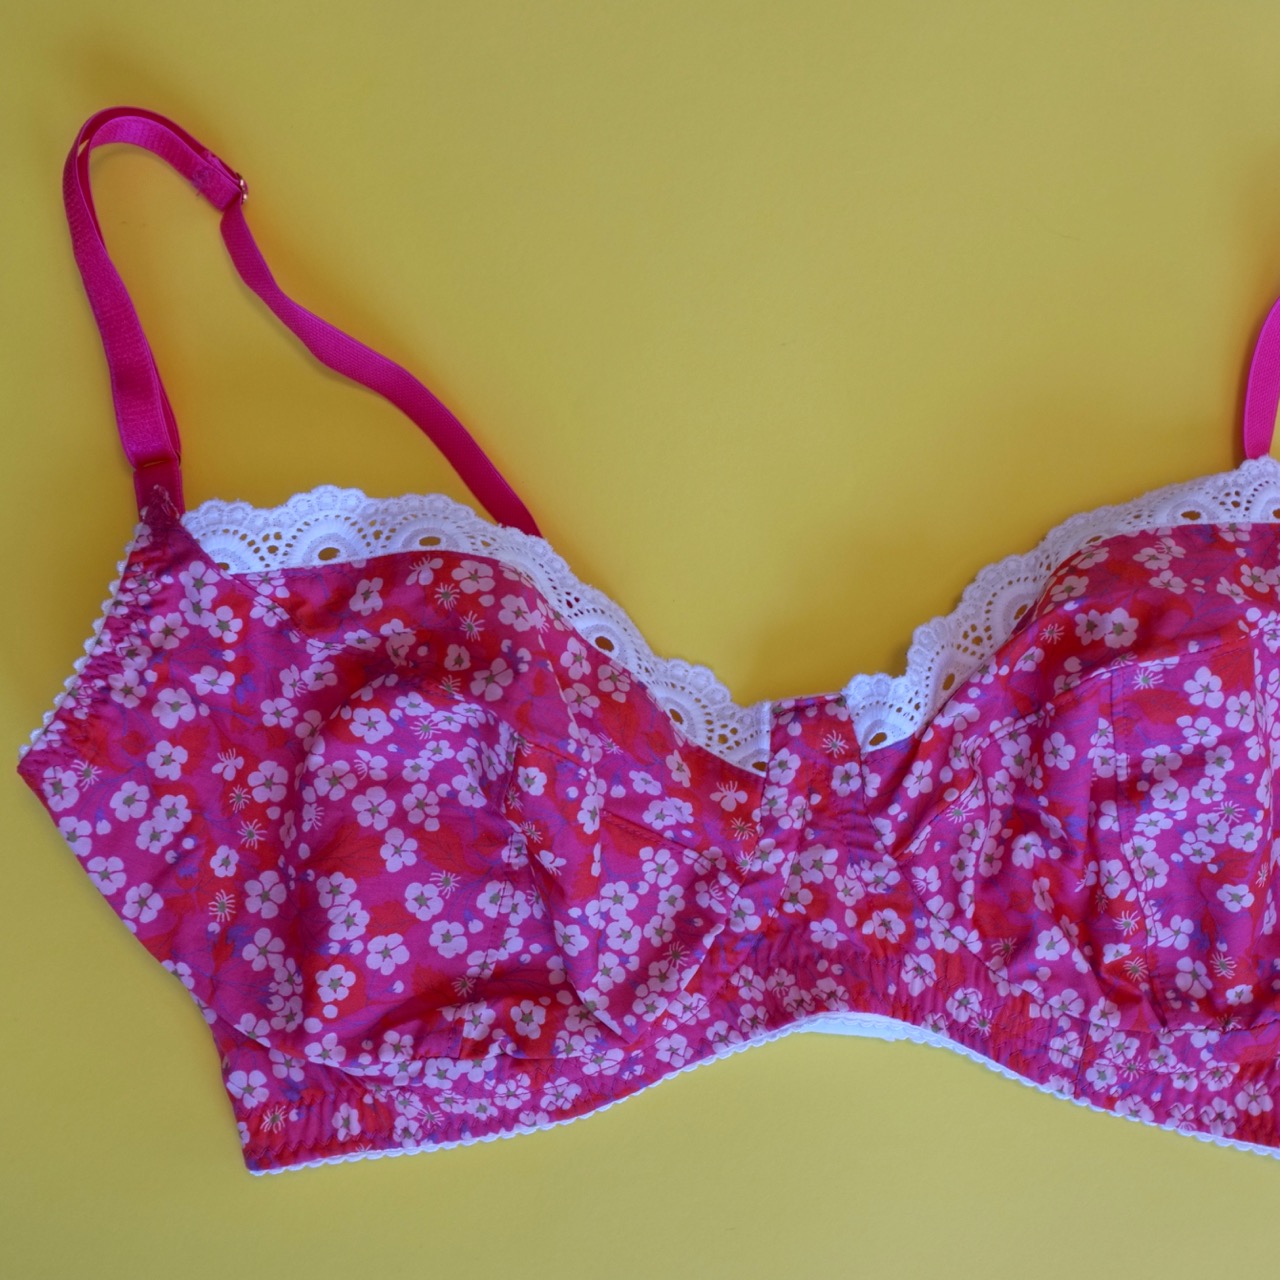
Naturally the next step was to try and make a cotton bra. Never one to waste time on making an ugly bra, I used some Liberty tana lawn scraps for my experiment. Normally the pieces are placed in order to cut with the greatest stretch, to do this with a women fabric I used the bias as my greatest stretch. Apart from the fact I’m using a woven fabric everything else was the same construction as I would regularly follow for a Harriet bra.

But did the experiment work? Well yes and no. It went together well and looks super cute but when I wear it I have a ripple of excess fabric along the apex where the seams meet. The shape is also much exaggerated and looks very pointy. My guess is that the bread tissue normally sits down much lower into the cup due to the greater amount of stretch. This would result in a rounder shape that pulls the fabric down rounding off the shape (the Harriet isn’t a totally rounded shape it does have a definite angle to it).

The upper cup panel I did in a woven broderie anglaise trim. It looks super cute but due to the lack of stretch it does dig in the tiniest amount on my bigger side. I’m hoping it will loosen with wear.

To try and fix it I want to try and pinch out the excess fabric and baste it in place then re try it on and see if that solves the problem. My hunch os that the lower cup is going to need to be split and have a bit more volume put in it as well. When trying to solve any pattern making/sewing issues I always try and solve one problem at a time. That way if it goes right you have done it in the least amount of steps/time and if it goes wrong you can pinpoint where it went wrong and walk it back to that step. Trying to fix everything at once can actually create more problems that are harder to solve than going step by step.

Pattern: Harriet bra from Cloth Habit

Fabric: Liberty Tana Lawn – leftovers from a dress, elastics and trims from Pitt Trading

Alterations: keep working until I find a solution for a good fitting cotton bra

Posted on Leave a comment

Sewing Adventures – Teal Lace Harriet Bra

By now I’ve made so many Harriet bras that I’m mostly including them here to help document all my makes as I don’t have any more insight into the pattern or construction. Each time I make one I challenge myself to be neater, to cover internal seams and generally just get better at sewing.

This teal and lilac one is super comfortable and I really like the fact I took the time to allow the lace to have a scalloped edge on the lower part of the cradle, it just adds another level to the bra and helps improve my skills.

Pattern: Harriet Bra from Cloth Habit

Fabric: lace and trims from Pitt Trading

Alterations: same as previous versions of this bra

Posted on Leave a comment

Sewing Adventures – Hail spot printed mesh Harriet Bra

My goal is to replenish my entire lingerie wardrobe so I have correctly fitting bras that are comfortable and pretty! So it’s another Harriet bra.

This is a printed hail spot mesh that I got from Pitt Trading, it’s greens and purples printed on a white base so I paired it with a white picot, white power mesh back and white hook eye closure. I had planned for the bottom of the front to be white as the print had this wonderful straight line where the print started. I’d decided to use this as a feature so the bottom would be white to match all the trims together.

Unfortunately I used a non stretch mesh as the cradle lining. it’s in a colour that matches my skin tone and normally looks quite invisible. except apparently under this mesh because instead of looking transparent it changed the tone of the hail spot mesh to be much more tan and completely lose the impact of the white line. It now just looked dirty and like I had cut it badly. At this stage I almost recut but decided no at the very least it’s still wearable even if it’s not visually how I wanted.

Because we are currently trying to stay at home and not go out I’m using only what I have in the house to finish off projects. I’m not going out just to get matching elastics. So when I realised I didn’t have enough wider plush elastic for the lower band I improvised. My improvisation included the same width picot as I’d use for the cups and then a decorative topstitch of some strapping elastic in green. Not only did it add strength to that lower band it also helped cover up the non white, white panel at the bottom of the cradle. It works quite well and was a good solution given the situation.

After my disaster sewing on my last Harriet I really wanted to pay attention to my sewing and get a neater finish. I think I did ok at this but always there is room for improvement (I see you non clipped section on left hand side!)

Eagle eyed bra makers will also see there is no lining in my upper cup. I’ve tried this a few times and the non lined section is much more comfortable for me, I also find if I do add a lining in there I can end up with a quad boob look which is not a look anyone wants.

As always I’ve used a mix of colours, fabrics and trims to try and create a harmonious overall colour scheme. Even on a more muted colour scheme like this one I wanted to mix up the elements to bring something else to the style so that it felt more like my style. I’m super keen to make matching knickers for this one because I think it’s going to be a fun challenge.

Pattern: Harriet Bra from Cloth Habit

Fabric: Printed mesh, white power mesh, elastics from at Pitt Trading. Underwires, hook and eye from Underwired.co

Alterations: now that I have my fit working for me I’m at the stage where I can just cut and make which is quite fun