Posted on 1 Comment

Sewing Adventures – Noren

Ever make anything that in reality seems so very simple but then when you use it becomes this really big difference to your life?


Our studio apartment is very small, the front door opens onto a hallway. A not very much used hallway but people pass us as they use the laundry and then hang their washing on the roof top. Which means it can go all day without a person on it but come post work time and it’s always busy. On hot days one of the easiest ways to vent the heat from the apartment is to have the door open.

So everyone walking past can see right in to all of our apartment. Most of our neighbours are lovely and look away but a few apartments are rented out to air bnb type places so packed with all kinds of people who aren’t always discreet in their curiosity in ogling their way past our place.


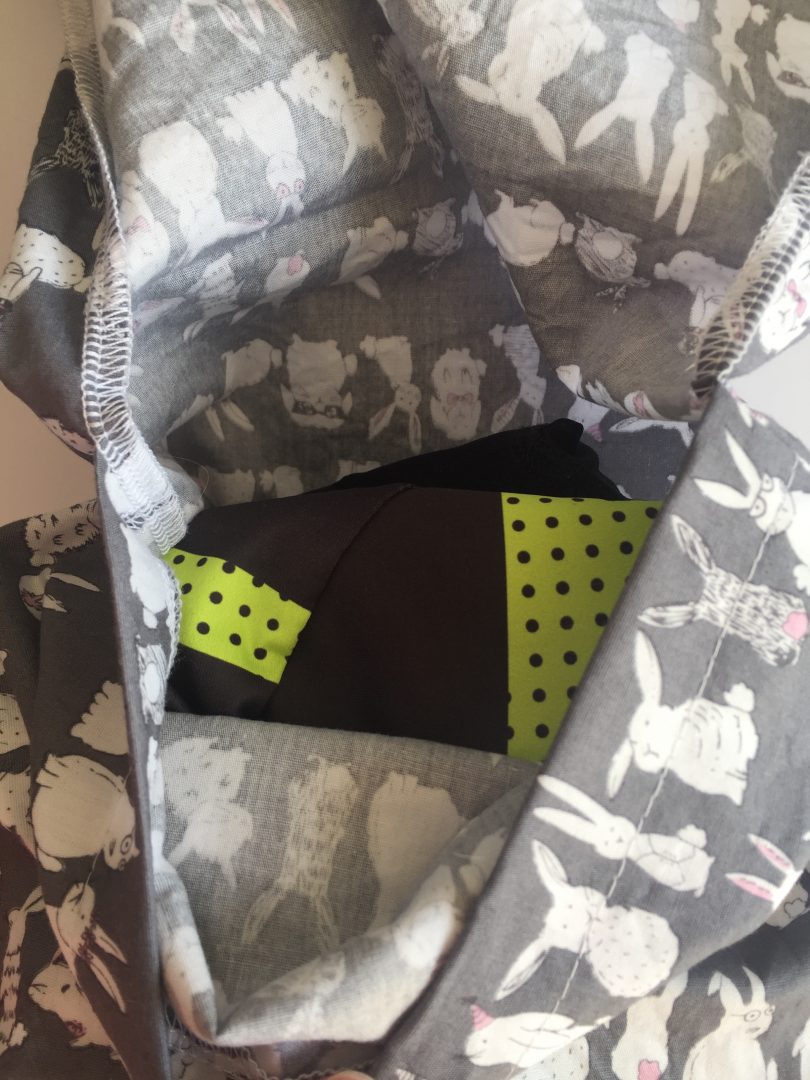
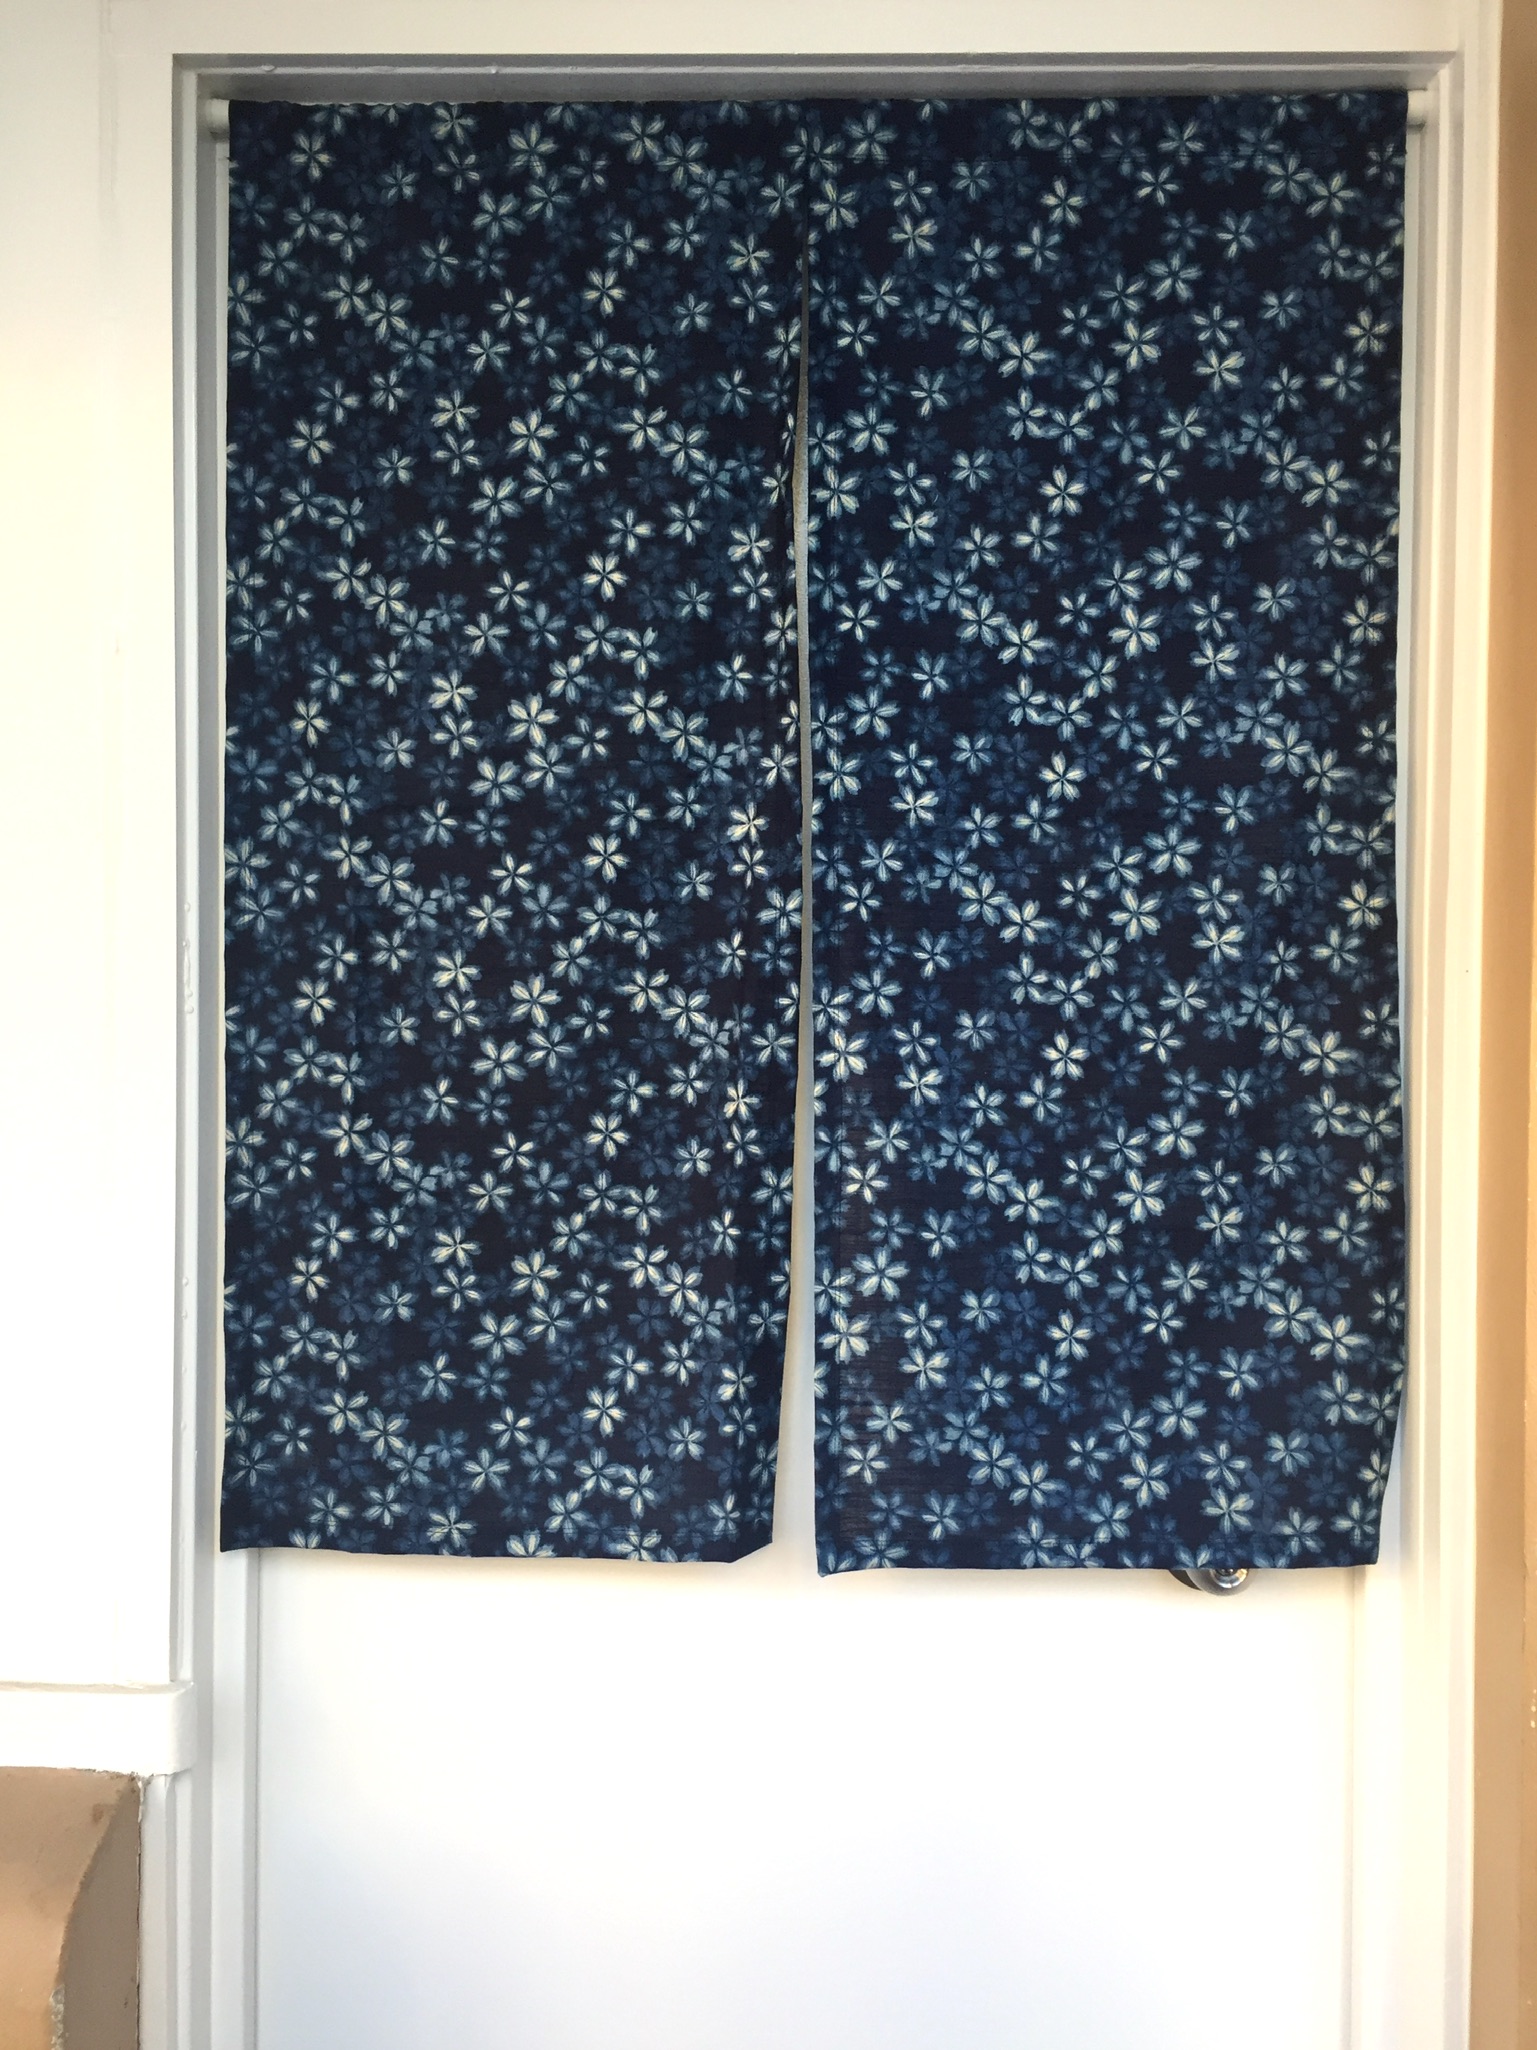
I decided to make a Noren – a Japanese door covering. It’s a split curtain common in Japan. Grabbing some linen from the stash I cut it to use the greatest amount of length and hemmed it using my coverstitch machine.


To hang it we used a telescopic pole from Ikea. You pull it to the right length then twist and it remains at that length. A spring hidden internal means it pops into place and stays in place. It doesn’t mark the frame and can be easily moved so perfect for renters.


All in all a simple solution that keeps prying eyes from seeing in while we get all the cooling air flow of having the door open.

Pattern – cut to width of door (with hems) and as long as I could given the fabric I had

Fabric -Linen from stash but originally purchased at Pitt Trading

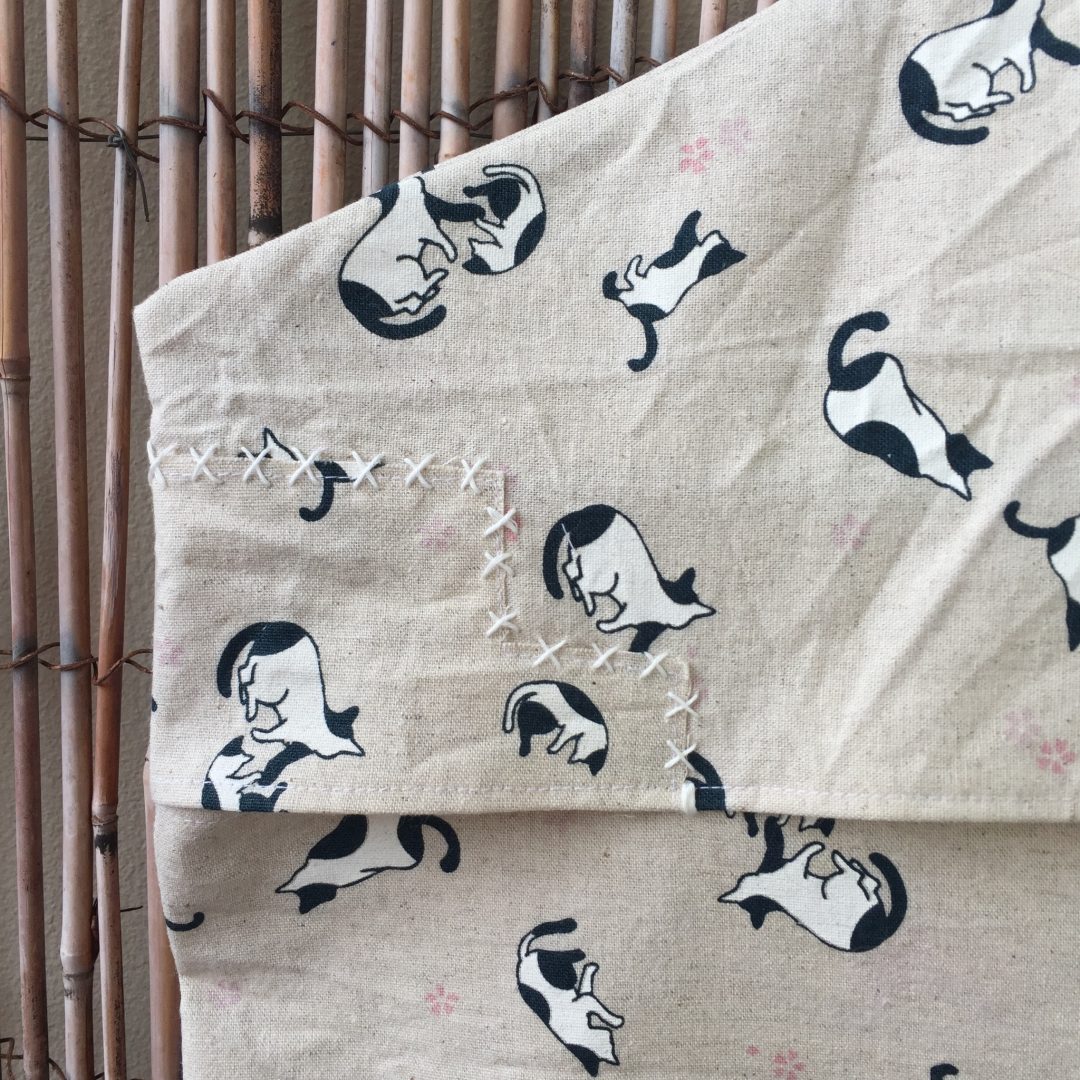
Alterations – after use the hem on the coverstitch is not holding as well as I would like so I may go back and restitch using my regular machine?

Posted on 2 Comments

Sewing Adventures – Kit Bags

Kit bags are super simple bags that hold your cycling kit. The Englishman uses them to keep his kit organized so each bag will generally contain knicks, jersey and matching socks. It makes getting ready for a ride easy, because all your things are contained in one place.

His last kit bags were left stained and gross from the smoke, water and ash from the fire. They weren’t coming clean so I decided to make new ones so his kit could be kept nice and clean. The bags were disgusting after the fire but many of his kits managed to survive. Though washing and laundering them to get the mess out but not hurt the special fabrics was a bit of a challenge.

In an effort to use up what we already have I grabbed these cotton bunny fabrics from the stash. Originally purchased to make something for our friend who lives in San Francisco they were still languishing in the stash having survived the fire. It was time to put them to use as I don’t want to have to buy fabrics when I have something useful already (sorry Meg promise to make you something better later).

I had a meter of each fabric. For the grey I folded it half and half again and then put in small snips and tore the fabric along the length. For the white I did the same but in thirds.

Construction is a simple fold over flap closure. The inner opening is turned under by about 2cm and stitched down, then folded inside out and used the overlocker to run up the sides. It was fast and not even totally accurately measured I just kind of went for it. The sides of the top flap were then top stitched under to keep the top looking neat.

2 more fabrics out of the stash and one happy Englishman, winning all round.

Pattern: Kit bags made up as I went along

Fabric: 100% cotton bunny print originally from Spotlight but was part of my stash

Alterations: at some point I should add some Prym snaps to the front closure to help keep them a little more secure.

Posted on Leave a comment

Sewing Adventures: Peg Bag

Some projects are beautiful, flights of fancy or just plain gorgeous. Other projects are well, utilitarian? These definitely falls into the useful group and is made very so slightly cuter by the use of Japanese cat print canvas.

We needed a peg bag and rather than buy one I thought I’d make one. Taking a plastic adults size coat hanger (many use kids coat hangers but thats only useful if you have kid coats hangers lying about you need to use up?) I traced around it and then played with proportions till I got something that looked about right.

I cut the back, lower front and then when it came to the upper front realised I wasn’t quite going to have enough fabric. A little bit of patching later and hey presto enough fabric.

Super fast to come together and then for a bit of adding prettiness to such a utilitarian object I added some sashiko stitching to make the patchwork look deliberate, to hold the upper and lower fronts together and around the neck of the coat hanger to hold it in place.

Am so proud of it, such a simple job and yet it does it’s task perfectly and the cat fabric makes it adorable.

Pattern: Self Drafted

Fabric: from stash originally from Miss Matatabi

Changes: none