One of the great things about sewing is that you can make anything, solve problems, make your wardrobe, your home look better. Home Industry in Sydney is one of my all time favourite homewares stores. Each time I visit I ask can they move the counter out and can I just move in and have the whole place as my home. It’s gorgeous, a mix of curated fabrics, exquisite upholstery and vintage finds that just seamlessly go together to create a rich and inspiring environment.
When they asked did I want to try out some of their new remnant packs I couldn’t say yes fast enough. A few days later we did a socially distanced drop/pick up and I got two lovely packs. One in a series of navy, blue and taupe and the other in orange, sage and cream.
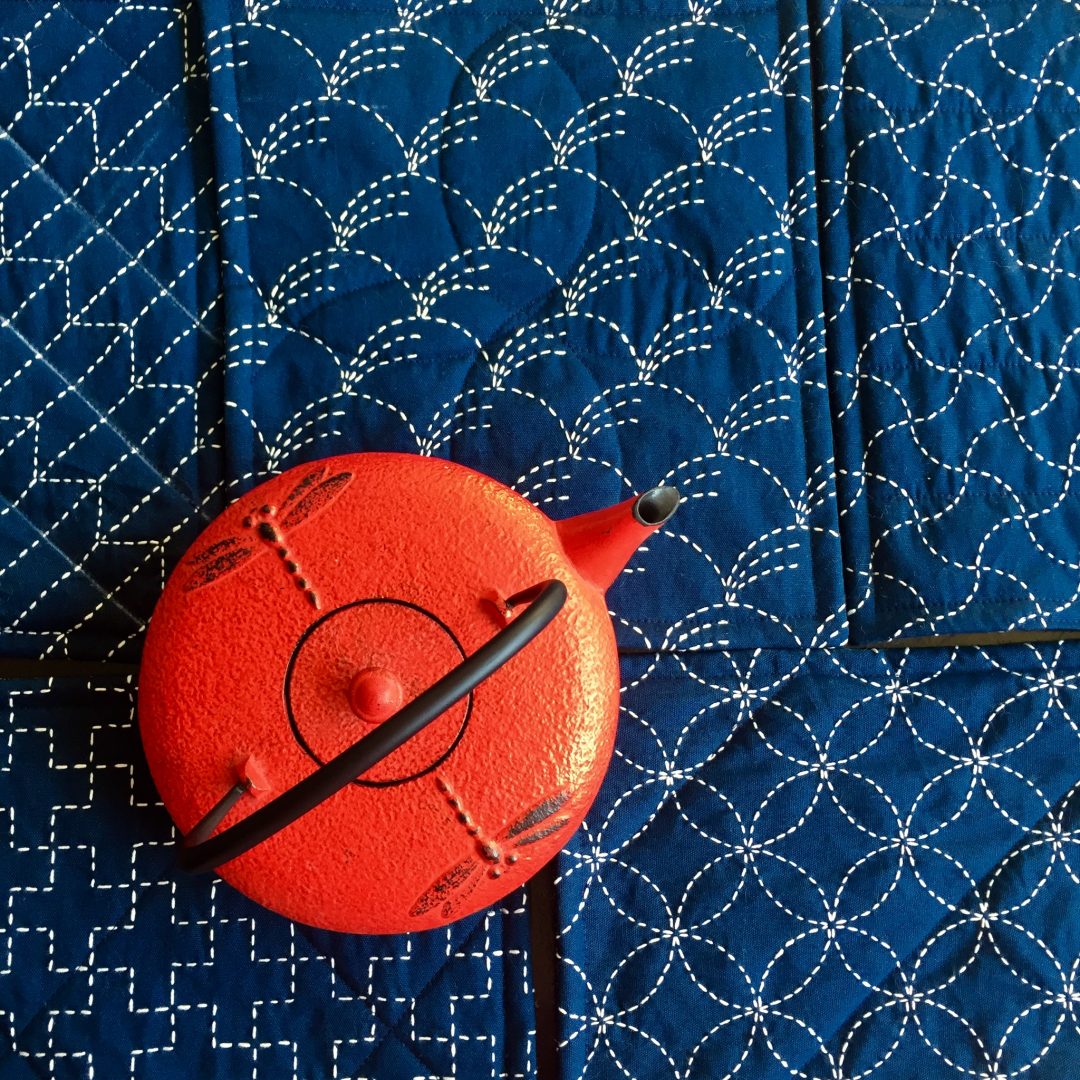
 Today I’m sharing what I did with the navy set. Prior to getting the remnants I’d done some research into what I wanted/needed. Recently we invested in a cast iron pan for cooking. It’s a big skillet perfect for hearty one pot meals and can be used on the stove top and in the oven as well as on the BBQ. Apart from being incredibly useful its also big, heavy and retains heat for ages…all good things for cooking all bad things for tiny kitchens with no space. What I needed was an oversize potholder type thing to rest the pan on. Some oversize pot holders to actually get the thing in and out of the oven would also be handy.
 With that in mind I’d ordered in some heat reflective wadding as well as some bamboo wadding to layer up to help insulate the surfaces. I’ve used the heat reflective one before and one layer is fine for say a bowl of soup but for getting pans in and out of the oven I find myself folding them in half or over again to give more layers of heat protection than what is available.
Having decided what I was aiming for I set up my sewing machine, grabbed my cutting mat and rotary cutter and just had fun. seriously sewing with no plan beyond a vague ‘this kind of size’ type outline is so refreshing. I photographed the stages as I went along saving them to my instagram stories but essentially by lunch time I had 3 varying sized “tops” that I could turn into pot holders. The fabrics were beautifully co ordinated and beyond having to straighten one or two seams I had virtually no scraps or leftovers. Every single piece of the pack was high quality useable fabrics.
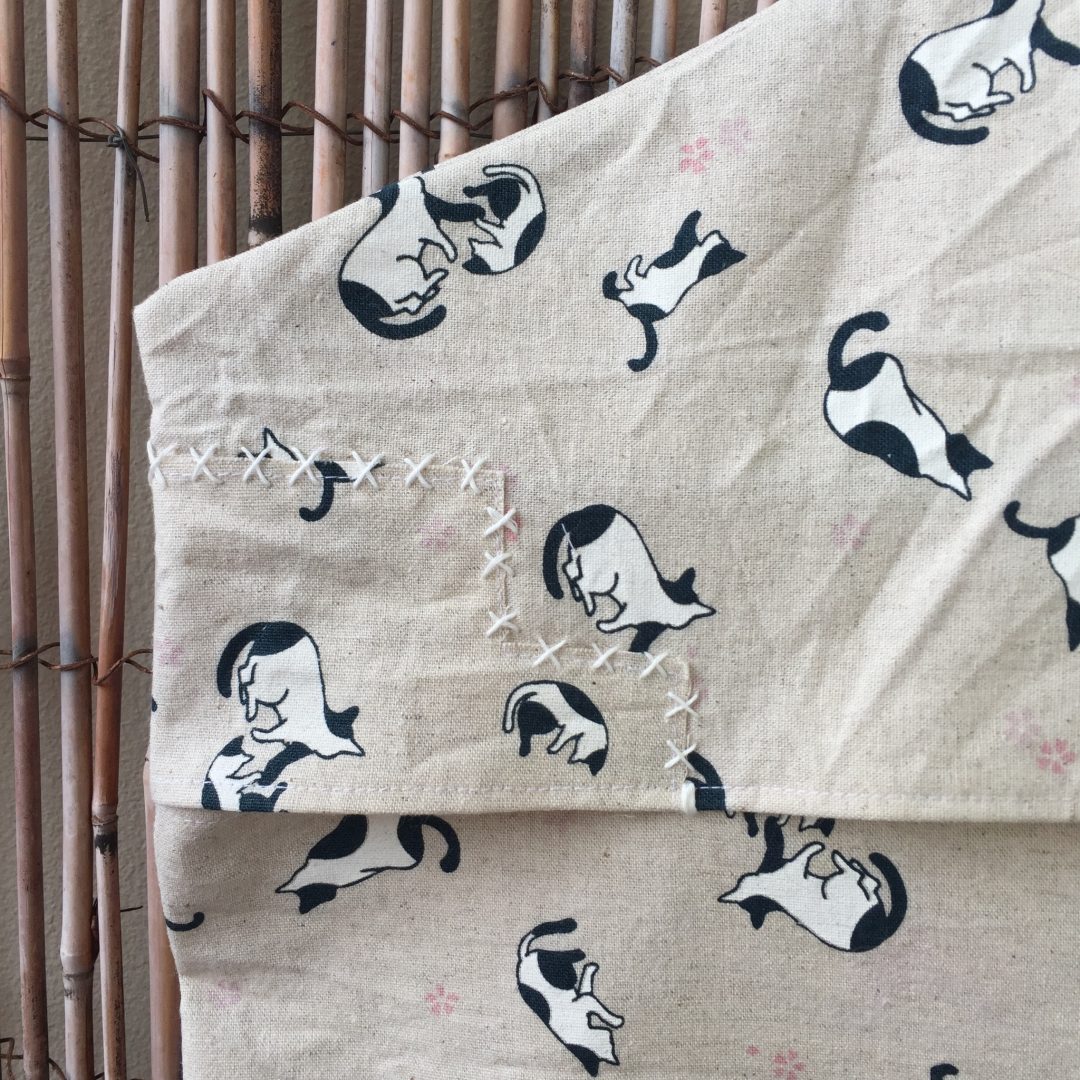
 The beauty of the packs was that it made it easy for everything to coordinate as they were already so perfectly put together. In order to use some of the pieces more fully I added some decorative touches like topstitching using a zig zag stitch or sewing so the selvedge was visible. Being able to do this really brought the pieces to life and added to the joy of sewing them together.

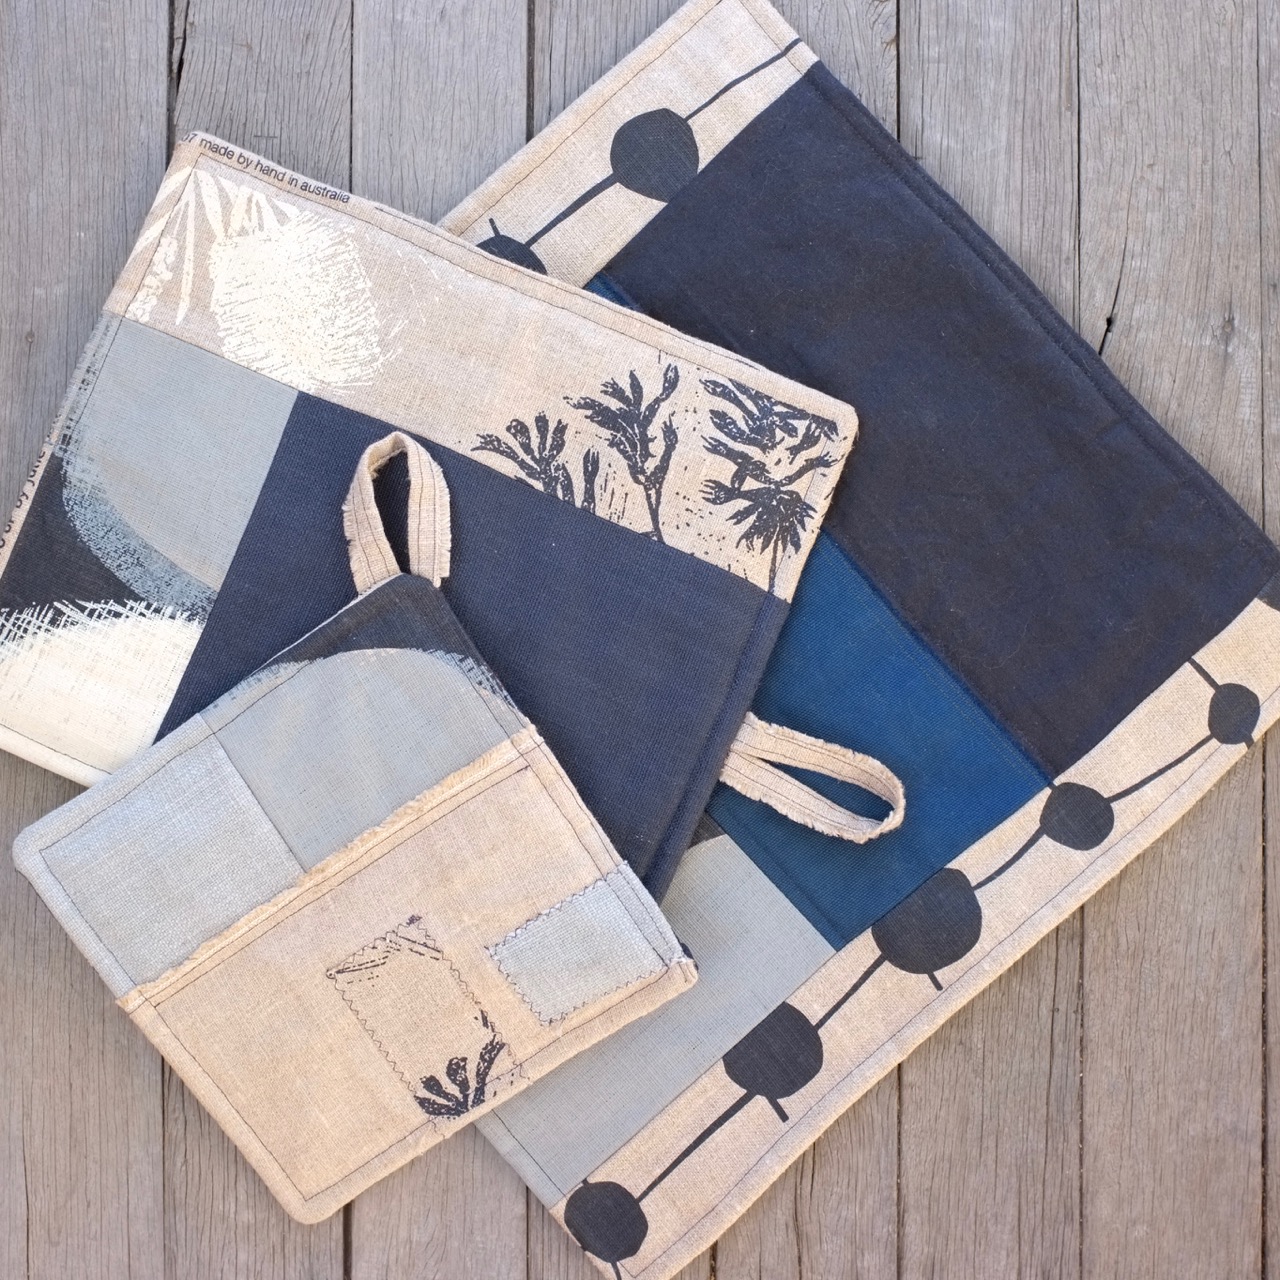
For the 2 smaller ones I also used the selvedge to create a loop holder so I can hang them up near the oven for ease of use. In fact it’s such a handy way to store them I’m going to add a loop to the big one too.


In just a few hours I had one small pot holder style one, a middle size and a large (bigger than A3)size. Each with 2 layers of bamboo wadding and 2 layers of heat reflective wadding with the base being some Japanese cotton I had in the stash. Infinitely useable, practical, pretty and just so fun to sew!


Pattern: made up as I went along
Fabrics: Remnant packs from Home Industry, base from stash originally from Pitt Trading, wadding from Spotlight
Changes: make more time for this kind of improvised fun sewing!