Posted on Leave a comment

Sewing Adventures: Sloth grocery bag

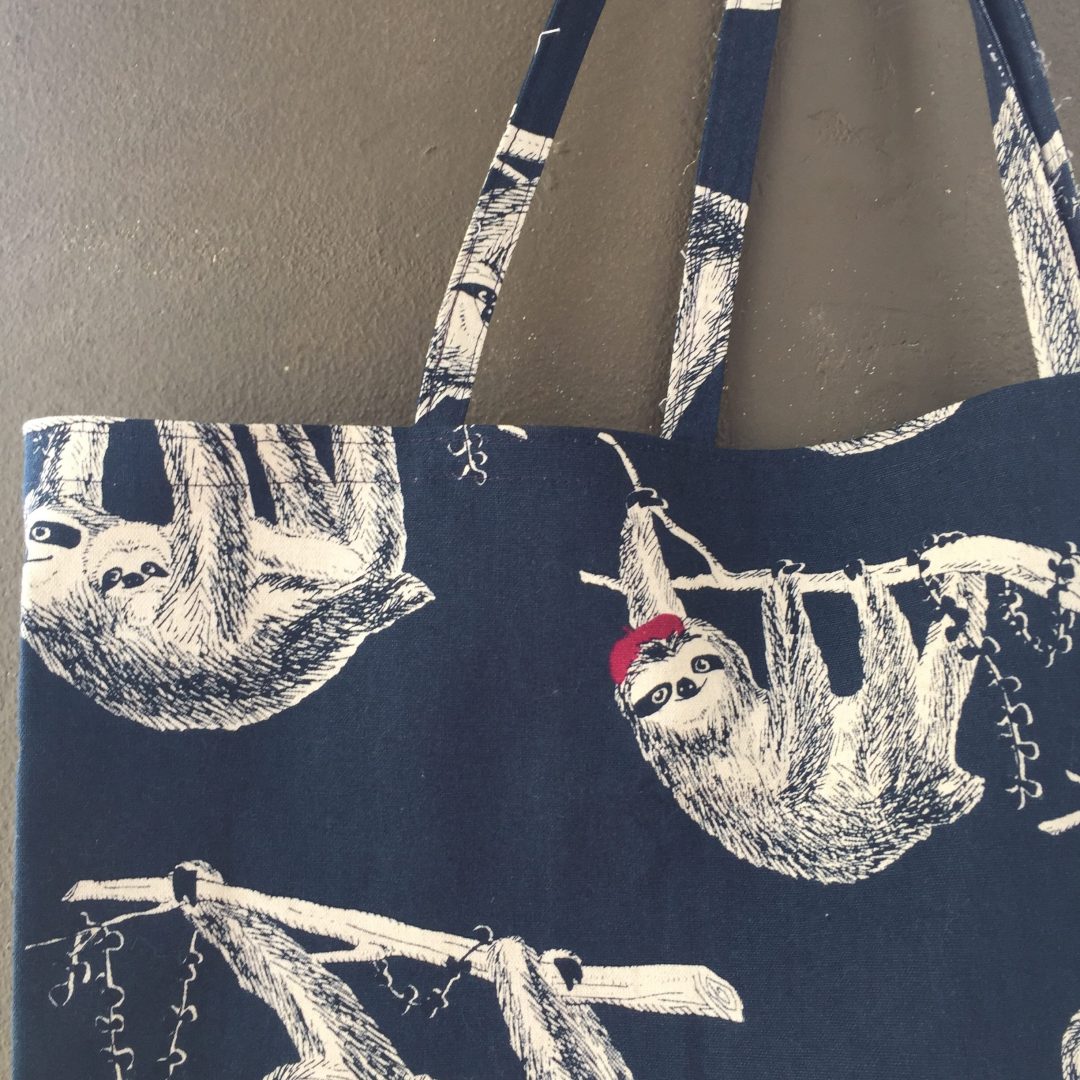
After the success of my spotty grocery bag and with New South Wales finally phasing out single use plastic bags it was a good time to make The Englishman a cloth bag to keep in his work satchel so he always had a reusable bag handy.


This sloth fabric from Miss Matabi was always meant for him and it was another fabric salvaged from the fire so it seemed like time to use it up.


Super simple bag, I measured along length of the fabric and cut 2 x 4cm strips. Then folded the remainder of the fabric in half, stitched down one side, across the bottom and overlocked the top edge.
On the bottom corners I measured squares 5cm x 5cm, cut them out then folded the side seams together and sewed across the diagonal line.


The straps were created from the 4cm strips by folding them in along the long edge by about 4mm and topstitching down, I then folded them half and topstitched either side to create a flat strap with no raw edges showing.


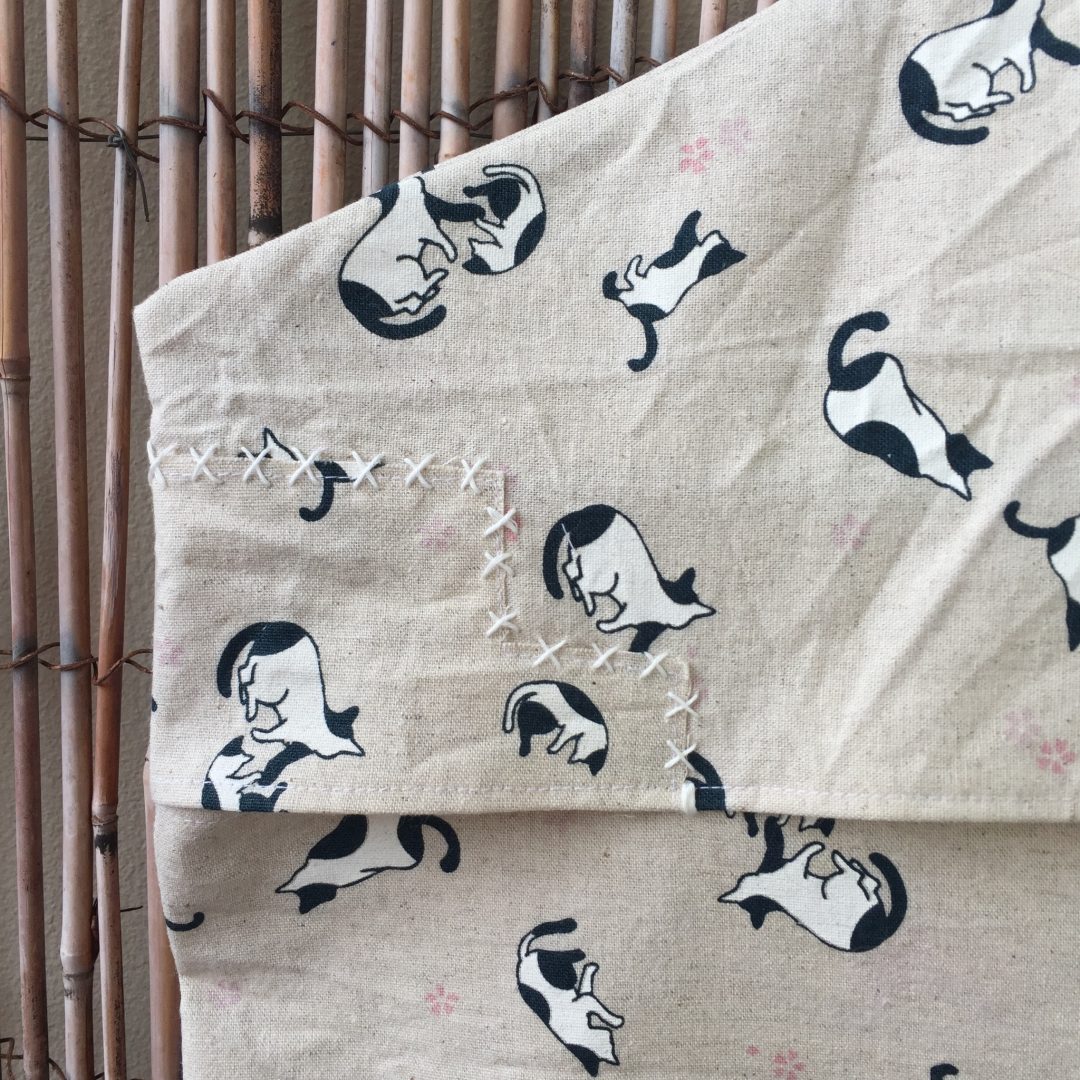
Joined to the overlooked edge the whole opening was turned under by about 2cm and stitched in place.
Easy, fast, stash busting and resulting in a useful bag. Win!

Posted on Leave a comment

Sewing Adventures: Peg Bag

Some projects are beautiful, flights of fancy or just plain gorgeous. Other projects are well, utilitarian? These definitely falls into the useful group and is made very so slightly cuter by the use of Japanese cat print canvas.

We needed a peg bag and rather than buy one I thought I’d make one. Taking a plastic adults size coat hanger (many use kids coat hangers but thats only useful if you have kid coats hangers lying about you need to use up?) I traced around it and then played with proportions till I got something that looked about right.

I cut the back, lower front and then when it came to the upper front realised I wasn’t quite going to have enough fabric. A little bit of patching later and hey presto enough fabric.

Super fast to come together and then for a bit of adding prettiness to such a utilitarian object I added some sashiko stitching to make the patchwork look deliberate, to hold the upper and lower fronts together and around the neck of the coat hanger to hold it in place.

Am so proud of it, such a simple job and yet it does it’s task perfectly and the cat fabric makes it adorable.

Pattern: Self Drafted

Fabric: from stash originally from Miss Matatabi

Changes: none

Posted on 2 Comments

Everyone deserves Pretty Lingerie: Named Asaka Robe

I’ve made this pattern once before for a friend and always wanted one of my own and yet just hadn’t got round to it. Then early last year we had our very first Sydney Spoolettes Swap meet (you can read about it here). Where I picked up this lovely Japanese cotton. It has an ombré fade across it and a printed panel edging on one side. I knew it would be perfect for this robe.


I had to be super careful with my pattern placement so the fade would be consistent across all the panels. But I was running just a fraction short on the front panels. A quick bit of cut and slicing later and there are extra seam lines near the shoulder at the front. Honestly am not even sure anyone would notice if I didn’t point them out but it meant everything fitted on correctly.
The neck band was a great way to utilize the printed border, again I had to add some seams to make it work but it looks so good I’m glad I took the time to sort it out.

Wanting an entirely clean finish I stitched on the underside with the idea of turning under the front and top stitching it down. However when I tried to do this I had nowhere near enough fabric and raw edges to deal with!
I took it into Pitt Trading with me and had a fun time matching trims to cover up the raw edge. There was a lovely lace trim that looked so pretty but I wanted to get it done quickly so I went with this lilac petersham ribbon. It’s just stitched over the top of the raw edges to keep everything neat. The excess I used to create the waist tie with.
Despite being incredibly lightweight it’s a lovely gown to wear. Not great on very cold nights but as a lovely cover up for warmer weather it’s just about perfect.

I like that despite the dramatic sleeves you can still use your arms (in fact am typing this while wearing it!). Here I am tucked up with my robe and quilt, it’s very hard to take a downwards photo while sitting.

It even looked good draped across the bottom of a hospital bed.

Highly recommended and perfect for gifts too.

Pattern: Named Asaka Robe

Alterations: changed front band construction to have clean finish, then had to add ribbon to fix the gap.

Fabric: from Sydney Spoolettes swap, thank you whomever dontated it!


Posted on Leave a comment

Sewing Adventures- Boxy pouch with pandas!

I rarely indulge in ordering from Miss Matatabi because well let’s face it. I could ship the entire store to my house and still want more? I adore the prints, the quality and the entire Japanese aesthetic.

So last year after a particularly crappy time of it, I made up an order and eagerly awaited my parcel. As suspected it was all amazing.

I knew I wanted to make a boxy style pouch to carry some of my sewing bits and pieces with me to classes that I teach. I tried to make up a pattern and got distracted, I tried searching for a pattern and could never find exactly what I needed. Then I spotted it, the perfect boxy pouch.

The Thrifty Stitcher is Claire Lousie (or CL) is a good friend and I sent her an email asking her about it? She kindly sent me the link to the handouts she uses for class and they are genius! seriously if you want to learn how to sew in London go and see her. Not lucky enough to live in London? Then take her online class she is brilliant and her way of explaining things is spot on. You truly are “learning to sew with a pro”

Following her expert guidance I made my pouch and I added a lining too (that bit I did on my own, it wasn’t in the notes). Super happy with the result too. I’d actually like another one that is bigger, I might add some kind of stabilization to that one to help maintain it’s shape.

Pattern: Boxy pouch from The Thrifty Stitcher
Fabric: pandas (not currently available but here are other awesome Panda fabrics) from Miss Matatabi
Changes for next time: brilliant as is, perhaps do a second bigger size with stabilization just to carry a few more things?

Posted on Leave a comment

Sewing adventures

I thought each Monday morning it would be nice to have a bit of a recap on my weekly weekend sewing adventures.

simplicity 2178 measuretwicecutonce

This weekend I finished a project that has been on the almost done pile for quite some time.

It is a mushroom,white and lilac Japanese print cotton I picked up at Spotlight about 2 years ago. It’s super cute as there are little tiny birds in the print. The dress was a breeze to put together and I love love that all the Cynthia Rowley patterns have pockets in the dresses. I’m guessing that the bow will become slightly annoying to keep tying it each time I wear the dress and am toying with the idea of getting it right once and then just hand stitching it in place?

Despite being a breeze to put together it wasn’t until I went to photograph this dress that I realised I had made a mistake. I’ve added the zip to the non bow side. Getting in and out of it is a 2 person job! So last night I unpicked the zipper and will be installing it on the correct side today, thank goodness for a long weekend so I can finally finish this dress.