Posted on Leave a comment

More Kits and Bra Classes

greylilac_header 
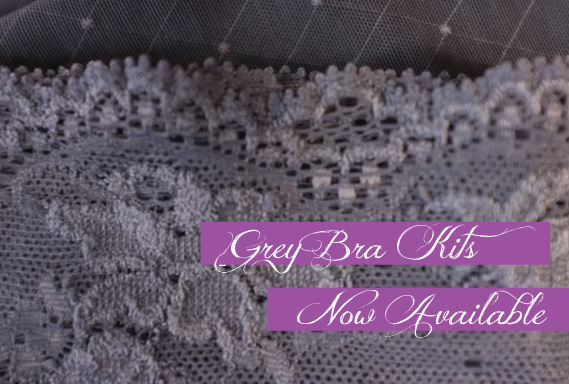
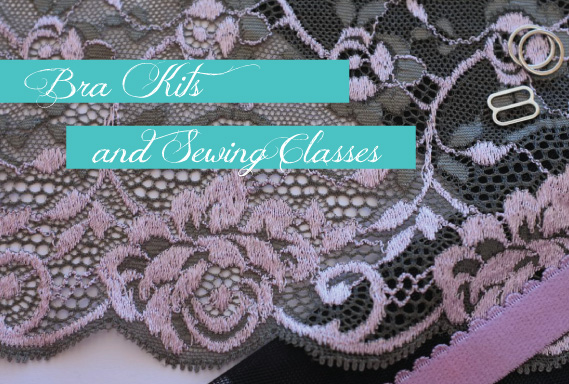
After yesterday’s amzing sell out of grey kits, I’ve got a combination kit today that is grey and lilac lace with black powermesh and straps. It’s going to be so sophisticated and the colours complement each other so well.

Grey and Lilac Bra Kit - 2

The powermesh used in this kit is super strong, I’ve cut the panels across the length of the fabric so you can get more use out of the stretch as it ran up and down not across the fabric. Be sure to check your stretch percentages against your regular pattern before cutting as it may affect how “strong” your bra feels. It’s fantastic quality, I feel like it holds you in all over!

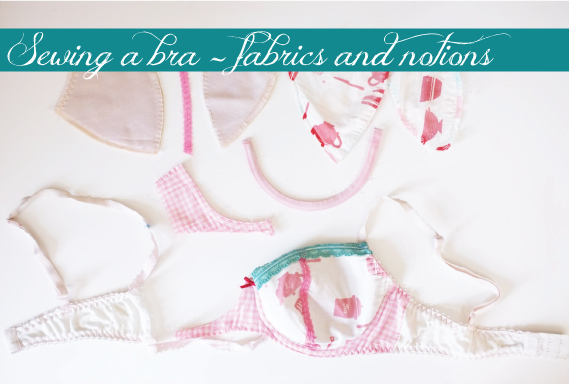
Now for anyone in the Sydney region (or willing to travel to Sydney), exciting news as I’ll soon be running classes and workshops! Come listen to me talk all day and show you how to DIY your own bra pattern from an existing bra. Or take a class on making knickers or a soft cup bra from a pattern I’ve developed.

Classes and Workshops include

DIY your own bra patternIn this class you will learn how to pull apart your own RTW (ready to wear) bra and construct a pattern to be able to sew your own version

DATE: Sunday 3rd of May, 2015

TIME: 10am to 4pm with breaks for lunch and afternoon tea

Knicker Sewing Class – In this class you will learn how to cut and construct a pair of our Georgiana Knickers. These bias cut woven knickers are a bikini cut and a wonderful way to learn about finishing techniques for lingerie

DATE: Sunday 17th May

TIME: 9.30am till Midday

Bralet Sewing Class – In this class you will learn how to cut and construct a soft cup bra (no underwires). Typically known as a bralet or lounging bra these are good for light support and a fabulous way to learn the techniques needed for bra making.

DATE: Sunday May 17th 2015

TIME: 12.30 to 4pm

All the details, prices and ways to book yourself into a class can be found in the webstore. They are going to be really fun and are held in the beautiful workrooms of Home Industry in Balmain. Check them out if you want to learn anything at all about upholstery and restoration, not only are they incredibly skilled they are also super lovely!

Can’t wait to see you in the classes and workshops!

Posted on 2 Comments

New Bra Kits available

greykits_header

I’ve just added the most beautiful grey coloured kits to the store. It’s a really pretty grey with the slightest hint of blue tones to it and is going to be so flattering to so many skin tones.

grey lingerie kit 3

So grab yourself a kit and your favourite bra pattern and get sewing!

pink bra kit

There are also 2 purple kits left and I found enough to make 1 last Fuchsia kit. Once these ones sell out then those colours will be awhile before they are back in the line up.

Happy Sewing!

Posted on 4 Comments

Bra Making – how to DIY your pattern part 3

diy_bra_header-3

By now you have taken your bra apart and spent your time making an accurate pattern. So now it’s all about collecting everything you need to start sewing your bra.

Based on the bra I took apart here is what I need

bra-components

  1. Foam – I chose one that is about 4mm thick, the same as the bra I took apart
  2. Decorative lace trim
  3. Exterior fabric
  4. Underwire casing
  5. Underwires
  6. Contrast fabric – this could also be the same as the exterior fabric
  7. Bra strap elastic
  8. Rings – I find metal ones last longer and if you are putting your bras into the washing machine/dryer then I’ve found metal ones last much longer
  9. Bra sliders – again I prefer metal but then can also be plastic
  10. Powermesh –  on this bra it’s powermesh but I have other bras that have a soft mesh, polyester spandex. If you can’t get exactly like the bra you took apart then be aware of the amount of stretch (or lack thereof) that you are adding to your bra.
  11. Decorative bow
  12. Decorative ribbon
  13. At the bridge on this bra there is an exterior fabric and then the inner fabric is a non stretch fabric
  14. Hook and Eyes
  15. Mesh cover on internal cup seams. This one has a line of mesh but other styles I have use an incredibly soft satin ribbon. I’m thinking of going with the ribbon just because I already have some and it’s one less item to buy.
  16. Lingerie elastic

In addition you will need thread, machine needles, a machine that can do straight stitch and zig zag and a large cup of tea or coffee to help you out during the assembly.

Now I know this looks like a huge amount of stuff but if your original bra is in pretty good condition there is a whole bunch of stuff you can recycle from the original bra. The underwires, even the underwire casing if you were careful during the unpicking stage. Hook and eyes can be reused (and dyed if necessary), sliders and rings can be re used multiple times (another good reason to go metal and not plastic). Even the decorative bow can be re used.

This covers what I need to recreate my bra, be sure to check your own bra and see what is needed to recreate it. There is a great list on Bra makers Supply that is super helpful and I find the information that Norma from Orange Lingerie to not only be amazing but also inspiring.

The next step is going to be the assembly of my bra and I hope to get to that as soon as I can. Apologies for the big gap in time from Part 2 to Part 3 but life stuff happened and I just didn’t have time to get to this post, sorry if it interfered with anyone’s plans.

Am excited to be up to the assembly stage, it’s going to be fun recreating one of my favourite bras.