Posted on Leave a comment

Sewing Adventures – the making of a sports bra

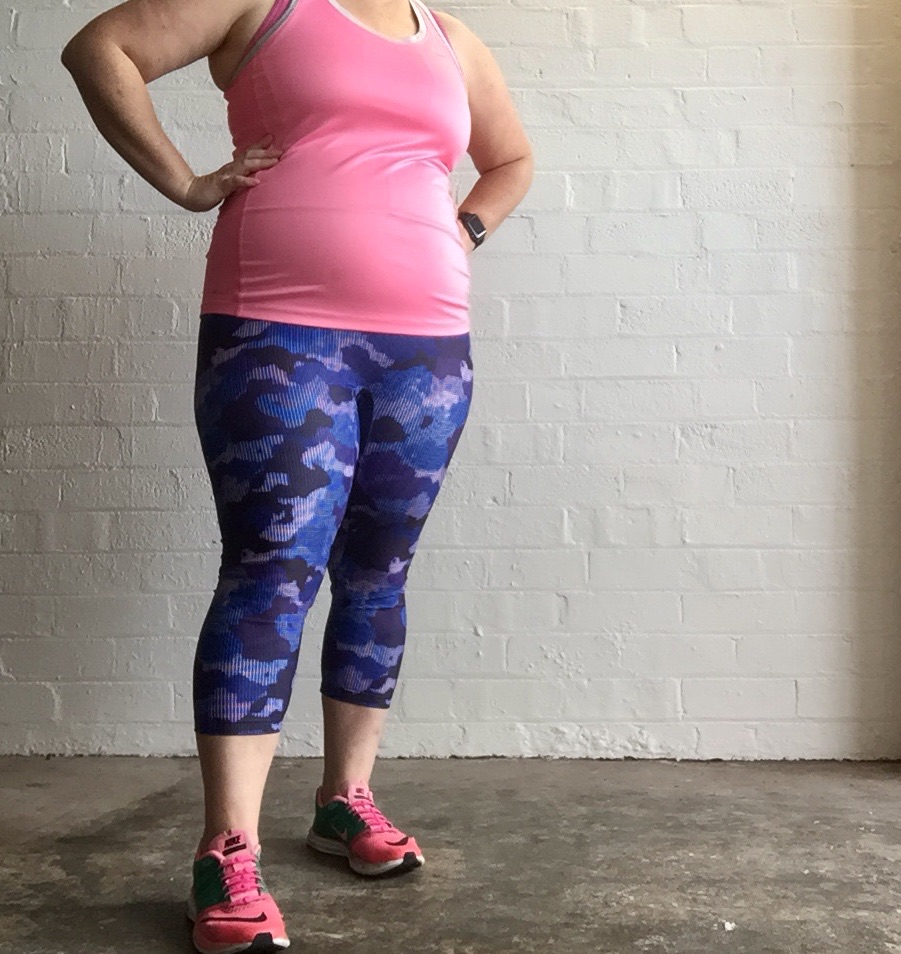
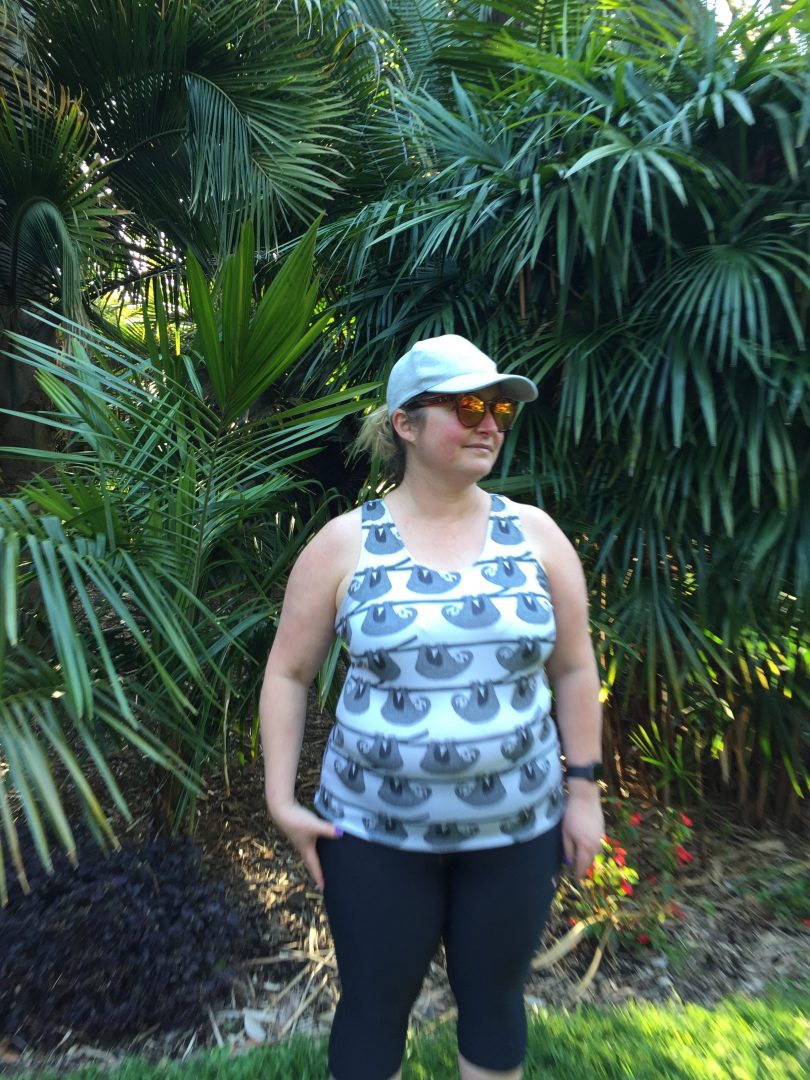
Sports Bras are something I’ve long resisted making, there is a whole lot of technical things encompassing science, research, body movement, fabrics and more. My favourite RTW sports bra for running is by Shock Absorber and I’ve never worn anything so constricting feeling when you first put it on and yet comfortable while I’m running. You literally don’t even think about it which means it’s doing it’s job perfectly.

For non running sports I use some Nike ones that are getting older and will need to be replaced. They compress well, stop bounce and allow for a full range of movement while having a brilliant level of moisture wicking.

As such I’ve never really bothered with making my own, but I was kind of interested in at least making a toile. I started with the Greenstyle Power Sports Bra. Using their size guide I measured my bust and underbust to sort out my band and cup size. Checked my fabric against the recommended stretch percentages and made a first toile.

From the first toile here are the changes I made

  • reduced the overall circumference by 15cm – some at the side seam and much from the back. 15cm equals 3 sizes which is just kind of crazy size wise.
  • smoothed out the bust point so the curve wasn’t so severe
  • raised the neckline by 1.2 at centre front
  • raised the underarm by 1cm

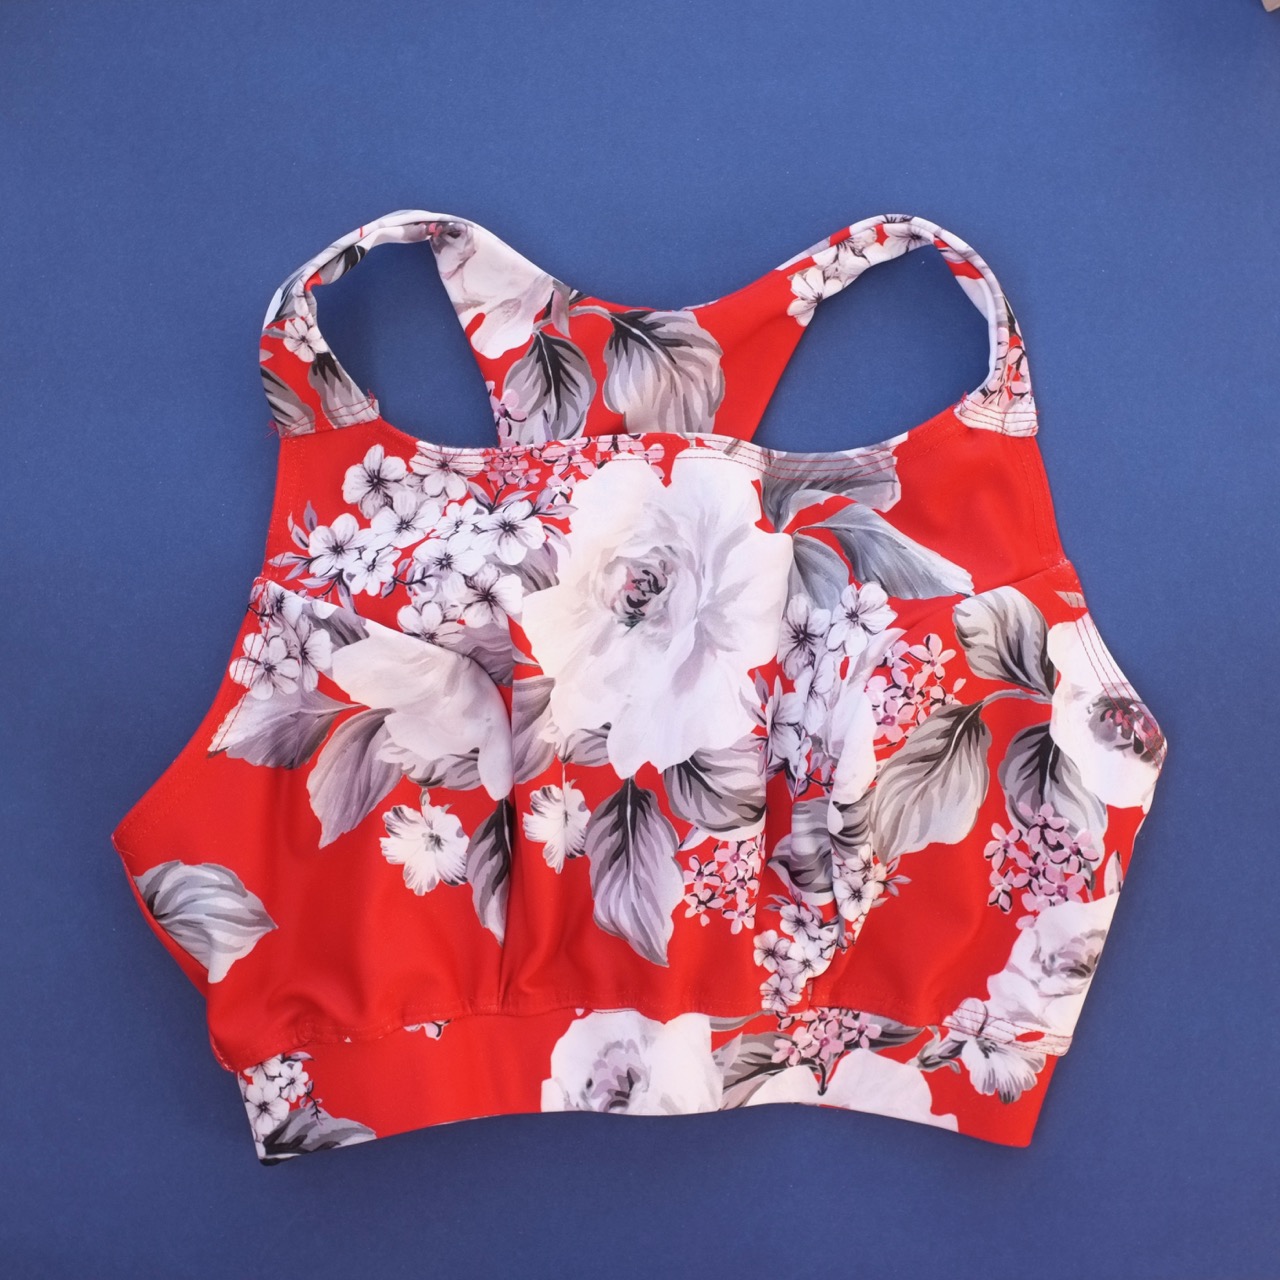
For the second toile I used the same quality outer fabric but added a lining of power mesh to the front. The powermesh was cut to be most compressive on the side bust, less compressive over the front. The back panel was double layer of the outer fabric both cut on the reduced stretch to help aid compression. The photos showing a red version is this one. I wasn’t happy with my sewing on it as I felt like I rushed it a bit and I absolutely hated how the straps went on it looks so messy and unprofessional.


From this toile the changes made were

  • add 3cm back in circumference to account for lesser stretch of power mesh
  • bust curve needs to be reduced more so the curve is less pronounced but the volume stays the same
  • raise neckline by another 1cm
  • raise underarms – check this while being worn for exercise though as it can be a chafe point
  • reduced strap length by 6cm

For the next version I want to change a few more things

  • the way I attached the shoulder straps which looks messy and isn’t very strong
  • change the entire back construction for a neater finish at front strap join and side seams
  • smooth out the bust point more as with the extra layers of power mesh and lining it’s just rippling and projecting too much. I’m even considering splitting the seam and putting it somewhere else as right over the bust point is not necessarily the best place for a seam in a garment designed to be sweated and moved it. Chafing, rubbing, friction etc
  • adjust the base of the top so that it sits flatter to the elastic band without looking puckered or gathered

The sheer number of changes and alterations are kind of making me think while I started with one pattern it’s certainly only going to resemble a fraction of the original by the time I get done. I’ll try with the changes listed above and if I’m not liking the results then I think it’s time to ditch this pattern and spend time finding a more accurate pattern.

Pattern: based on Greenstyle Power Sports Bra but now heavily modified and still not correct

Fabric: from Pitt Trading and it’s lovely, am actually slightly sad I used it on something that I’m so disappointed in the fit on

Alterations: all of the above


Posted on 2 Comments

Sewing Adventures – Jalie Clara Tights Camo edition

It’s winter which means its cold and the temptation to stay on the couch cuddled under a blanket eating biscuits, drinking tea while reading books is big.
Sadly I know I need to move more. I have to get fitter and rebuild strength in my core and back.
So in an effort to motivate myself with new clothes to workout in I purchased the PDF of the Jalie Clara tights.


These are so intriguing as they have no centre front seam and only a back seam and an inside leg seam.
I measured myself and decided to go with the size Z with the 3/4 leg option of size O.


Cutting was easy and I added in the gusset, centre back seam and inside leg. At this stage I tried them on and decided I need to size down. Instead of unpicking and recutting I basically used my overlocker to cut down a size.


Tried them on again and decided on taking a dart like wedge out of the centre back and tightening the inside leg from mid thigh down the leg.
Popped them on again and was satisfied. Added the waistband using my overlocker and then twin needle stitched it in place using my coverstitch and hemmed (also on my coverstitch) and I was done.


I’m 5 foot tall so the top waistband sits really high on me (like just under my bra high) which is fabulous as it goes well up and above my surgery scar. It also goes above the weird swelling shape and weight gain which means it’s not going to move while I exercise.


There is some wrinkling around the knee that I’m not wild about but am going to wear them for awhile and see if there are any other changes to be made before I set about fixing that.


Great pattern, really impressed at the results and loving this Lycra from Pitt Trading which has no grin through of the white base fabric and isn’t see through even when stretched!

Having worn these a little am definitely going to size down even more, I want the Lycra to work a little harder as right now it feels a bit loose particularly around the crotch and thigh. It just doesn’t have that “firm” feeling yet so am going to do some tweaks. However I feel like the changes would be less if I wasn’t using such a nice quality Lycra.

Pattern – Jalie Clara tights pattern

Fabric – from the stash but originally from Pitt Trading

Changes – go down at least one to two sizes, take an extra dart shape wedge out of the centre back, tighten up knees a bit more

Posted on 2 Comments

Sewing Adventures: Running Sloths

This top has been in the to do pile for at least 2 years? Possibly longer. I ordered the sloths when I got some pandas (you can see the pandas made up here).
Originally I had planned them as running tops and the pandas work ok but the fabric just isn’t good enough for summer running. So I’ve found that it makes it into the rotation for walks, weights and being on the bike trainer (like spin class but you get to use your own bike).

The sloths have been just waiting for the hemming to be done since the day after the pandas were made. Earlier in the year when I had planned to get a coverstitch machine this was going to be first thing I did. Then the getting of a coverstitch turned into a debacle and once again the sloths got set aside.

During my month of getting stuff done, I got my new Prym jersey twin needle, threaded it up and spent about 15 minutes finishing it off. Am so glad I did. Not only is it finished it also makes a nice addition to my current work out wear (current work outs consisting of walking or bike trainer, not allowed to do anything else yet). I still feel (and look!) quite swollen so I know these photos are in no way flattering but they are an accurate reflection of where I’m currently at.

The twin needle works like a dream. Perfect stitching and just glides over the fabric with not a care in the world. I’ll certainly be putting it through it’s paces on all kinds of knit projects from now on. Speaking of dreams, how lovely is my running view?

Overall I’m enjoying the sloths, much like the pandas I feel like the scale is too big and creates a kiddy type look as opposed to a cool print look. The fabric is fine for activities that don’t create huge amounts of sweat but the face of the fabric is quite easily affected. I already have more than one pull in the fabric from it snagging on a pin, my nails or general no rough useage.

Pattern: Women’s Racer Back Singlet from the Measure Twice Cut Once Basics range
Fabric: Activewear jersey from Spoonflower
Alterations: lengthened, graded out 2 sizes from Bust to Hem.

Posted on 4 Comments

Sewing Adventures – activewear

Lately we have been spending our Sundays out walking.

img_0976

Taking in the amazing city we live in. It’s great exercise and the views are breathtaking.

img_1179

I seriously never thought the day would come where I would sew activewear. It was not on my radar, I was perfectly happy with what I already had in the wardrobe.

Then one day we were getting ready to head out and I realised my run tights were showing more of my bottom than I am comfortable with. They were wearing out and going see through!

In the stash there was some black lycra. Super special stuff that was firm, moisture wicking, anti microbial, anti bacterial and originally designed for high end cycling kit. It would be perfect for tights for walking and running.

To save time and energy I cut an existing pair of tights up, traced them using a tracing wheel and added seam allowance back in. The only change I made was to eliminate the side seam in the upper panel.

I cut the upper in my sports lycra, the back knee from some mesh and the coloured panels are lycra from Pitt Trading.

img_1080

To construct I overlocked all the seams to the outside and then topstitched them down using a zig zag stitch. This was hugely labour intensive but the closest I could come to replicating a flat lock stitch with my own machines. It looks quite slick on the outside and it’s super nice to be seam free on the inside.

img_1079

The only glitch I had in construction was that in eliminating the side seam I made the upper back panel a nightmare to insert. I got there in the end but it was not easy to get it into that shape.

For the waistband I overlocked a piece of elastic to the outside of the garment, flipped it to the inside and topstitched in place.

Hems I did last by turning up and zig zagging.

img_1084

When I tried them on they felt compressive! Very pulled in feeling but not tight feeling, just incredibly firm.

I wore them out on a walk from Taronga Zoo to Balmoral beach. It’s a mix of boardwalk, bush track, sand stone and some stairs.

img_1173

I was a little worried the thicker fabric would feel hot but it didn’t, also had the added benefit of being such high spec fabric that the moisture wicking component is fabulous and you never feel sweaty despite how hard I had to work in some sections (short legs and tall stairs are not easy!). They held up incredibly well and only need a few minor alterations before I make some more.

img_1174

Safe to say I’ve caught the activewear sewing bug.

Fabric: Black sport lycra from my stash. Black mesh and coloured Lycra from Pitt Trading.

Trims: waist elastic from the stash

Pattern: made my own from RTW tights

Alterations for next time: Add side seams to make putting in rear panel easier, add 1cm extra through hip to allow for slightly less compressive feeling. Waistband tended to fold over a bit while walking. Perhaps use a drawstring but it needs a better solution than just the elastic.


Posted on Leave a comment

Mini Obsession – Liberty Nikes

I love Liberty, even before I knew what they were I was always drawn to small print florals. I also love sportswear, technical fabrics that marry together form and function is just like poetry to me.

So you can imagine how the Liberty of London Nikes pretty much make me go weak at the knees.

libertynike

They are part of the regular collection or you can use the Nike ID program to design your own. Now Nike ID doesn’t work in Australia but it does in the UK, so I can design my own and get them delivered to The Englishman’s parents in time for me to pick up at Christmas.

Now the real dilemma begins of which pattern fabric do I choose?