Posted on Leave a comment

Sewing Adventures – Milicent Dress in Pink cotton linen

Am so happy at how you are all loving the newly released Milicent Dress!  Today I’m sharing a version of it I made for myself and  I’ll be back with all the info on how to hack the original pattern to this version.

All summer I kept seeing tie shoulder dresses with lower tier ruffles and thinking they looked so cute and perfect for the hot weather. Then one day it struck me that I could totally make the Milicent look like that. Here are a selection from Gorman and Obus that caught my eye.

I took my own copy, played around with the pattern a bit and hey presto cute summer dress version 2!

The fabric is a digital printed cotton linen from Nerida Hansen / Hansen Print Textiles. It’s been in the stash for about 18 months or more. Originally I was so excited as I loved the print but them when it arrived I was thoroughly underwhelmed with the print quality and how heavy and stiff the fabric felt. I honestly thought I was going to have to use it for endless amounts of bag making!

Washed it a few times, tried to make it feel softer it did by a very tiny amount. Disappointed I put it in the stash. I got it out when I was thinking of this variation and thought it’s going to hang stiffer and the ruffle is going to be way more noticeable making me look like a giant obnoxious cupcake but hey sometimes looking like an enormous cupcake is preferable to a fabric wallowing in the stash.

Sewing wise it sewed ok, quite stiff and stable but frayed unbelievably badly. I even overlocked some seams that were going to be enclosed by plackets it frayed so much and I was worried that with wear it would come apart.

Despite the less than stellar fabric I do really like how it has come together and I think I will get a lot of wear out of it. A friend suggested wearing it with a t-shirt under it for the winter and I think that could totally work.

Don’t forget to come back when I explain all the details on how to hack your pattern to make this version

Pattern: modified version of the Milicent dress by Measure Twice Cut Once

Fabric: Digital printed linen cotton by Hansen Print Textiles

Alterations: ruffles, tie shoulder straps

Posted on Leave a comment

Sewing Adventures – Boxy Dress

Summer in Sydney is getting hotter… or so it seemed? This summer is feeling cooler but this dress was planned before it turned cool and I was preparing for endless hot days.

My goal was for a dress I could pull on over my head, was roomy enough to aid airflow but still looked decent in case I was leaving the house to go to the supermarket or post office. Hunting through my stash I found some Nerida Hansen remnants I had picked up at a Finders Keepers market back when we could meet in person. Each remnant was a slightly odd size so I had to plan out how I was going to cut it out to make it work. In the end I cut the top from one section and then used part of the rest of that panel and another panel to make the skirt. I didn’t even have enough fabric left to make pockets.

The pattern is my standard bodice block with a few changes

  • cut the armholes slightly lower
  • straightened off the side seams to create a more boxy look
  • increase side seams by 1cm to allow it easy to slip on over my head

So not huge changes but enough to make it slightly more casual.

The fabric itself is lovely to wear, nice and cool and relatively wrinkle free, sewing it was less fun. The print is a digital print so every needle and pin mark showed up. I sewed it using a Microtex needle and even at a 70 needle you had to be careful not to show up the needle marks. I used my overlocker to finish the seams and you can see the marks there. Which fine is ok for a remnant but very disappointing that the quality of the fabric is so fragile for what is essentially an every day fabric.

Despite the problems it is a nice dress to wear and has been fulfilling it’s mandate of boxy pull on dress ready for the hot weather.

Posted on Leave a comment

Sewing Adventures – a matching set

Much of the fabrics I use come from Pitt Trading, some of that’s because I used to work there and I stashed a fair bit of stuff and some of it is because they sell some of the most amazing fabrics and trims available. When they asked did I want to give one of their Crystal lycra kits a try I didn’t hesitate to say yes.

The kits are generous, you could easily make 3 to 4 pieces that co ordinate together. I decided to go all out and use as much as I could on an Emma bralet (pattern available via the shop) and matching it wth some Evie La Luvie Esme knickers.

I love the knicker shape it’s super cute and a great use of lace. However I don’t love how the crotch gusset is smaller than the outer knicker panel along the sides. Unless your sewing is super precise it’s so easy to miss a bit when you are stitching it down. Honestly I’ll just be cutting it wider in the future to make the sewing more enjoyable and less fraught with worry that it won’t be caught in correctly.

I do however love the entirely lace back, it’s so pretty, particularly with the stripe elastic I do like a bit of sporty style mixed in unexpectedly.

The Emma I have made multiple times before but this is the first time I’ve added the lace to the lower hem. For myself I don’t do it as I’m so short it just folds up but this one is for someone else and it looks so cute I think I want to try a narrower lace version for myself. Sewing on the FOE was a dream as this one is so lush and thick it’s like an elastic ribbon it’s so satiny. Absolutely gorgeous.

All in all it was a wonderful set to sew and I hope the person I made it for will love it too!

Patterns: Evie La Luvie Esme knickers, Emma bralet by Measure Twice Cut Once

Fabrics: Crystal lycra lingerie kit from Pitt Trading

Alterations: fix the width of the crotch gusset before I use the pattern again

Posted on 1 Comment

Sewing Adventures – more Mara Bralets

Any long term readers will know I’ve been on quite the bra sewing kick this year. Mostly because I needed new ones but also with lockdowns and COVID restrictions I just haven’t needed new dresses or other new clothes as much. I’ve been enjoying wearing what I have and filling the other holes in my wardrobe. However it has meant my blog and Instagram have been fairly Bra heavy on posts with lots of comments.

One person who sends me messages every time I post a new bra is my cousin Sarah who lives in Canberra. She keeps threatening to come steal my bras so I offered to make her some of her own. She sent me her measurements and I was shocked to find we were almost matching in our sizing. So I grabbed my patterns and got cutting.

I’ve started with the Mara bralet as it’s so comfortable and because I can’t get to Sarah to check the fit I thought it would be easier to start with a soft bra rather than dive into an underwire.

Rummaging through the stash I matched laces to printed meshes and came up with these combinations. Sarah said she didn’t mind if I stuck with my stash and made things in my non matching style.

Now to send them off and fingers crossed they fit!

Pattern: Mara bralet from Studio Costura

Fabric: Meshes, laces, trims all from the stash but most likely originally from Pitt Trading. Back closures from stash or Booby Traps

Alterations: let’s see how they fit?

Posted on 2 Comments

Sewing Adventures – sports headbands

Depending on my hair length I need headbands to hold my hair back during workouts or it just bugs me, enter sports headbands. Moisture wicking strips of fabric that keep the hair and sweat out of my eyes. Necessary not sexy. You know what is sexy about them though?

  • they are super fast to make
  • normally they cost quite a lot to buy and yet you can make them out of your scraps
  • they make awesome presents
  • making your own means no more tension headaches because you can get your size perfect

They are sounding pretty good about now aren’t they? You could work out how to make them or you could save yourself a tonne of time and just buy Wendy Wards Rutland Collection PDF

It includes not only the instructions to make headbands but all manner of accessories that you can make from scraps and offcuts and all make wonderful gifts! Quick go get it now!

Pattern: from the Rutland Collection PDF

Fabric: athletic wear scraps from stash and other projects

Alterations: make more for presents because these are mine!

Posted on Leave a comment

Sewing Adventures – kids crop tops

When my niece sent me a message requesting some sports crop tops I immediately went to my Jalie patterns to find one. Not only would it be one of the few patterns I have with kids sizing, they also just work. No faffing about, no issues they just go together and fit really well.

Digging through my athletic fabrics I found some suitable small pieces and got to cutting. The fronts are all double lined with the same moisture wicking fabric. On many printed athletic fabrics there is a white panel along the side (normally where the fabric is wider than the sublimation machine) I use this section of lining to reduce waste.

Everything was overlocked together before encasing some wide elastic in the bottom which was finished with a triple needle coverstitch. I debated if I should add elastic to the neck and armholes, in the end I didn’t and I’m really hoping that decision doesn’t come back to bite me later on.

On the pattern I raised the seam allowance of the neckline and armholes to allow me to turn the fabric back and topstitch it down and an additional 1cm to lower hem to account for the wider elastic I had on hand.

Pattern: Jalie 3247 size 10

Fabric: Moisture wicking athletic spandex from Pitt Trading

Alterations: check and see how the wash and wear went and then decide if it didn’t need additional elastic or not

Posted on Leave a comment

Sewing Adventures – Rifle Paper Co, Travel Pouches

Planning for travel seems like a foolish notion right now but at the beginning of lock down I went through my stash and pulled out some fabrics that need to be sewn up. One of which was this gorgeous hand drawn map fabric from Rifle Paper Co.

I love a hand drawn map, whimsical with promises of exploring it’s right in the wheel house of things I enjoy. Add to that the fact The Englishman spends a great deal of his day looking at or drawing maps as part of his day job and well, a bit of map based fabric stood no chance around here.

Originally purchased from Miss Matatabi I’ve had it stashed away waiting to be something. As always I had elaborate plans and then decided that simple was best. Using a ruler and a rotary cutter I sliced it up so that I could fold each panel. add a zipper, sew along the bottom and the side and have a pouch.

Zips were from the stash hence why there are different colour zip tapes and I used some of the selvedge to neaten off the ends of some of the zippers to give a better finish to the top.

With travel off the cards for quite some time I’ll put these to use as project bags for my embroideries and dream about a time when we are free to explore once again.

Pattern: none just winged it

Fabric: printed panels by Rifle Paper Co originally from Miss Matatabi

Alterations: none

Posted on Leave a comment

Sewing Adventures – Plane Blankets

Oh no these are not just some lovely pieces of fabric I’ve just picked up. These are our brand new plane blankets, well they were in December when I made them for our trip to England.

Lets face it, international flying is you stuck in a tin can with lots of people endlessly for hours. It’s not some glamorous thing as portrayed in the ’60’s. So I do what I can to make it slightly less grot and more enjoyable.

Step one, ditch the polyester scratchy plane blankets that’s been over who knows how many thousands of people and bring your own.

Previously I’ve used scarves and it’s worked well but this time I wanted something a bit bigger. Hunting through the stash for something entirely different for another project I came across these 2 pieces of double gauze. I love them but they just never seem “right” for a project, they are however perfect for this project, lightweight, soft, wash well.

I quickly hemmed the 2 raw cut ends using my Coverstitch and hey presto, 2 soft snuggly plane blankets. They roll up small so don’t take up much space in our carry on luggage and yet are big enough to cover an adult while sitting.  Extra benefits of being made with a breathable fabric like cotton meant that you could keep covered even when the plane felt like it was stifling hot and lacking in any kind of air movement. Highly recommended to add some comfort to any plane journey.

Pattern – hemmed all raw cut ends, left selvedge edges as is
Fabric – from stash but both originally from Miss Matatabi
Alterations – none

Posted on Leave a comment

Sewing Adventures – Liberty Tana Lawn Harriet Bra

Summers seem to be getting longer and hotter, in fact it was the ongoing heat of last summer that seriously kicked me into gear over making my own bras. No longer did I want to wear padded non breathable sweaty inducing bras ever again. As such I’ve been working with lace, lightweight lining and basically anything that is going to get my bras feeling lighter and more breathable.

Naturally the next step was to try and make a cotton bra. Never one to waste time on making an ugly bra, I used some Liberty tana lawn scraps for my experiment. Normally the pieces are placed in order to cut with the greatest stretch, to do this with a women fabric I used the bias as my greatest stretch. Apart from the fact I’m using a woven fabric everything else was the same construction as I would regularly follow for a Harriet bra.

But did the experiment work? Well yes and no. It went together well and looks super cute but when I wear it I have a ripple of excess fabric along the apex where the seams meet. The shape is also much exaggerated and looks very pointy. My guess is that the bread tissue normally sits down much lower into the cup due to the greater amount of stretch. This would result in a rounder shape that pulls the fabric down rounding off the shape (the Harriet isn’t a totally rounded shape it does have a definite angle to it).

The upper cup panel I did in a woven broderie anglaise trim. It looks super cute but due to the lack of stretch it does dig in the tiniest amount on my bigger side. I’m hoping it will loosen with wear.

To try and fix it I want to try and pinch out the excess fabric and baste it in place then re try it on and see if that solves the problem. My hunch os that the lower cup is going to need to be split and have a bit more volume put in it as well. When trying to solve any pattern making/sewing issues I always try and solve one problem at a time. That way if it goes right you have done it in the least amount of steps/time and if it goes wrong you can pinpoint where it went wrong and walk it back to that step. Trying to fix everything at once can actually create more problems that are harder to solve than going step by step.

Pattern: Harriet bra from Cloth Habit

Fabric: Liberty Tana Lawn – leftovers from a dress, elastics and trims from Pitt Trading

Alterations: keep working until I find a solution for a good fitting cotton bra

Posted on Leave a comment

Sewing Adventures – Overlocker cover

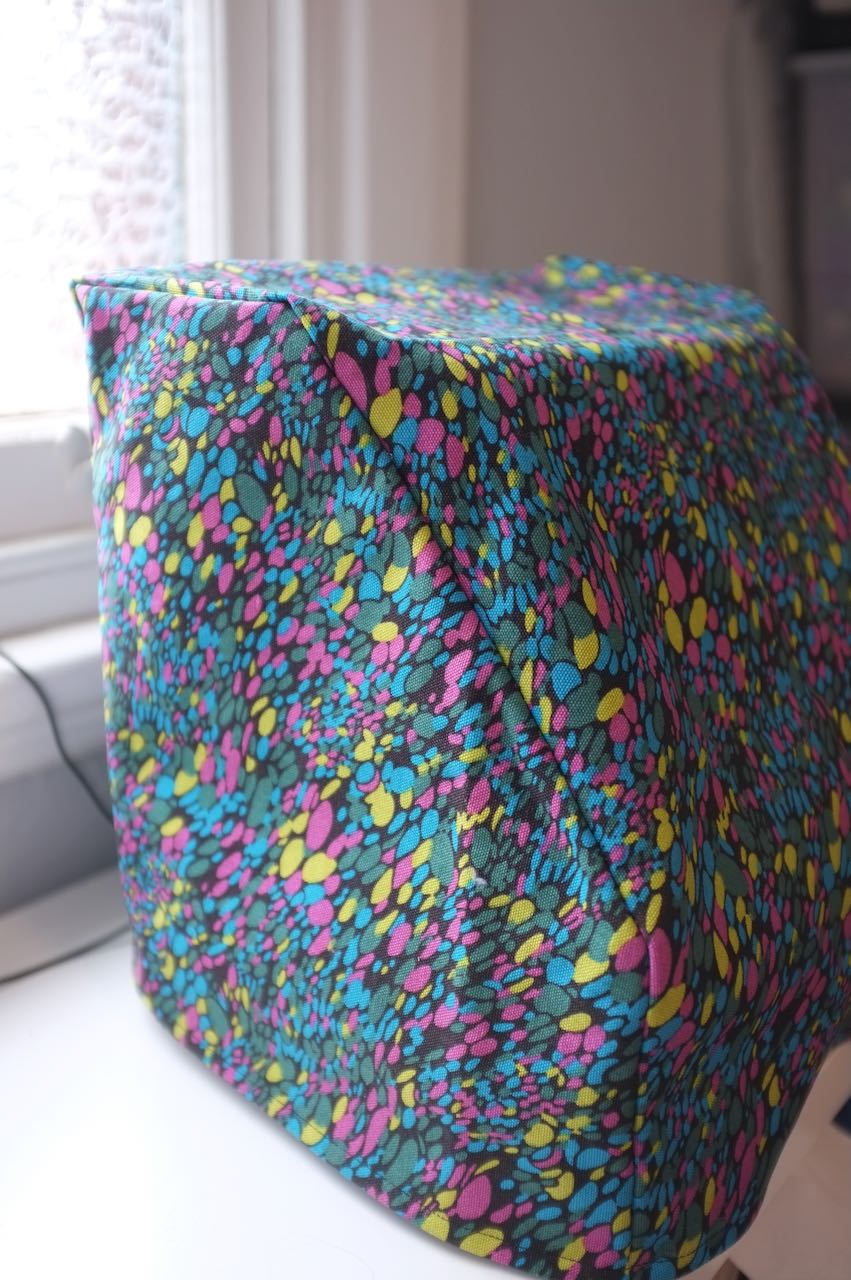
See the frosted window behind my machines, that overlooks our rooftop, normally a sunshine filled, tree lined vista…its currently being ripped apart for construction work to replace rotten woodwork and replacement of the waterproof membrane. Mostly it’s messy and noisy which is fine the work has to be done, but it is leaving a fine smattering of dust all over my machines.
My sewing machine has a hard case but my overlocker only has the thin plastic cover that came with it when I bought it.
After wiping off yet another round of dust the other day I cut open the plastic cover, dove into my stash and found this Liberty print canvas. Then got to cutting.


Ten minutes later and I have a cover which naturally then sat unheemed for four days. I’ve just finished hemming it and BAM! new heavy duty cover ready to protect my overlocker from the construction work on the roof.


Pattern: made from exisiting cover
Fabric: Liberty canvas from The Fabric Store
Alterations: Maybe add a bottom section so the entire machine is encased? See how the dust goes and do that then?