I’ve made this pattern once before for a friend and always wanted one of my own and yet just hadn’t got round to it. Then early last year we had our very first Sydney Spoolettes Swap meet (you can read about it here). Where I picked up this lovely Japanese cotton. It has an ombré fade across it and a printed panel edging on one side. I knew it would be perfect for this robe.

I had to be super careful with my pattern placement so the fade would be consistent across all the panels. But I was running just a fraction short on the front panels. A quick bit of cut and slicing later and there are extra seam lines near the shoulder at the front. Honestly am not even sure anyone would notice if I didn’t point them out but it meant everything fitted on correctly.
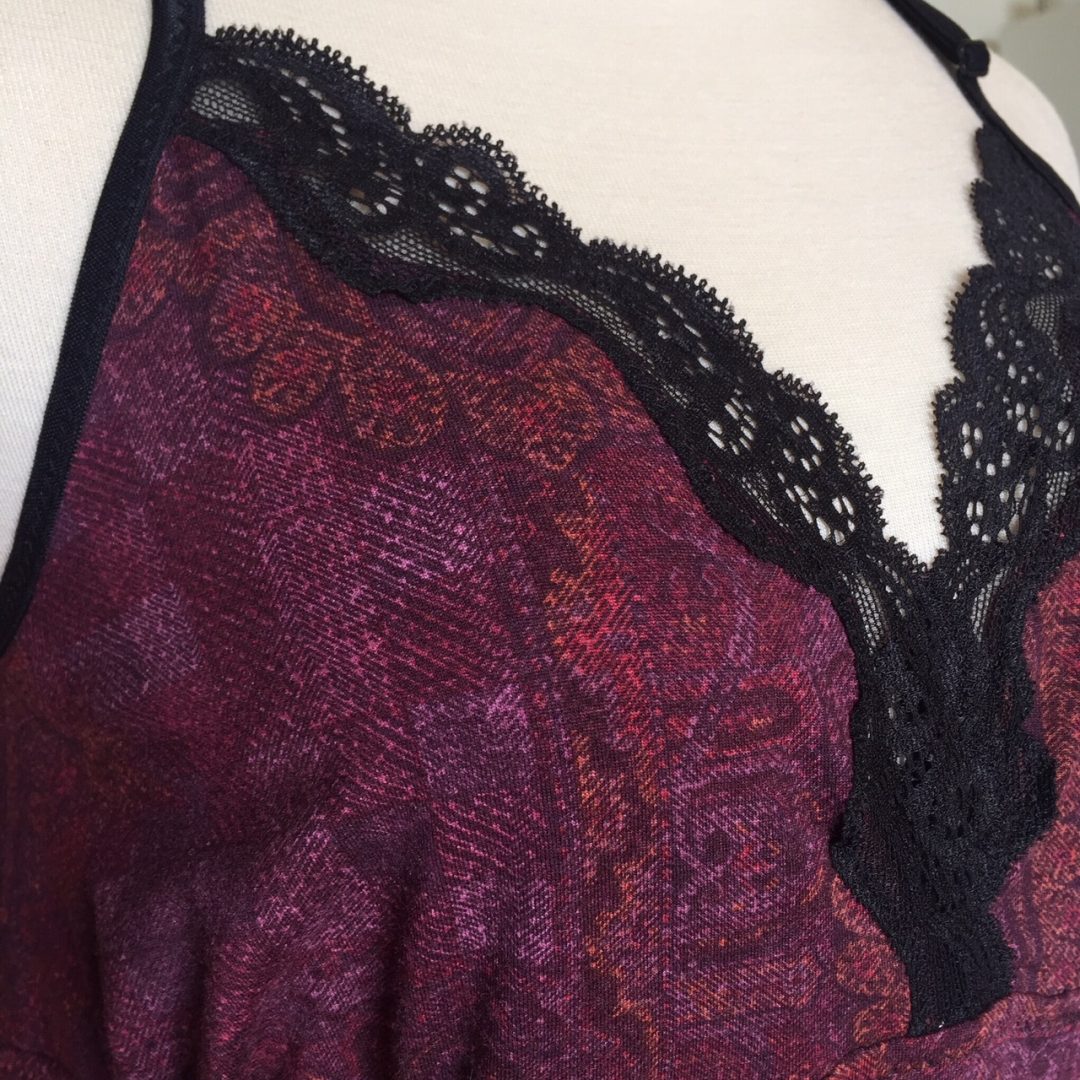
The neck band was a great way to utilize the printed border, again I had to add some seams to make it work but it looks so good I’m glad I took the time to sort it out.
Wanting an entirely clean finish I stitched on the underside with the idea of turning under the front and top stitching it down. However when I tried to do this I had nowhere near enough fabric and raw edges to deal with!
I took it into Pitt Trading with me and had a fun time matching trims to cover up the raw edge. There was a lovely lace trim that looked so pretty but I wanted to get it done quickly so I went with this lilac petersham ribbon. It’s just stitched over the top of the raw edges to keep everything neat. The excess I used to create the waist tie with.
Despite being incredibly lightweight it’s a lovely gown to wear. Not great on very cold nights but as a lovely cover up for warmer weather it’s just about perfect.

I like that despite the dramatic sleeves you can still use your arms (in fact am typing this while wearing it!). Here I am tucked up with my robe and quilt, it’s very hard to take a downwards photo while sitting.

It even looked good draped across the bottom of a hospital bed.

Highly recommended and perfect for gifts too.
Pattern: Named Asaka Robe
Alterations: changed front band construction to have clean finish, then had to add ribbon to fix the gap.
Fabric: from Sydney Spoolettes swap, thank you whomever dontated it!