Posted on 12 Comments

It wasn’t me officer, it was the secretary

Sew Dolly Clackett is a phenomenon!

Now we all agree that Roisin has incredible style and how awesome is it that everyone has been able to jump in the deep end and wear everything from shellfish to tea cups in glorious waisted dresses with big swishy skirts.

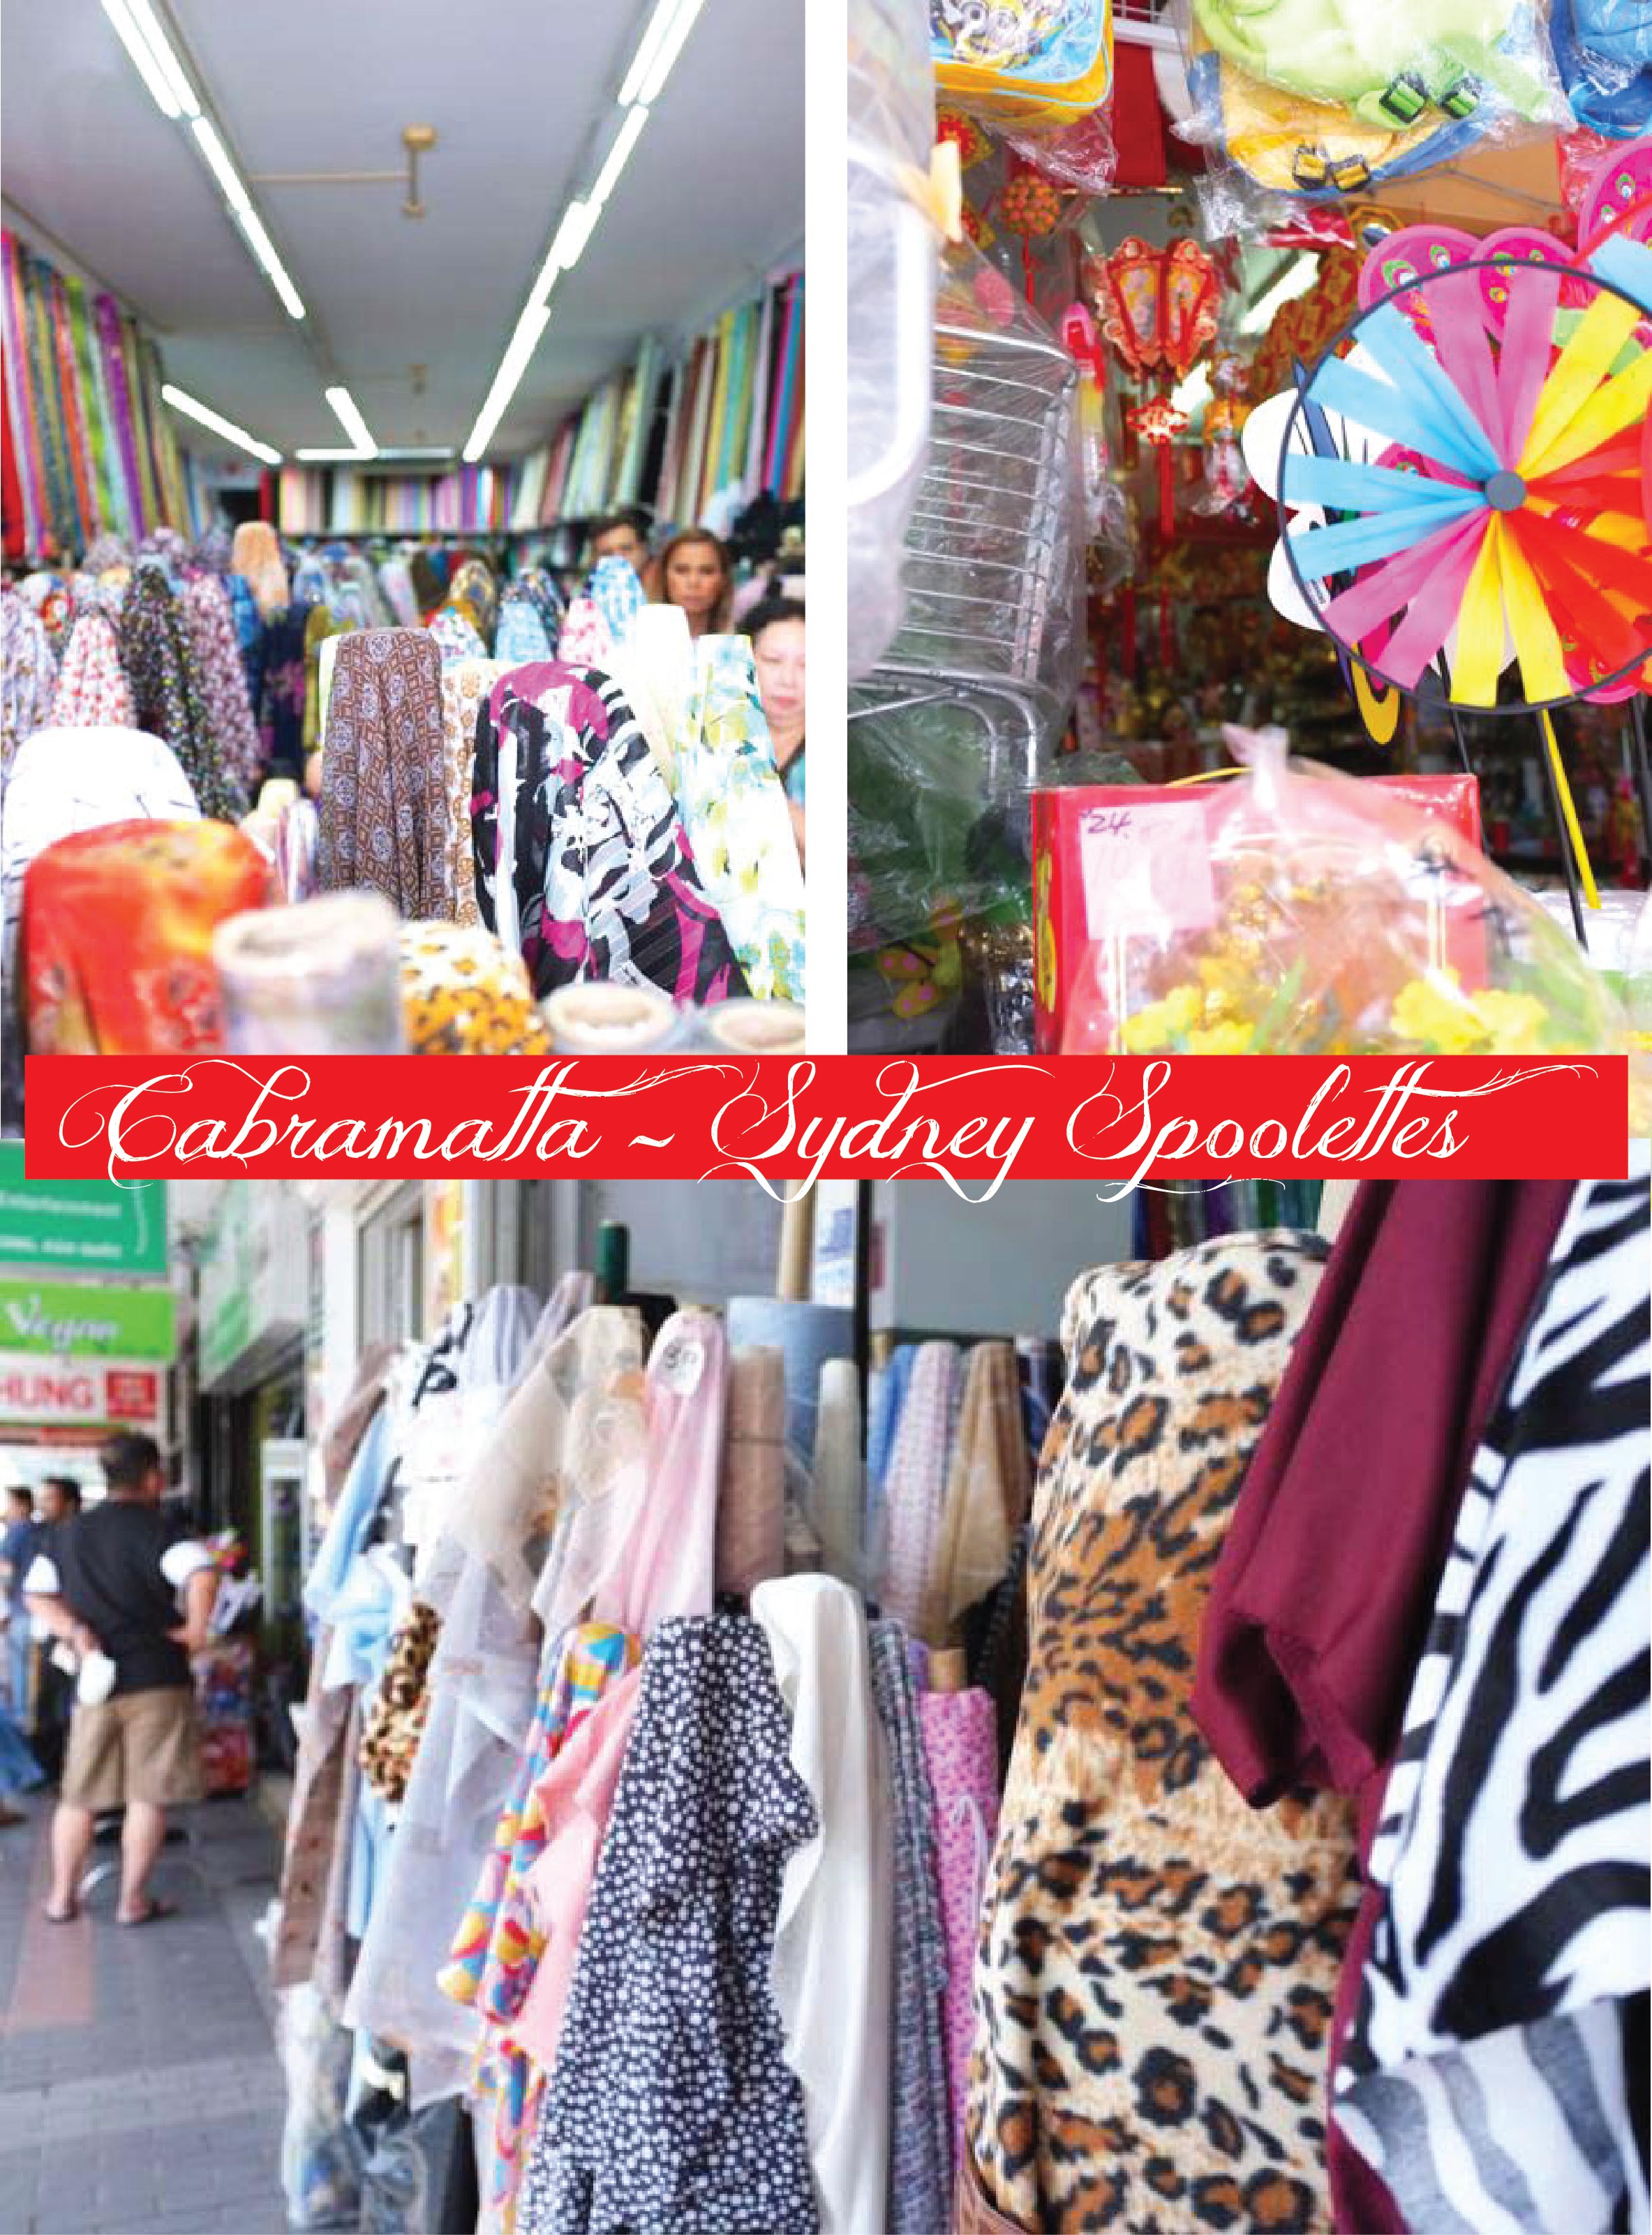
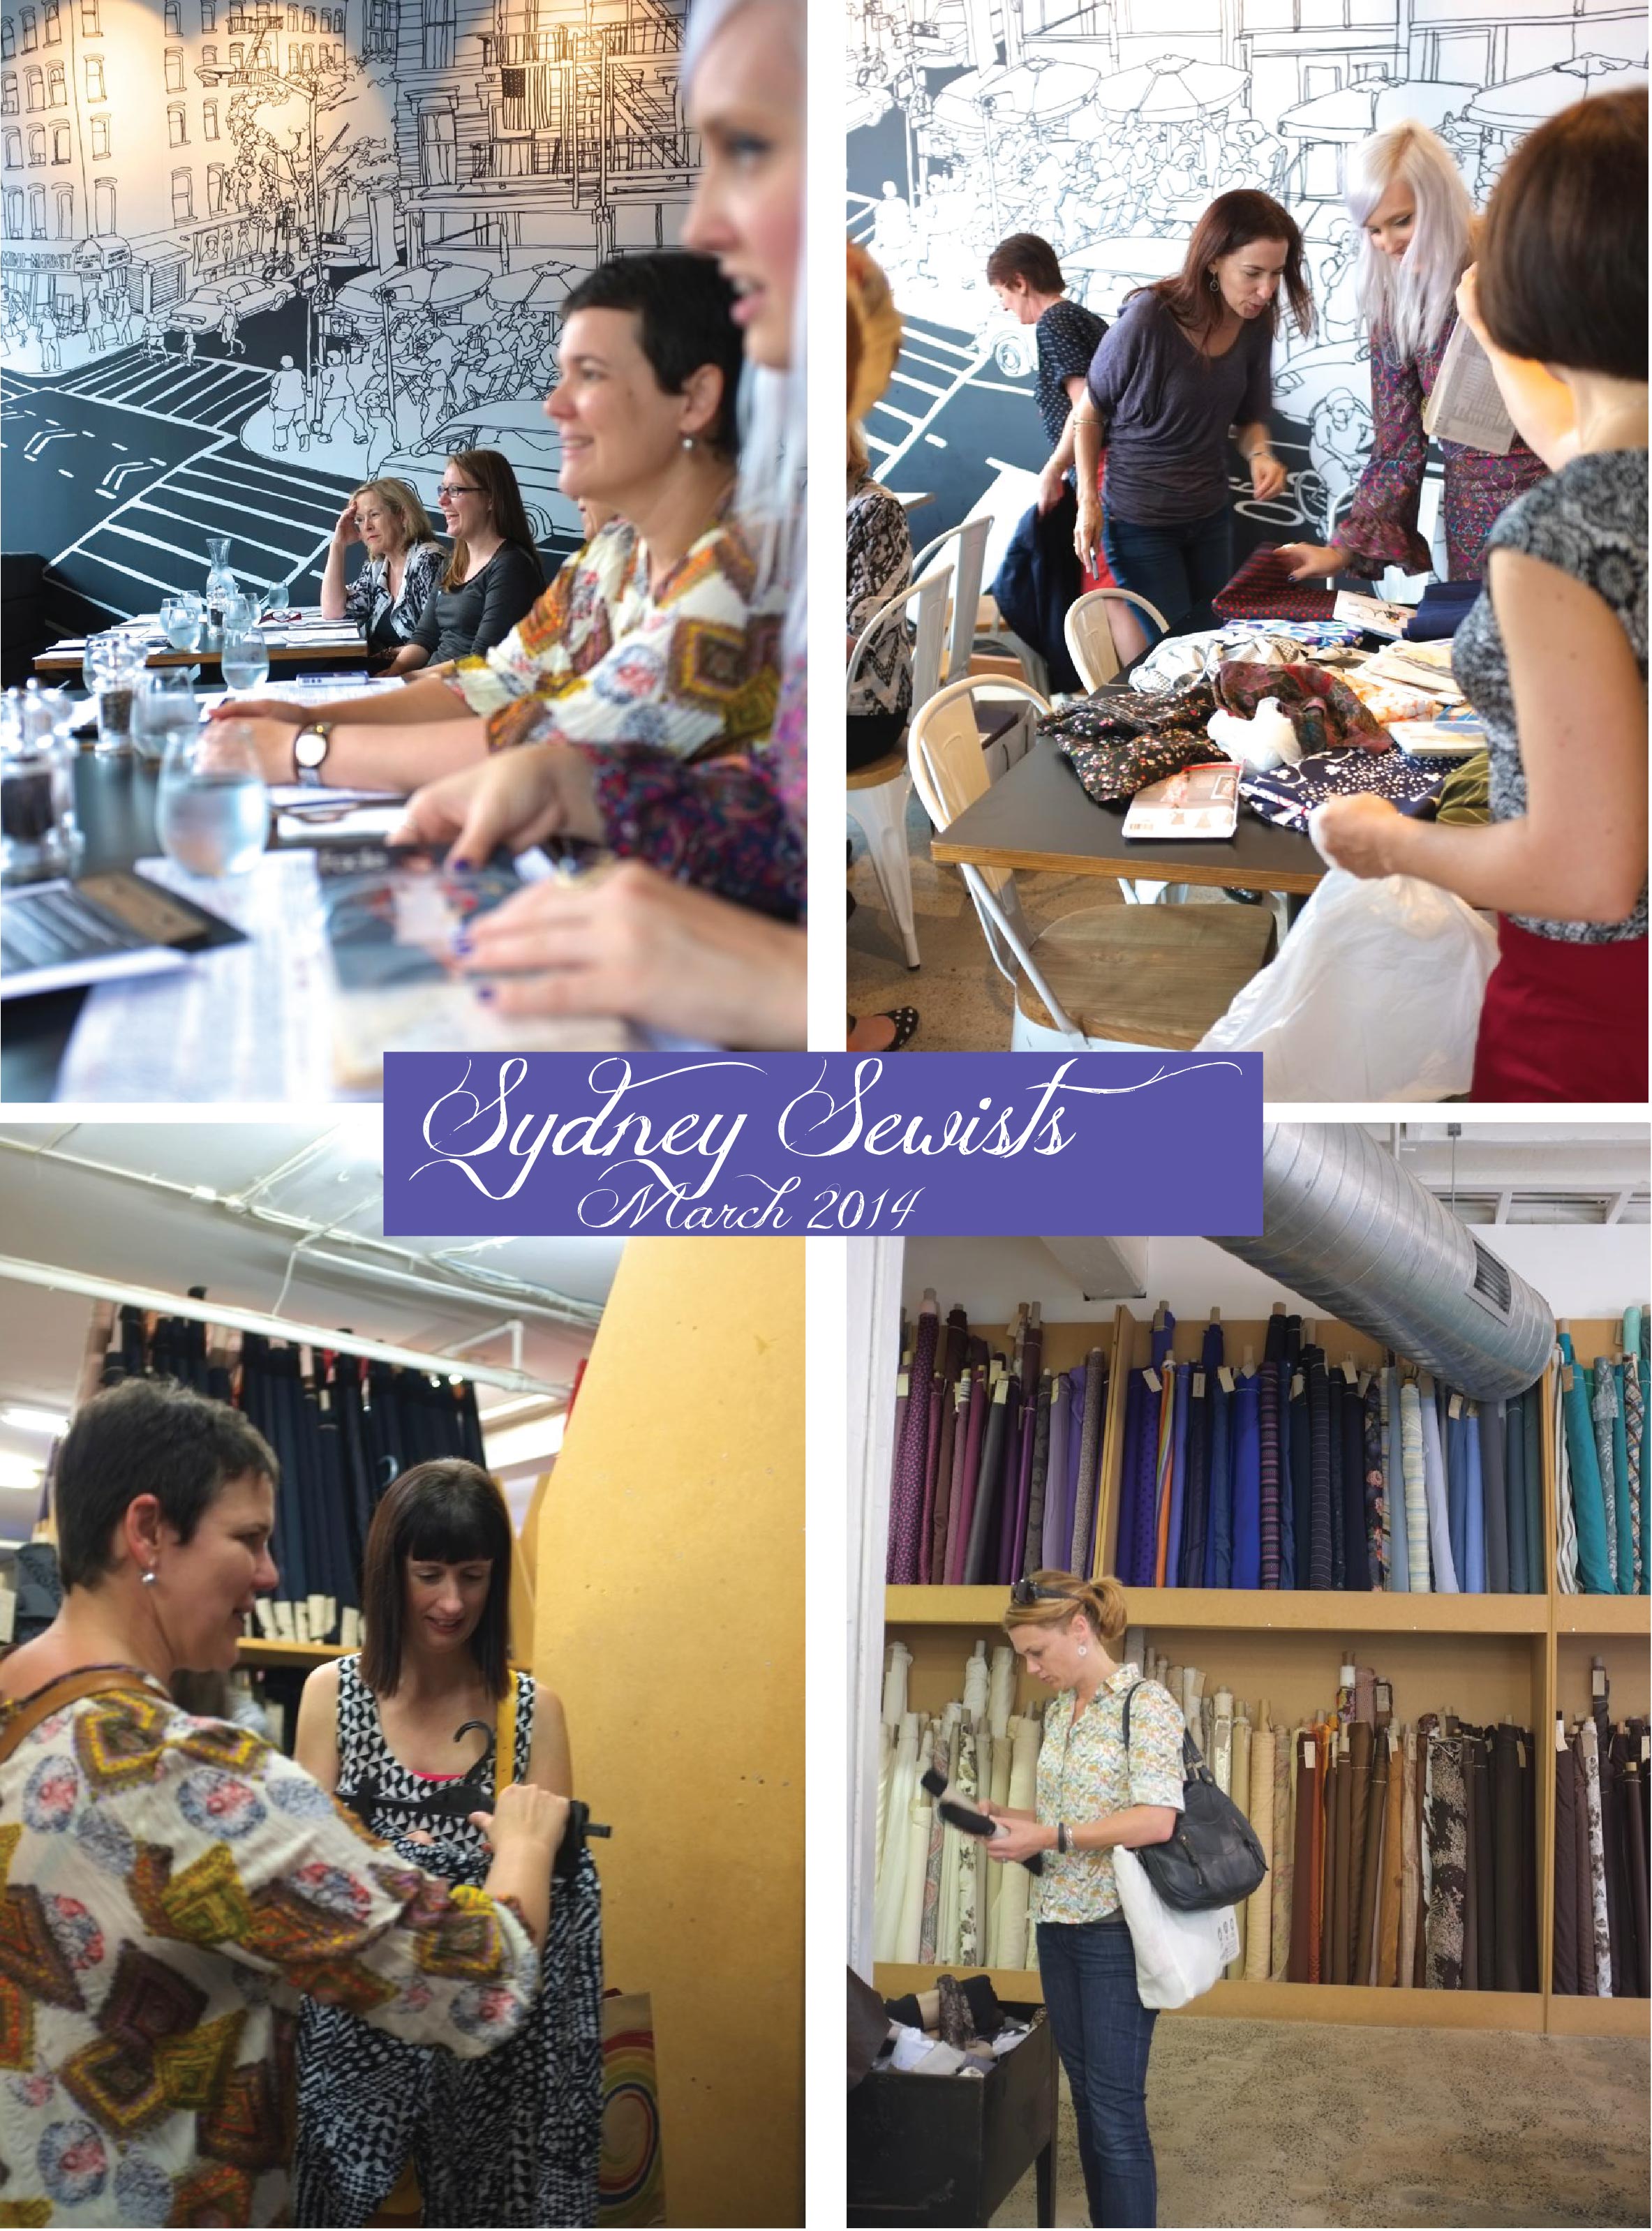
I have to admit I was on the fence about joining in, didn’t want to crash the party as I don’t know Roisin in real life. Thankfully on a trip to Cabramatta the wonderful Sydney Sewists practically slapped me silly if I didn’t join in and they even found the amazing fabric.

But first the dress.

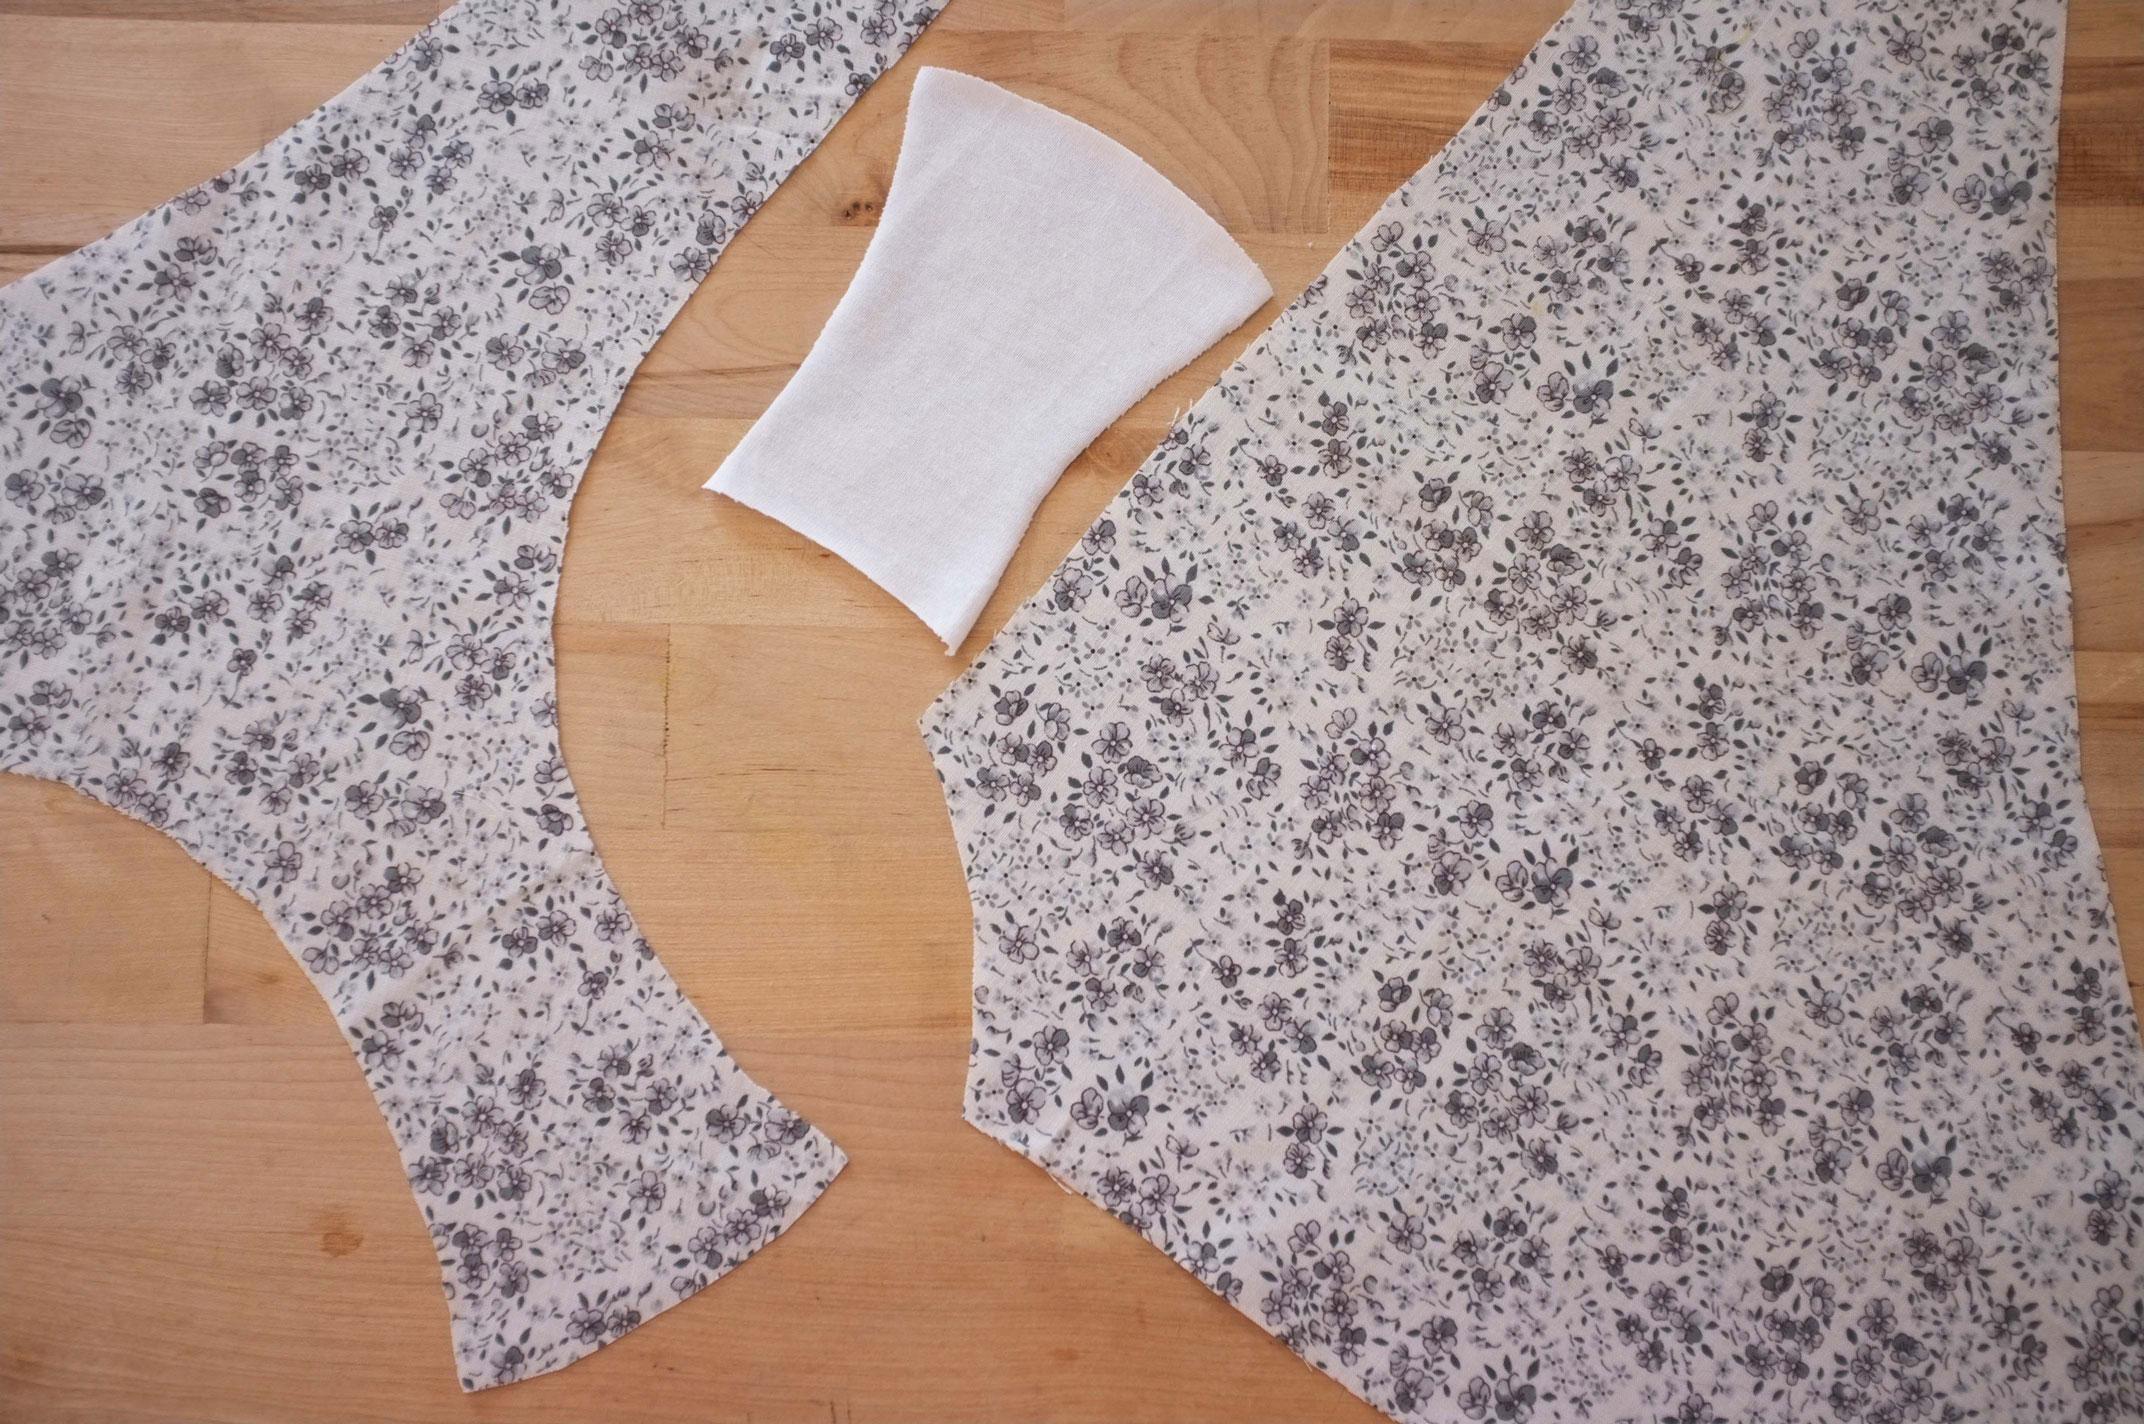
Simplicity 1873 is a style I have made before and I had planned to do the sleeved version for this make. At the cutting stage I decided that there was no way the slippery fabric would behave well enough to deal with sleeves so the sleeveless version was the only choice.

I cut a straight size 14 except I added in heaps of extra fabric into the skirt. The back skirt is basically twice the width it should be and I doubled the front skirt panel too. This adds plenty of swishing possibilities but was slightly tricky to figure out all the pleating with the slippery fabric.

I had planned to move the centre back zip to the side seam but then it didn’t fit? So I moved the zip back again and did an exposed zip to make up for the fact I had just slit the centre back panel. I usually make this style in a cotton and the sizing works but in this rayon cotton blend it was just not working at all. I had to shuffle some seam allowance around and nip some darts but nothing major. Honestly if I hadn’t left the make to the last minute I’m sure it would have all been fine.

Now the fabric (have I mentioned it’s slippery? Am not a fan of slippery fabric) it has a wonderful hand feel and drape it’s just a bit unwilling to stay where you put it and likes to grow in some unusual ways. But all of that is forgiven for this wonderful print.

The secretary koalas are planning their holidays. Tossing their paperwork in the air, leaving the type writers behind and donning flower leis for their exotic destination of the Gold Coast, Darling Harbour or Bondi Beach.

For those unfamiliar with Australia the Gold Coast while it can be nice, is known for hordes of drunken teenagers on a spring break style vacation, Darling Harbour is in Sydney and is essentially a near empty shopping mall with tacky tourist gift shops and Bondi Beach is packed with people it is by far the nicest of the three destinations.

Thrown into this mix of office working koalas desperate for a holiday is a platypus wearing floral pants and saying cooee. It is unclear if the cooee is his “hello ladies” line or not? But I like to think it is.

Oh and the tag line written on the print is the rather nonsensical “Manufactured under the sun, somewhere down there”.

So on that rather cryptic note there is nothing else to say other than congratulations to Roisin and Nic, hope you have a wonderful wedding and have thoroughly enjoyed the few hundred brightly dressed virtual gate rashers to your party.

Posted on 6 Comments

Me Made May ’14

After much humming and haring I’m taking the pledge

‘I, Susan of Measure Twice Cut Once, sign up as a participant of Me-Made-May ’14. I endeavour to wear at least 1 handmade garment each day for the duration of May 2014’

It’s going to be interesting to see how it all works out. In my mind I feel like I wear things I’ve made almost all the time, so here’s to hoping that is what actually happens. I’m also going to be repeating garments. That’s what I do in real life so that’s what will be happening during the challenge.

For anyone who is curious you can read all about Me Made May here

My harder challenge will be trying to photograph it all, will have to make friends with a timer/tripod combo or learn how to take full length photos with an iPhone? Any suggestions most welcome.

Posted on 9 Comments

Knicker making classes!

This is so exciting, you can now come and do sewing lessons with me to learn how to make Knickers.

Using The Charlotte Knickers pattern I’ll show you how to cut on the bias, do a concealed seam for the gusset, construct the knickers and then take you through the best way to attach your elastic and topstitch it down. Time permitting we will also be talking trims, fabric choices and variations of the style.

SMCLogo-Render

Classes are going to be held at Sew Make Create. There are currently 2 different times to choose from. A post work start at 6.45 pm on the 8th of May. Or you can choose a Saturday afternoon class on the 10th of May.

You need to bring

  • 1 metre of cotton fabric of your choice to make your knickers from. The fabric must be pre washed and ironed before coming to class.
  • Once you’ve signed up for the class you will receive a code that will allow you to download your pattern from the Measure Twice Cut Once website. Download the pattern and assemble it before coming to class.
  • You might like to print the instructions too, that way you can take notes on them during class.

I will provide

  • some cotton jersey for the gusset
  • elastic

It’s going to be so much fun, come along and make your own pretty knickers.

Posted on 2 Comments

How to create a gusset with a concealed back seam

The Georgiana Knickers, The Charlotte Knickers and The Lydia Knickers all have a cotton gusset that has a concealed back seam.

To make it a bit easier to understand here is a step by step construction method for you.

Before we start a few guides

Right side – the face, front or outside of the fabric

Wrong side – the interior, inside, back of the fabric

Step 1 – Front, back and gusset all right side up.

step-1

Step 2 – Gusset right side up.

step-2

Step 3 – Gusset right side up with front edge finished. I’ve overlocked it, you could overlock/serge the edge or zig zag.

step-3

Step 4 – Front panel, right side up.

step-4-a

Front panel with back panel placed on top. The right sides have been matched together so the photo shows the wrong side of the back panel facing up.

step-4-b

From the photo above, we have now added the gusset with the right side matched to the wrong side of the back panel. Photograph shows the wrong side facing up of the gusset.

step-4-c

Step 5 – pin at crotch seam.

step-5

Step 6 – 1cm seam allowance, straight stitch seam.

step-6

Step 7 – finish raw edge of seam, again I have overlocked but you could overlock/serge the edge or zig zag.

step-7

Step 8 – place seam flat and press. Photo now shows the wrong side of both front and back panels but the right side up of the gusset.

step-8

From here you can follow along with the rest of the instructions to complete your knickers.

I hope this makes it clearer and if you have any questions, please let me know.

Enjoy making your knickers!

Posted on 8 Comments

Behind the Collection

behind-the-collection

Good design should empower the wearer. It should make them feel like they are the most amazing person and even if no one sees it, the wearer knows it to be true.

For me, my best design work comes from a need or a want being fulfilled and finding inspiration in the things around me.

So how did I end up designing a range of knickers?

I’ve had a rough start to the year. I’ve been unwell and instead of being out enjoying the amazing summer, I’ve been stuck indoors trying to get better. In doing so I did a few things

  • pledged to make a huge go of destashing my enormous amount of fabric
  • cleaned out my closet including the underwear drawer.
  • read Pride and Prejudice for the millionth or more time
  • got totally hooked on The Lizzie Bennett diaries – a You Tube series of the modern day version of Pride and Prejudice, highly addictive and awesome

In no particular order these things made me realise that there is a little bit of the Pride and Prejudice characters in all of us, that the story is still relevant in modern times and that miles of pretty fabrics and trims could be turned into really lovely practical, cute and sexy knickers.

Teaming up with my sister a professional patternmaker we got to work. I did the designs, she made the patterns, I made the samples, she did the alterations, I wrote the instructions. It was very much a back and forth with each of us using our strengths.

Now I like pretty knickers, but I know that for lots of people they just want something simple, no fuss, easy and that’s what I want some of the time too.

So how to design a product for the no fuss practical ladies and the ones who might want a bit more?

Easy, we have included you in the design process.

In each pattern pack you will get
1 – the pattern in sizes 6 to 18 (Australian sizes)
2- the instruction booklet. For many of them you can have your choice of woven fabric and sew it up as per the instructions and you will have a totally serviceable pair of knickers.
3 -The Designer Manual. Here we teach you the tricks of the trade, where you take a simple silhouette and you build on it with trims, colours, fabrics. You even get a page of silhouettes for you to come up with your own ideas.

Each style has been named after one of the amazing ladies of Pride and Prejudice. If you find yourself more like the wild and free Lydia then there is a style for you. More like the conservative and practical Charlotte then there is one for you too. You can see my Pride and Prejudice Pinterest board here and each style has it’s own Pinterest board as well so we can add all the variations of the style to help inspire you more.

Hopefully everyone finds a little bit of themselves in these styles and rewards themselves with some pretty knickers and a chance to try out being their own designer.

Take the inspiration from you around, from what you love, what makes you smile and design something that will make you feel like the amazing person you are.


Posted on 14 Comments

The Patterns are here!

new-collection-cover

It’s here! After months of planning, designing, pattern making, testing and checking our first collection has arrived.

Some collections feel like they take a lifetime to come together, this collection is actually two lives. That of myself and my sister. While I have been busy working in the fashion industry as a designer, she has been the patternmaking force behind some of Australia’s most influential fashion labels.

Now we have combined to bring professional patterns and knowledge of design to you. Our first collection is a range of knickers, from full pants to party pants we’ve got you covered. Each style works perfectly on it’s on, but we are also including a designer “how to” for every piece. Showing you how to add and embellish to bring your own style into what you are creating.

Over the coming days and weeks we will bring you more insight into how the collection was created, details on the variations and information on where you can get supplies. For now though, go take a look and let us know what you think.

Posted on 2 Comments

Cabramatta with the Sydney Spoolettes

cabramatta

Last Sunday was yet another wonderful day out at a Sydney Spoolettes! This time we decided to pop out to Cabramatta for some fabric shopping and food and I have to say, the food, fabric and company were all fabulous.

Once again I was somewhat under the weather having managed to get a virus onto of what I’ve already got. So I’m using that as to an excuse as to why I forgot to take more photos. I had my camera with me but just forgot to actually use it much.

Cabramatta can sometimes be mysterious when it comes to fabrics. I’ve been out before and not found a thing to buy or I go and find I really want to buy everything. Despite being on a self imposed stash bust I managed to buy yet more fabric yesterday.

I had made a list of things that were wanted or needed that I didn’t have in the stash earlier in the week so I would be more focused. Pretty much everything I got was on that list. I snuck in one extra piece that wasn’t on the list but seeing how 2 pieces are destined to make things for The Englishman I figured one extra for me would be ok?

The Sydney Spoolettes now have a facebook group, so if you are interested in coming to the next meet up you can find the details there.


Posted on 24 Comments

Sydney Sewists Meet Up

How great was the Sydney Sewist meet up on Saturday? so much fun!

syd_social

SydneySewistsMarch2014_MeasureTwiceCutOnce

It was so good to finally put faces to names and spend hours just chatting. Despite a momentary panic just before I arrived it was all good (not sure what I was worried about? it’s not like someone was going to stab us with their dressmaking scissors or anything like that!).

We talked about sewing, our favourite patterns and fabrics, the sad state of politics and journalism in Australia, the quality and cleanliness of public toilets across the world. Who had the cutest sewing cat (my mini was getting a lot of votes for that one, awww). No topic was off limits for our lunchtime chat!

The food was delicious, there was as very small scramble to check out the fabric swap and then the weather even held off raining for our walk down to Tessuti and across to The Fabric Store. Here much planning of outfits and fabric purchasing was made and even a shock confession that someone doesn’t like Liberty prints (oh the scandal! ha not really, love that everyone has their own style).

Despite being utterly exhausted it was sad to leave everyone at the train station as we made our way home, and seriously cannot wait for the next time we can get together to talk, plan and share our love of sewing.

You can see more photos of the day on the Measure Twice Cut Once Flickr if you use any of the photos if you can add a link to the blog in your credits that would be ace! Thanks.

With thanks to Alex from When All you Need is for the fab logo and for getting a photo of my Pink Cherry Dress!

SSBM_5


Posted on Leave a comment

Something Sparkly

 sequins

1 – sequin purse via Vila Clothes Blog 2 – sequin skirt via The Sartorialist    3- gold sequin jacket – struggling to find the original link for this one, if someone knows can you let let me know? 4 – sequin shorts via Fashiolista

Last night I was walking home and passed Miss Chu’s this cute little place that specialises in rice paper rolls. They have an outdoor seating area that is a miss match of school chairs, random desks and tables all decorated with banana leaves and strings of pepper lantern lights.

All this miss matched but amazingly well put together decor is not what caught my eye. There were 4 women having dinner. They were laughing and smiling and looked so healthy and happy, it was a joy to see.

One of them had paired a black sequin jacket with a t shirt, jeans and flats. It was so effortlessly cool. Just laid back and easy with this shimmer that reflected under the twinkling lights of the paper lanterns.

So naturally I am now thinking about adding a little bit of sparkle to my wardrobe?

Do you like to add a bit of shimmer to your wardrobe? What works for you?