Posted on Leave a comment

Beginner Sewing – How to sew Not Paper Towels


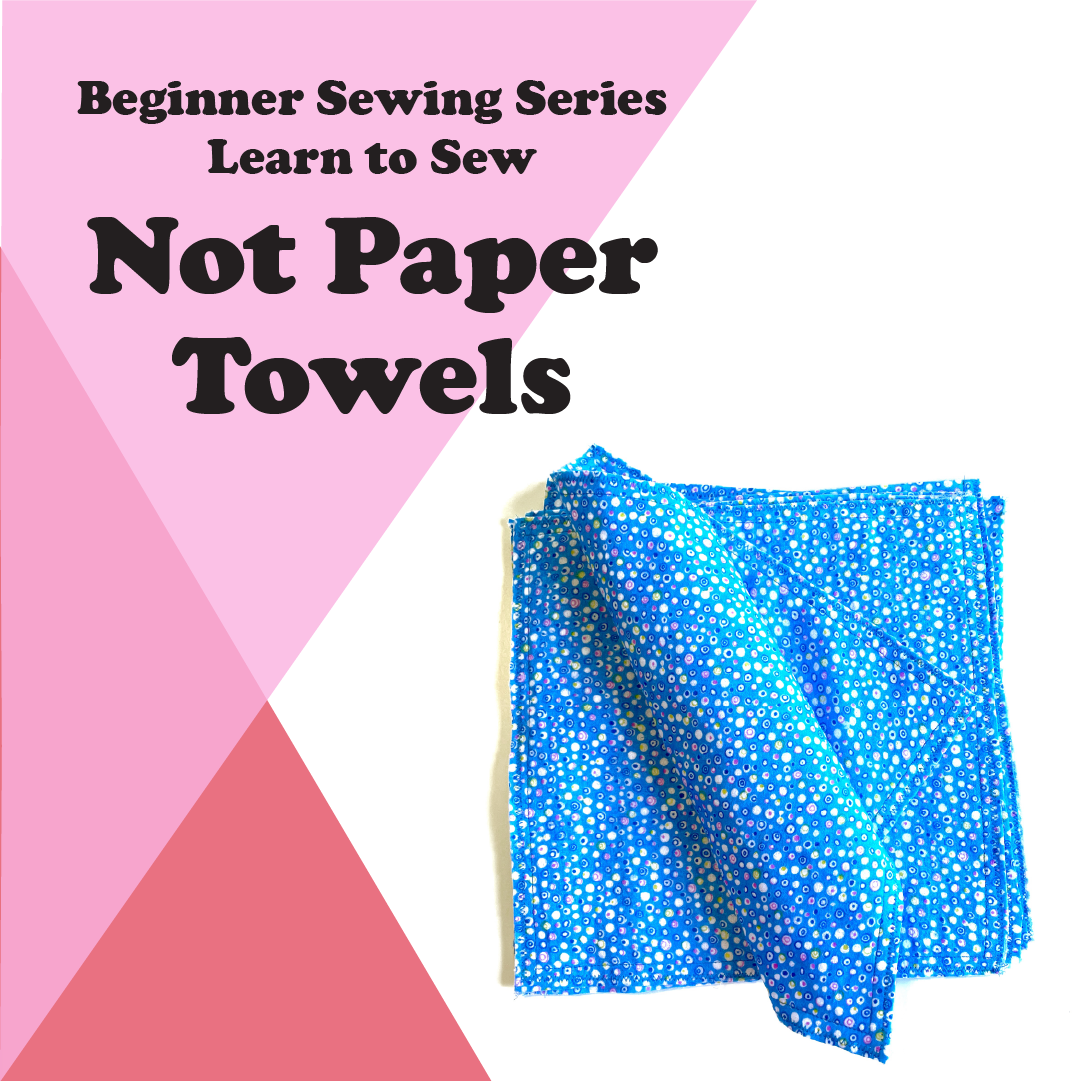
Join me, Susan from Measure Twice Cut Once, as I take you through how to make Not Paper Towels, these are a great eco friendly sewing product that helps you reduce the amount of single use paper you use in the kitchen.

Once sewn they can be used in the place of paper towels then throw them in the wash to use again and again. Your best fabric choice is some cotton flannelette (try using old flannel sheets or pillowcases if you can’t find the fabric). You’ll be learning how to cut a straight line, sew a straight line, turn corners and finish the edges with a zig zag to help with longevity and reduce fraying in the wash.

The pattern is available from the Measure Twice Cut Once website https://www.measuretwicecutonce.com.a…

2022 is my year of taking the Scary out of Sewing! I want as many people as possible to take up sewing so they can create, make, mend and more. To help take away the scary, every Friday there is going to be a new video with accompanying pattern for a project entirely aimed at beginners. Each week there will be different techniques to learn or go over and it’s going to be a super fun way to grow your sewing skills.

See more of my sewing and shop patterns at https://measuretwicecutonce.com.au​

Follow me on Instagram https://www.instagram.com/_measuretwi…

Follow me on Twitter https://twitter.com/_MeasureTwice​

Support me on Patreon https://www.patreon.com/MeasureTwiceC…

What I’m wearing Dress Pattern: Self drafted in Liberty Lawn fabric

Earrings: Harry and Herne

Nail Polish: Junie by Hanami

Posted on 3 Comments

Sewing Adventures: Peak To Do

I’ve reached peak “to do”. As a lover of lists and eternally trying to be organized, when I’m working on a project I pack up all the relevant details and pop them into a zip lock bag. Then they go into the “to do” box.

In theory this works fine. In a year of stress, lack of time and an apartment tiny in space it actually leads to not one, not two but three to do boxes.

This is quite a lot of projects that are partially started and never finished. Not only is this terribly wasteful it takes up way too much space.

So I’m declaring August as my personal project month. My aim is to get as many of my partially projects finished as I can. Just grab a zip lock bag of goodies and go!

Additionally I’m going to try and not start anything new. Hopefully by the end of the month I have lots of finished projects and my sewing area looks less like the aftermath of a horrendous wind storm than it currently does.

Posted on 8 Comments

Just a sewing day

sewingday_header

I’m having one of those sleepy feeling days. I know I should be searching through my fabrics and patterns and finding something new to make. Today I just feel like sewing and skipping the whole getting organised bit.

Thankfully I can pull something out of my “to make” tub and its all bundled up inside its zip lock bag. Everything is there and all I have to do is start sewing.

So that’s what I’m going to do, hope you have an enjoyable day sewing too!

Posted on 2 Comments

Everyone Deserves Pretty Knickers – Inspiration

knickers

One of the reasons (and there many) that I like making knickers is that I get to choose my own style.

The shape that suits me, the fabrics that I like, trims, ribbons it’s all my choice. My version of pretty may not be the same as yours and that is wonderful. It’s down to you to choose what you want because you get to make it.

If however you are stuck for inspiration, I’ve been doing some research for you. For research like this Pinterest is my weapon of choice as it’s so easy to gather the information and draw from a wide amount of source material.

This lingerie board covers a wide range of styles in a variety of fabrics. I’ve also included bras, cami’s and even some cover ups in here as well. I find it helps to envision and entire wardrobe of beautiful pieces to really get inspired.

2edd144fbca36cfe5dcece730a001cc5Take a look at the shapes of the knickers to see which ones you like. If you regularly wear a full coverage knicker you could be a bit daring and go for a skimpy or even bikini style? Or if you are used to a tiny style perhaps something like The Jane Knicker might be a welcome change?

Once you’ve decided on the shape of your preferred knicker, start looking at fabrics and trims. A Swiss dot paired with a satin ribbon. A floral woven with a lace trim. Raid your entire fabric stash to find all the trims and fabrics you’ve been setting aside for a special occasion.

If you are using a Measure Twice Cut Once pattern then there are individual boards set up for each style showing all the versions that have been made so far. Sometimes it’s easier to see a version so you can see if yours will work?

The Charlotte Knickers

The Georgiana Knickers

The Lydia Knickers

The Jane Knickers

The Lizzie Knickers

The Mary Knickers

Gather together your fabrics and trims and get ready for our first sew along starting tomorrow.

images via Anthropologie, BHLDN

Posted on 1 Comment

Sewing Adventures – The Jane Knickers

trioofTheJaneKnickers

I decided to add something a little cuter to my sleepwear so whipped up these three versions of The Jane Knickers.

TheJaneKinckers_greencheck

The green checked looked ok but was a little flat so I added a decorative topstitch to the yoke in a magenta thread to match the magenta lingerie elastic I was using for the waistband. You’ll see on all three versions I have created pleats in the front panels where it joins to the yoke. On the pattern it says to gather these pieces but I wanted to show that you can vary them up by pleating as well.

TheJaneKnickers_foldedElastic

The pale check is super sweet vintage fabric that I actually made a top in (that is waiting to be blogged). I used the remainder to cut out The Jane Knickers. I find it a little pale so I like to add a touch of colour on the waist elastic. This elastic is a folded elastic that has a decorative bobble edge. It’s one of those trims that I keep hanging on to and yet never get around to actually using. So I bit the bullet and used it here. The folded elastic works fine instead of the lingerie elastic. Just be careful to check the stretch. You’ll notice these ones look a little bigger than the others? they are the same size I just had to ensure not to stretch it too tight as I was topstitching it in as it doesn’t have the same stretch properties as the other elastic I was using.

TheJaneKnickers_JapaneseLawn

I dropped by Spotlight on the Easter long weekend with the idea of buying a zip, I came home without the zip (didn’t have the colour and size I needed) but with more fabric! This one is a Japanese Lawn which I adore and it was on special. They are so soft and yet not see through and make up beautifully. I cut a dress out of this fabric and then used up the leftovers for these knickers. On the front yoke I have added in a centre front seam and topstitched down the seam allowance. I couldn’t quite fit the yoke in the scraps so I managed to maneuver it in by adding a seam. Then added the bright green elastic because it is such a fun colour.

The mix and match of elastics helps tie the colours and fabrics together and you’d never know they were made out of leftovers!


Posted on 8 Comments

Behind the Collection

behind-the-collection

Good design should empower the wearer. It should make them feel like they are the most amazing person and even if no one sees it, the wearer knows it to be true.

For me, my best design work comes from a need or a want being fulfilled and finding inspiration in the things around me.

So how did I end up designing a range of knickers?

I’ve had a rough start to the year. I’ve been unwell and instead of being out enjoying the amazing summer, I’ve been stuck indoors trying to get better. In doing so I did a few things

  • pledged to make a huge go of destashing my enormous amount of fabric
  • cleaned out my closet including the underwear drawer.
  • read Pride and Prejudice for the millionth or more time
  • got totally hooked on The Lizzie Bennett diaries – a You Tube series of the modern day version of Pride and Prejudice, highly addictive and awesome

In no particular order these things made me realise that there is a little bit of the Pride and Prejudice characters in all of us, that the story is still relevant in modern times and that miles of pretty fabrics and trims could be turned into really lovely practical, cute and sexy knickers.

Teaming up with my sister a professional patternmaker we got to work. I did the designs, she made the patterns, I made the samples, she did the alterations, I wrote the instructions. It was very much a back and forth with each of us using our strengths.

Now I like pretty knickers, but I know that for lots of people they just want something simple, no fuss, easy and that’s what I want some of the time too.

So how to design a product for the no fuss practical ladies and the ones who might want a bit more?

Easy, we have included you in the design process.

In each pattern pack you will get
1 – the pattern in sizes 6 to 18 (Australian sizes)
2- the instruction booklet. For many of them you can have your choice of woven fabric and sew it up as per the instructions and you will have a totally serviceable pair of knickers.
3 -The Designer Manual. Here we teach you the tricks of the trade, where you take a simple silhouette and you build on it with trims, colours, fabrics. You even get a page of silhouettes for you to come up with your own ideas.

Each style has been named after one of the amazing ladies of Pride and Prejudice. If you find yourself more like the wild and free Lydia then there is a style for you. More like the conservative and practical Charlotte then there is one for you too. You can see my Pride and Prejudice Pinterest board here and each style has it’s own Pinterest board as well so we can add all the variations of the style to help inspire you more.

Hopefully everyone finds a little bit of themselves in these styles and rewards themselves with some pretty knickers and a chance to try out being their own designer.

Take the inspiration from you around, from what you love, what makes you smile and design something that will make you feel like the amazing person you are.


Posted on Leave a comment

Sewing Adventures – Whale Softies

Stash busting once again.

whale softies

I keep all of my fabrics in large plastic tubs. Some are neatly organised and some are filled with who knows what? An amalgamation of fabrics that maybe don’t suit, odd shaped pieces, scraps, leftovers etc. A fortnight ago I opened up a tub and started cutting. I had a stack of patterns and I was determined to get that tub empty.

These whale softie pattern is from Craftiness is not Optional and consists of 2 panels and one line of stitching. So crazy simple. A few fabrics were cut out using the pattern and then sewn up later in the week. Including hand sewing each one may have taken 15 minutes?

They were so easy and such a great useful stash buster I am sure they will not be the last softies appearing as part of the great stash busting efforts of 2014. You may recognise the floral as appearing in yesterdays pleated playsuit. I swear this is the fabric that never stops. I’ve made a tonne of stuff out of it and yet still miles left. Expect to see more of it to come.

Posted on 6 Comments

Sewing Adventures – Pleated Playsuit

I’m all about the stash busting at the moment and have so many projects finished up. Rather than one huge post I’m breaking them up or you would be here for days reading just one post.

pleated playsuit

So I want my stash busting efforts to not only reduce what I have but to result in things that are useful, needed or wanted. This one in addition to being wanted is just plain cute!

One of my nieces seems to have inherited the fashion gene and loves a good outfit. Previously I’ve made her this but when I saw the pleated playsuit pattern over on Petticoats and Peplums I thought it would be just the thing for my niece’s next outfit.

The pattern is free from Elegance and Elephants and it’s really cute. Slightly frustrating in that you have to print, tape and then trace which is time consuming but I also had a few issues with the pattern. Nothing major just little things like the lengthen here line is not in the same place on the front and back pant patterns. Thankfully I figured that out before I cut my fabric or I’d end up with legs different lengths. Like any pattern just be sure to check it before you start cutting your fabric.

Despite these few setbacks it went together very quickly (helps when you have the Olympics to watch while sewing). The fabric is a printed quilting cotton from the stash. This seems to be the never ending fabric. I’ve made at least 2 dresses, a top and numerous small projects and I still have miles of it!

I didn’t make facings but just cut the front and back bodice panels in a lining fabric of a lightweight printed cotton from the stash and fully lined the bodice. Much easier and less fussy than making facings. I also didn’t make my own shoulder ties but used some velvet ribbon from the stash.

So a very cute outfit made entirely from the stash! Slowly but surely am going to make a difference.

Posted on 6 Comments

Sewing Adventures

Sometimes you just need a dress, not a fancy dress or even a complicated dress. More of a “it’s been hot and I need something to throw on” type of dress.

black floral dress

On Saturday I went to take a look at the Follow Store closing down sale (so sad Sydney is losing yet another independent retail store). They had suitcases filled with vintage remnants they were letting go at bargain prices. So naturally I picked some up, which is totally a violation of the no adding to the stash rule of 2014. Despite this, I was determined that it should not remain in the stash long.

So on Sunday I cut out Simplicity 1873 which I have made a few times before. It’s simple but looks good and I make it faster by not doing any facings or linings but instead using bias binding to finish the neck and armholes.

By late afternoon I was done and had a new dress to wear. It’s nothing fancy, just simple and practical and the fabric is pretty. In the spirit of using up things from the stash I put an exposed chunky zip at the centre back and used what bias I had for the neck and armholes.

Overall I am pretty happy with the make and look forward to having a comfortable dress dress to pop on when I am at home.