
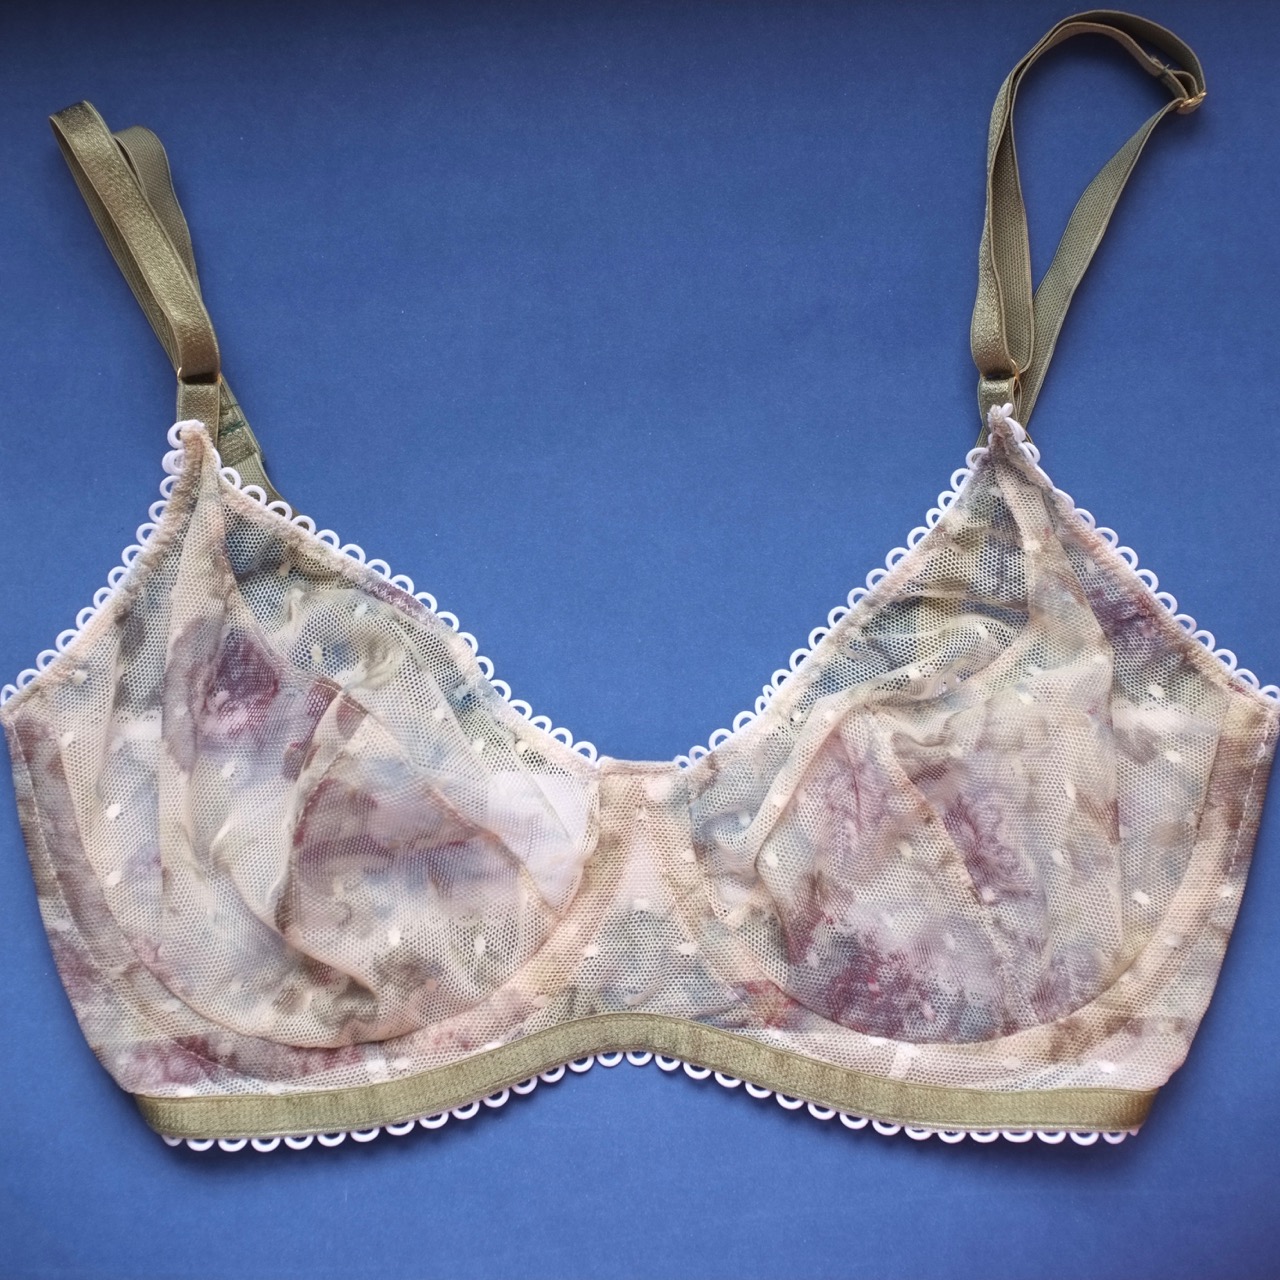
My goal is to replenish my entire lingerie wardrobe so I have correctly fitting bras that are comfortable and pretty! So it’s another Harriet bra.

This is a printed hail spot mesh that I got from Pitt Trading, it’s greens and purples printed on a white base so I paired it with a white picot, white power mesh back and white hook eye closure. I had planned for the bottom of the front to be white as the print had this wonderful straight line where the print started. I’d decided to use this as a feature so the bottom would be white to match all the trims together.
Unfortunately I used a non stretch mesh as the cradle lining. it’s in a colour that matches my skin tone and normally looks quite invisible. except apparently under this mesh because instead of looking transparent it changed the tone of the hail spot mesh to be much more tan and completely lose the impact of the white line. It now just looked dirty and like I had cut it badly. At this stage I almost recut but decided no at the very least it’s still wearable even if it’s not visually how I wanted.

Because we are currently trying to stay at home and not go out I’m using only what I have in the house to finish off projects. I’m not going out just to get matching elastics. So when I realised I didn’t have enough wider plush elastic for the lower band I improvised. My improvisation included the same width picot as I’d use for the cups and then a decorative topstitch of some strapping elastic in green. Not only did it add strength to that lower band it also helped cover up the non white, white panel at the bottom of the cradle. It works quite well and was a good solution given the situation.

After my disaster sewing on my last Harriet I really wanted to pay attention to my sewing and get a neater finish. I think I did ok at this but always there is room for improvement (I see you non clipped section on left hand side!)
Eagle eyed bra makers will also see there is no lining in my upper cup. I’ve tried this a few times and the non lined section is much more comfortable for me, I also find if I do add a lining in there I can end up with a quad boob look which is not a look anyone wants.

As always I’ve used a mix of colours, fabrics and trims to try and create a harmonious overall colour scheme. Even on a more muted colour scheme like this one I wanted to mix up the elements to bring something else to the style so that it felt more like my style. I’m super keen to make matching knickers for this one because I think it’s going to be a fun challenge.
Pattern: Harriet Bra from Cloth Habit
Fabric: Printed mesh, white power mesh, elastics from at Pitt Trading. Underwires, hook and eye from Underwired.co
Alterations: now that I have my fit working for me I’m at the stage where I can just cut and make which is quite fun
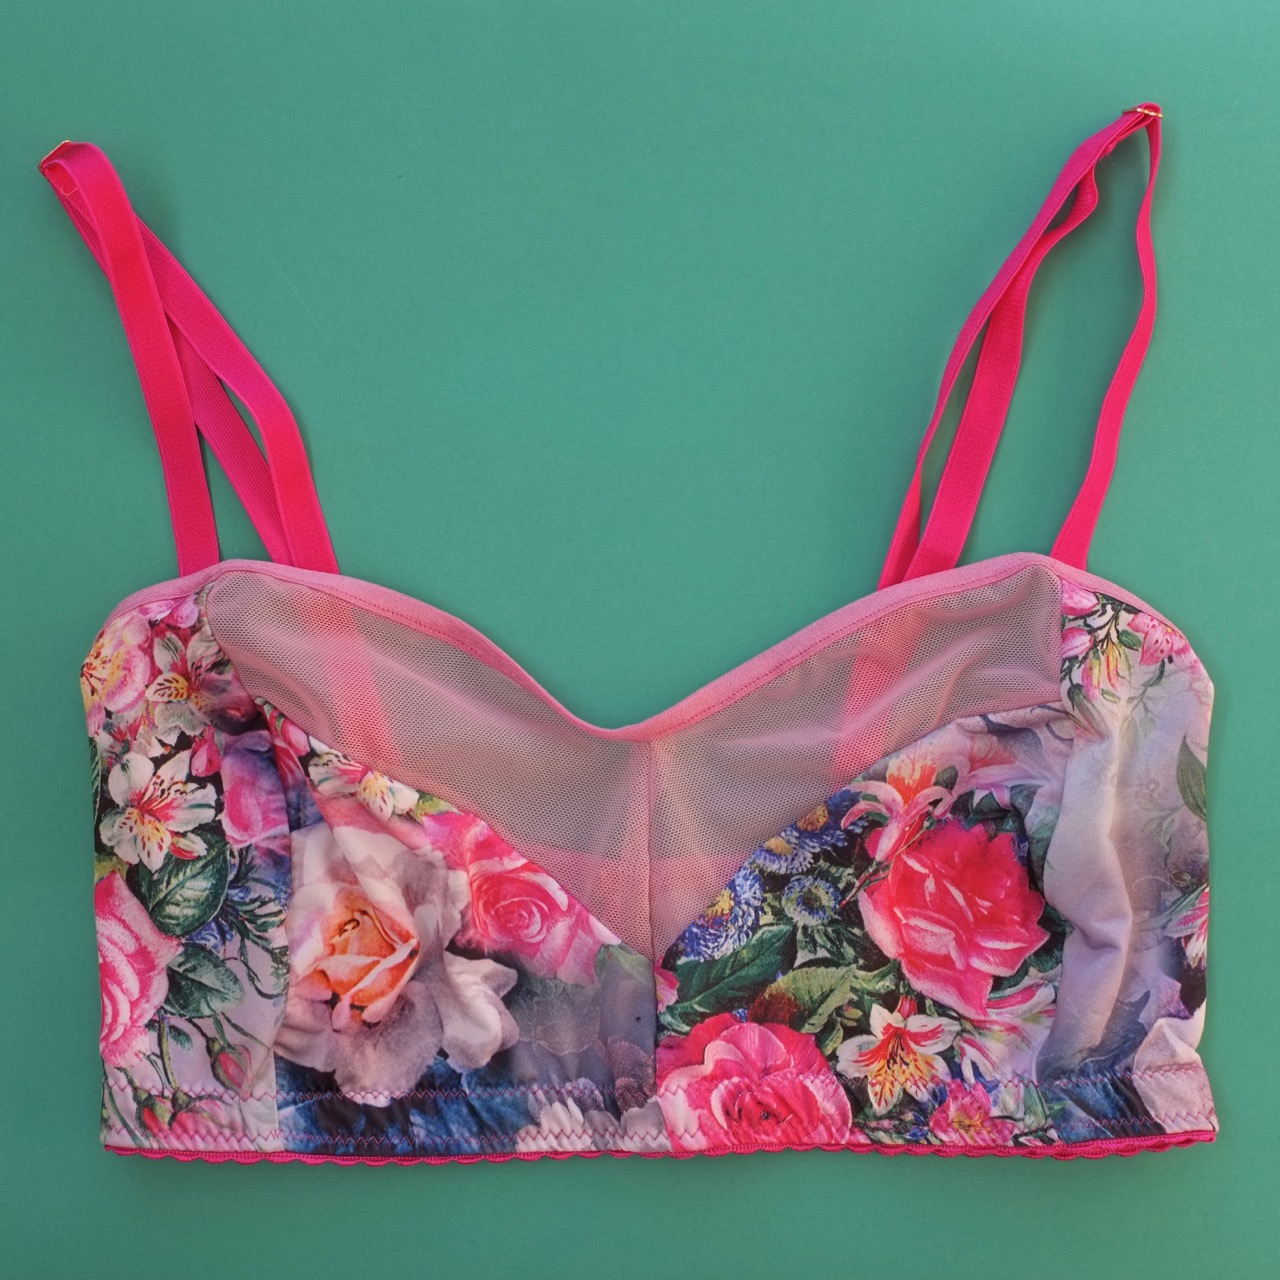

 After attaching the lower picot elastic I thought I should check the sizing and while the cups were ok, the band was way too big. Mostly because the fabrics I’m using are super stretchy, especially the floral it’s got lots of give to it. So I cut the panels back thinking I’d swap it to a pull on style as this is essentially a tester to see if I like the style and if it’s comfortable. Cut off what I thought was excess and finished it all off. Now it looks small and it’s a slight wriggle to get on. Have I made it too small now?
 I’m going to wear it for awhile and see what I think. In the meantime it’s looking super cute and I’m hoping I have enough leftovers to make matching knickers!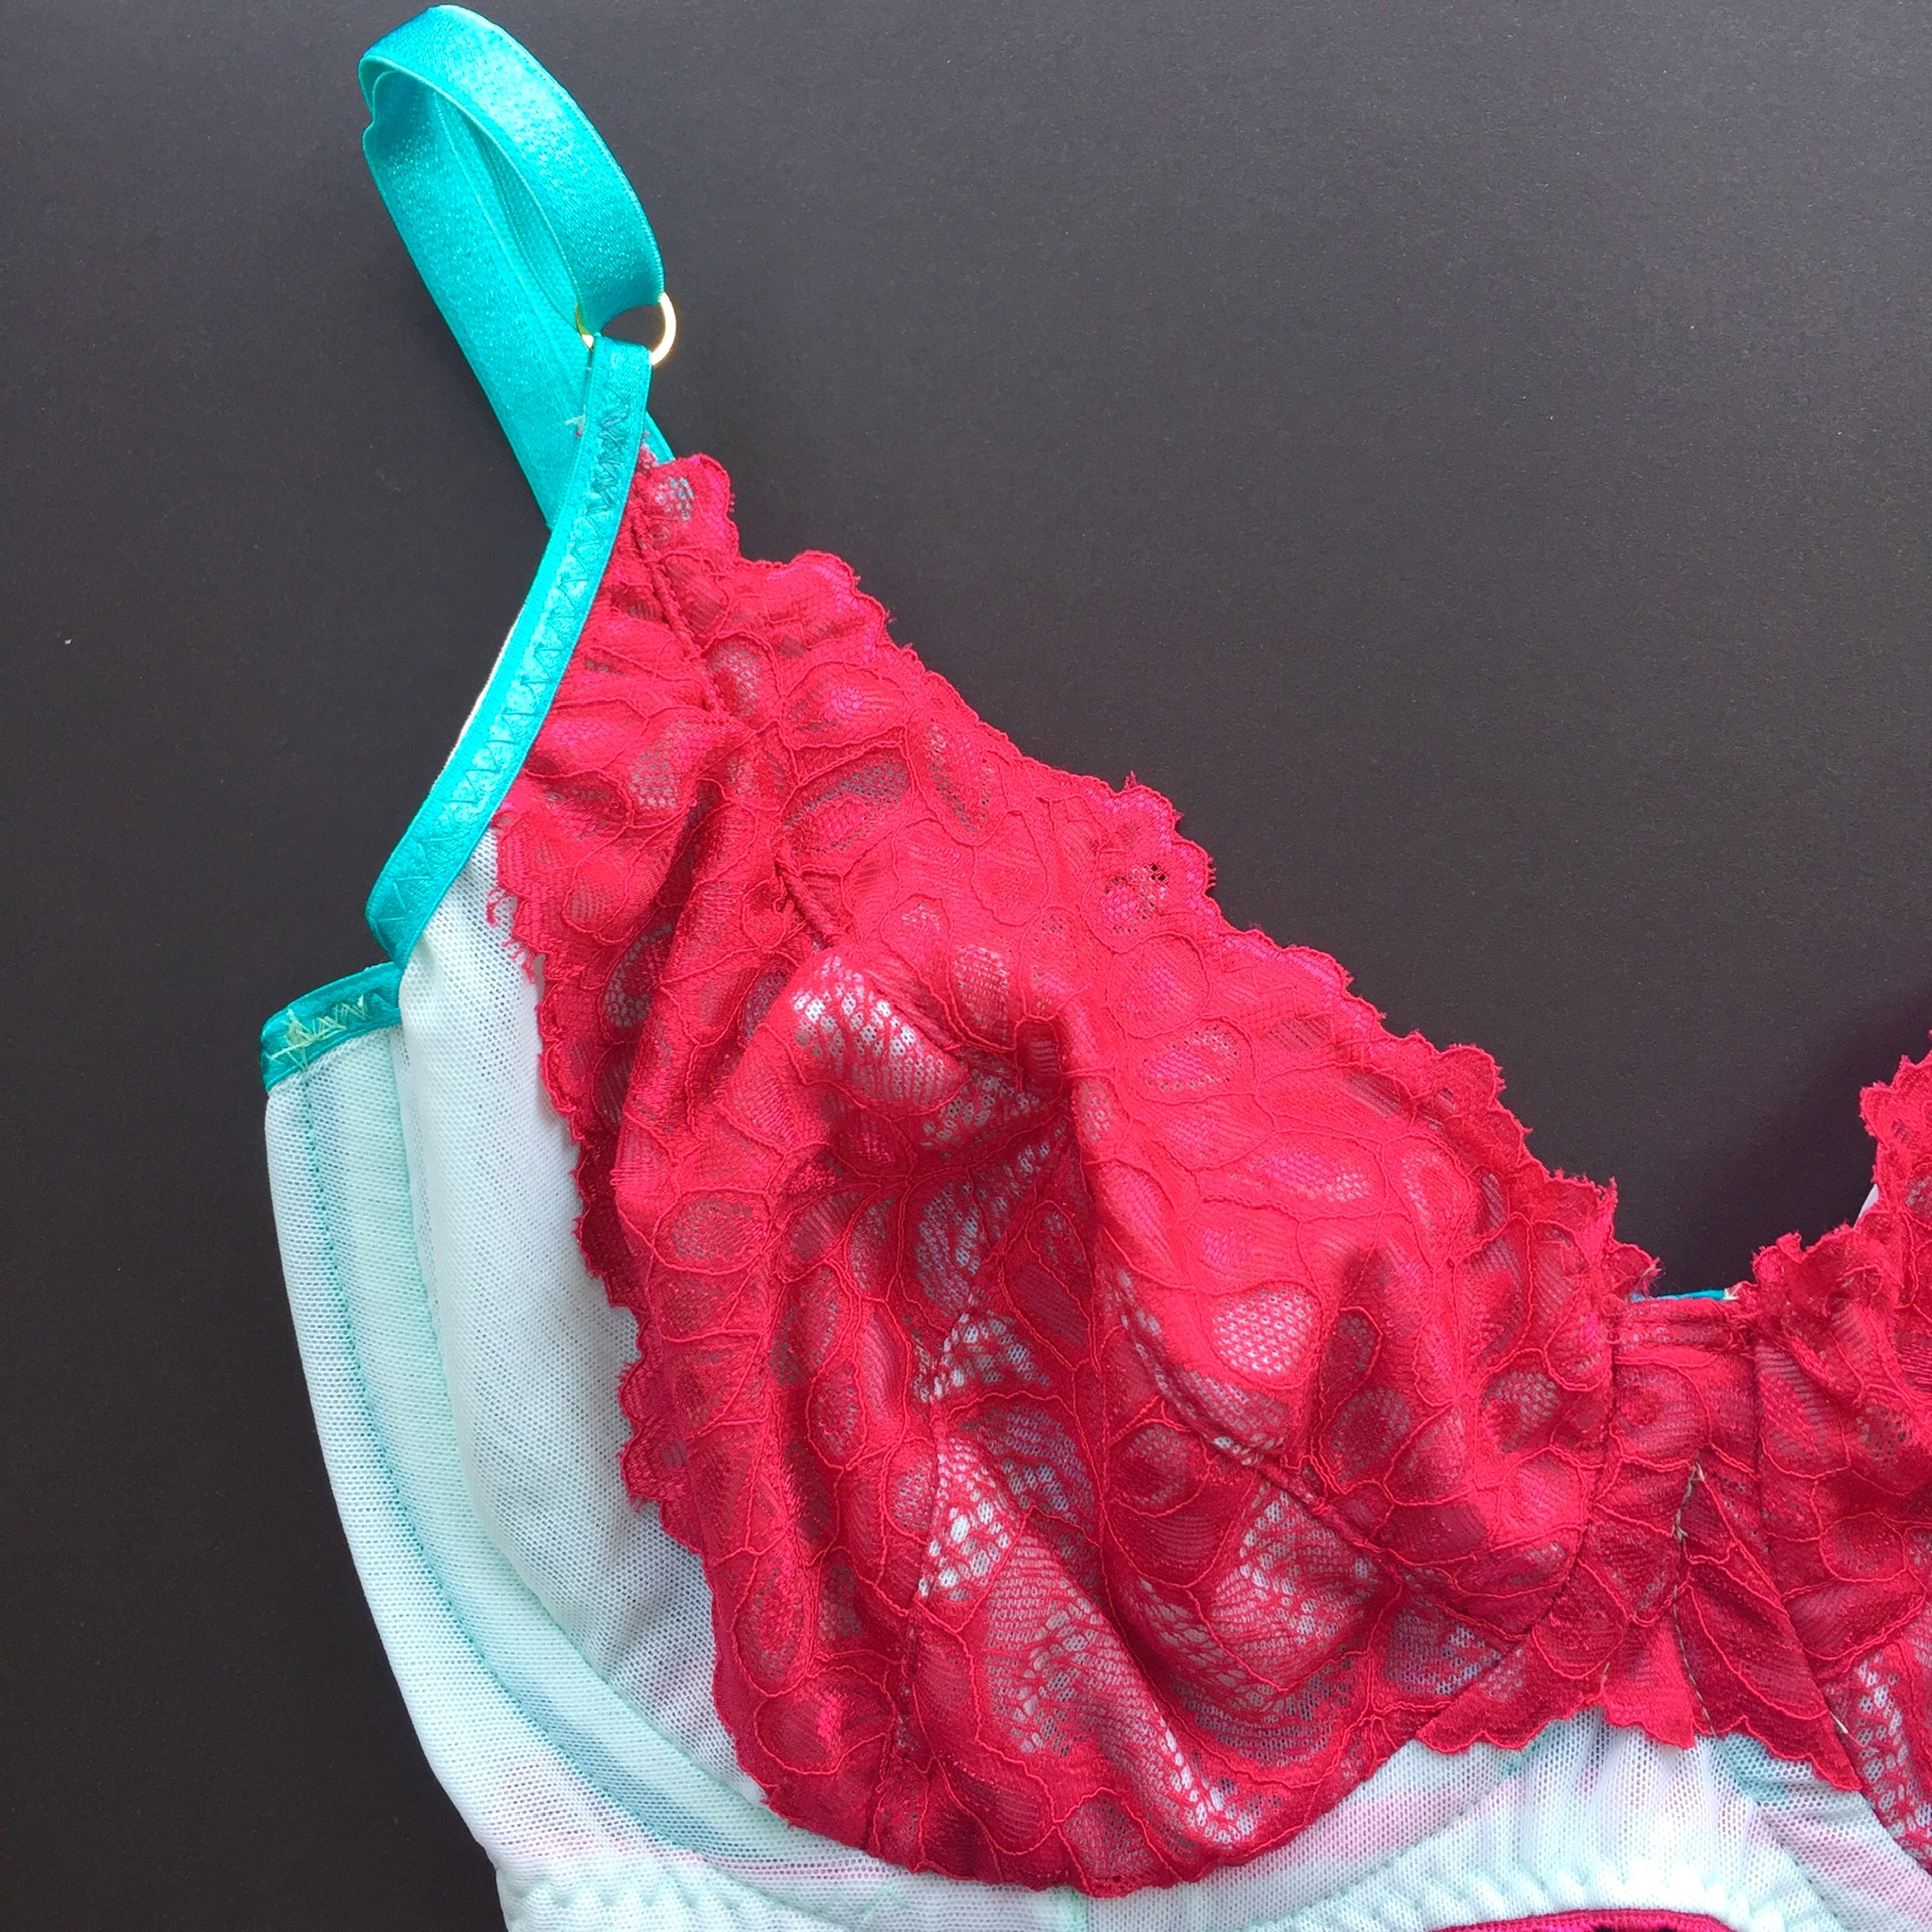
 It’s the Harriet Bra from Cloth Habit with the adjustments mentioned here and here. Essentially this is meant to be the same as the blue printed mesh version I made but here are just some of the mistakes I made
 Apart from the issues it looks amazing and I really like the fit. With a limited amount of lace I feel like I managed to cut it so it looks like it was planned that way and not just a result of “making it work” I’ll definitely be using similar methods in the future.
 Pattern: Cloth Habit Harriet Bra – with fitting modifications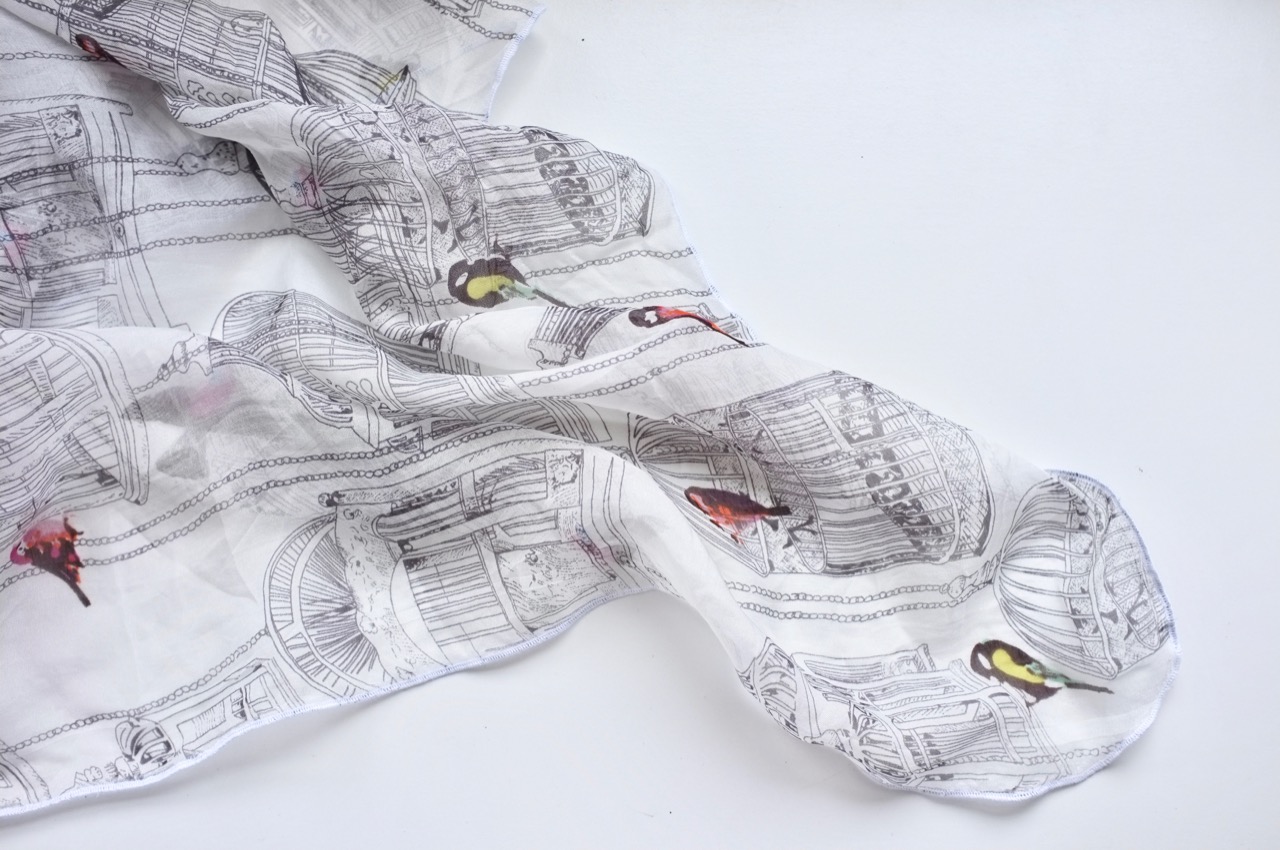
 That’s a little how I feel about this project, it’s less sewing and more just assembly. The silk is from
  Initially I had thought of making a blouse but honestly it’s so lightweight and lovely as it is I didn’t want to mess with it too much. Cue putting it away for a bit of time until I decided what to do with it? I found it again as I was hunting for something else special I had tucked away and knew immediately what I wanted to do.
 Swapping my overlocker into roll hem mode I went around the entire outside edge, smoothing off the corners to be slightly rounded. If I include the resetting of the dials on my overlocker the whole thing took less than 10 minutes. Sewing win! and I have a pretty new scarf all ready for the cooler weather (if it turns up).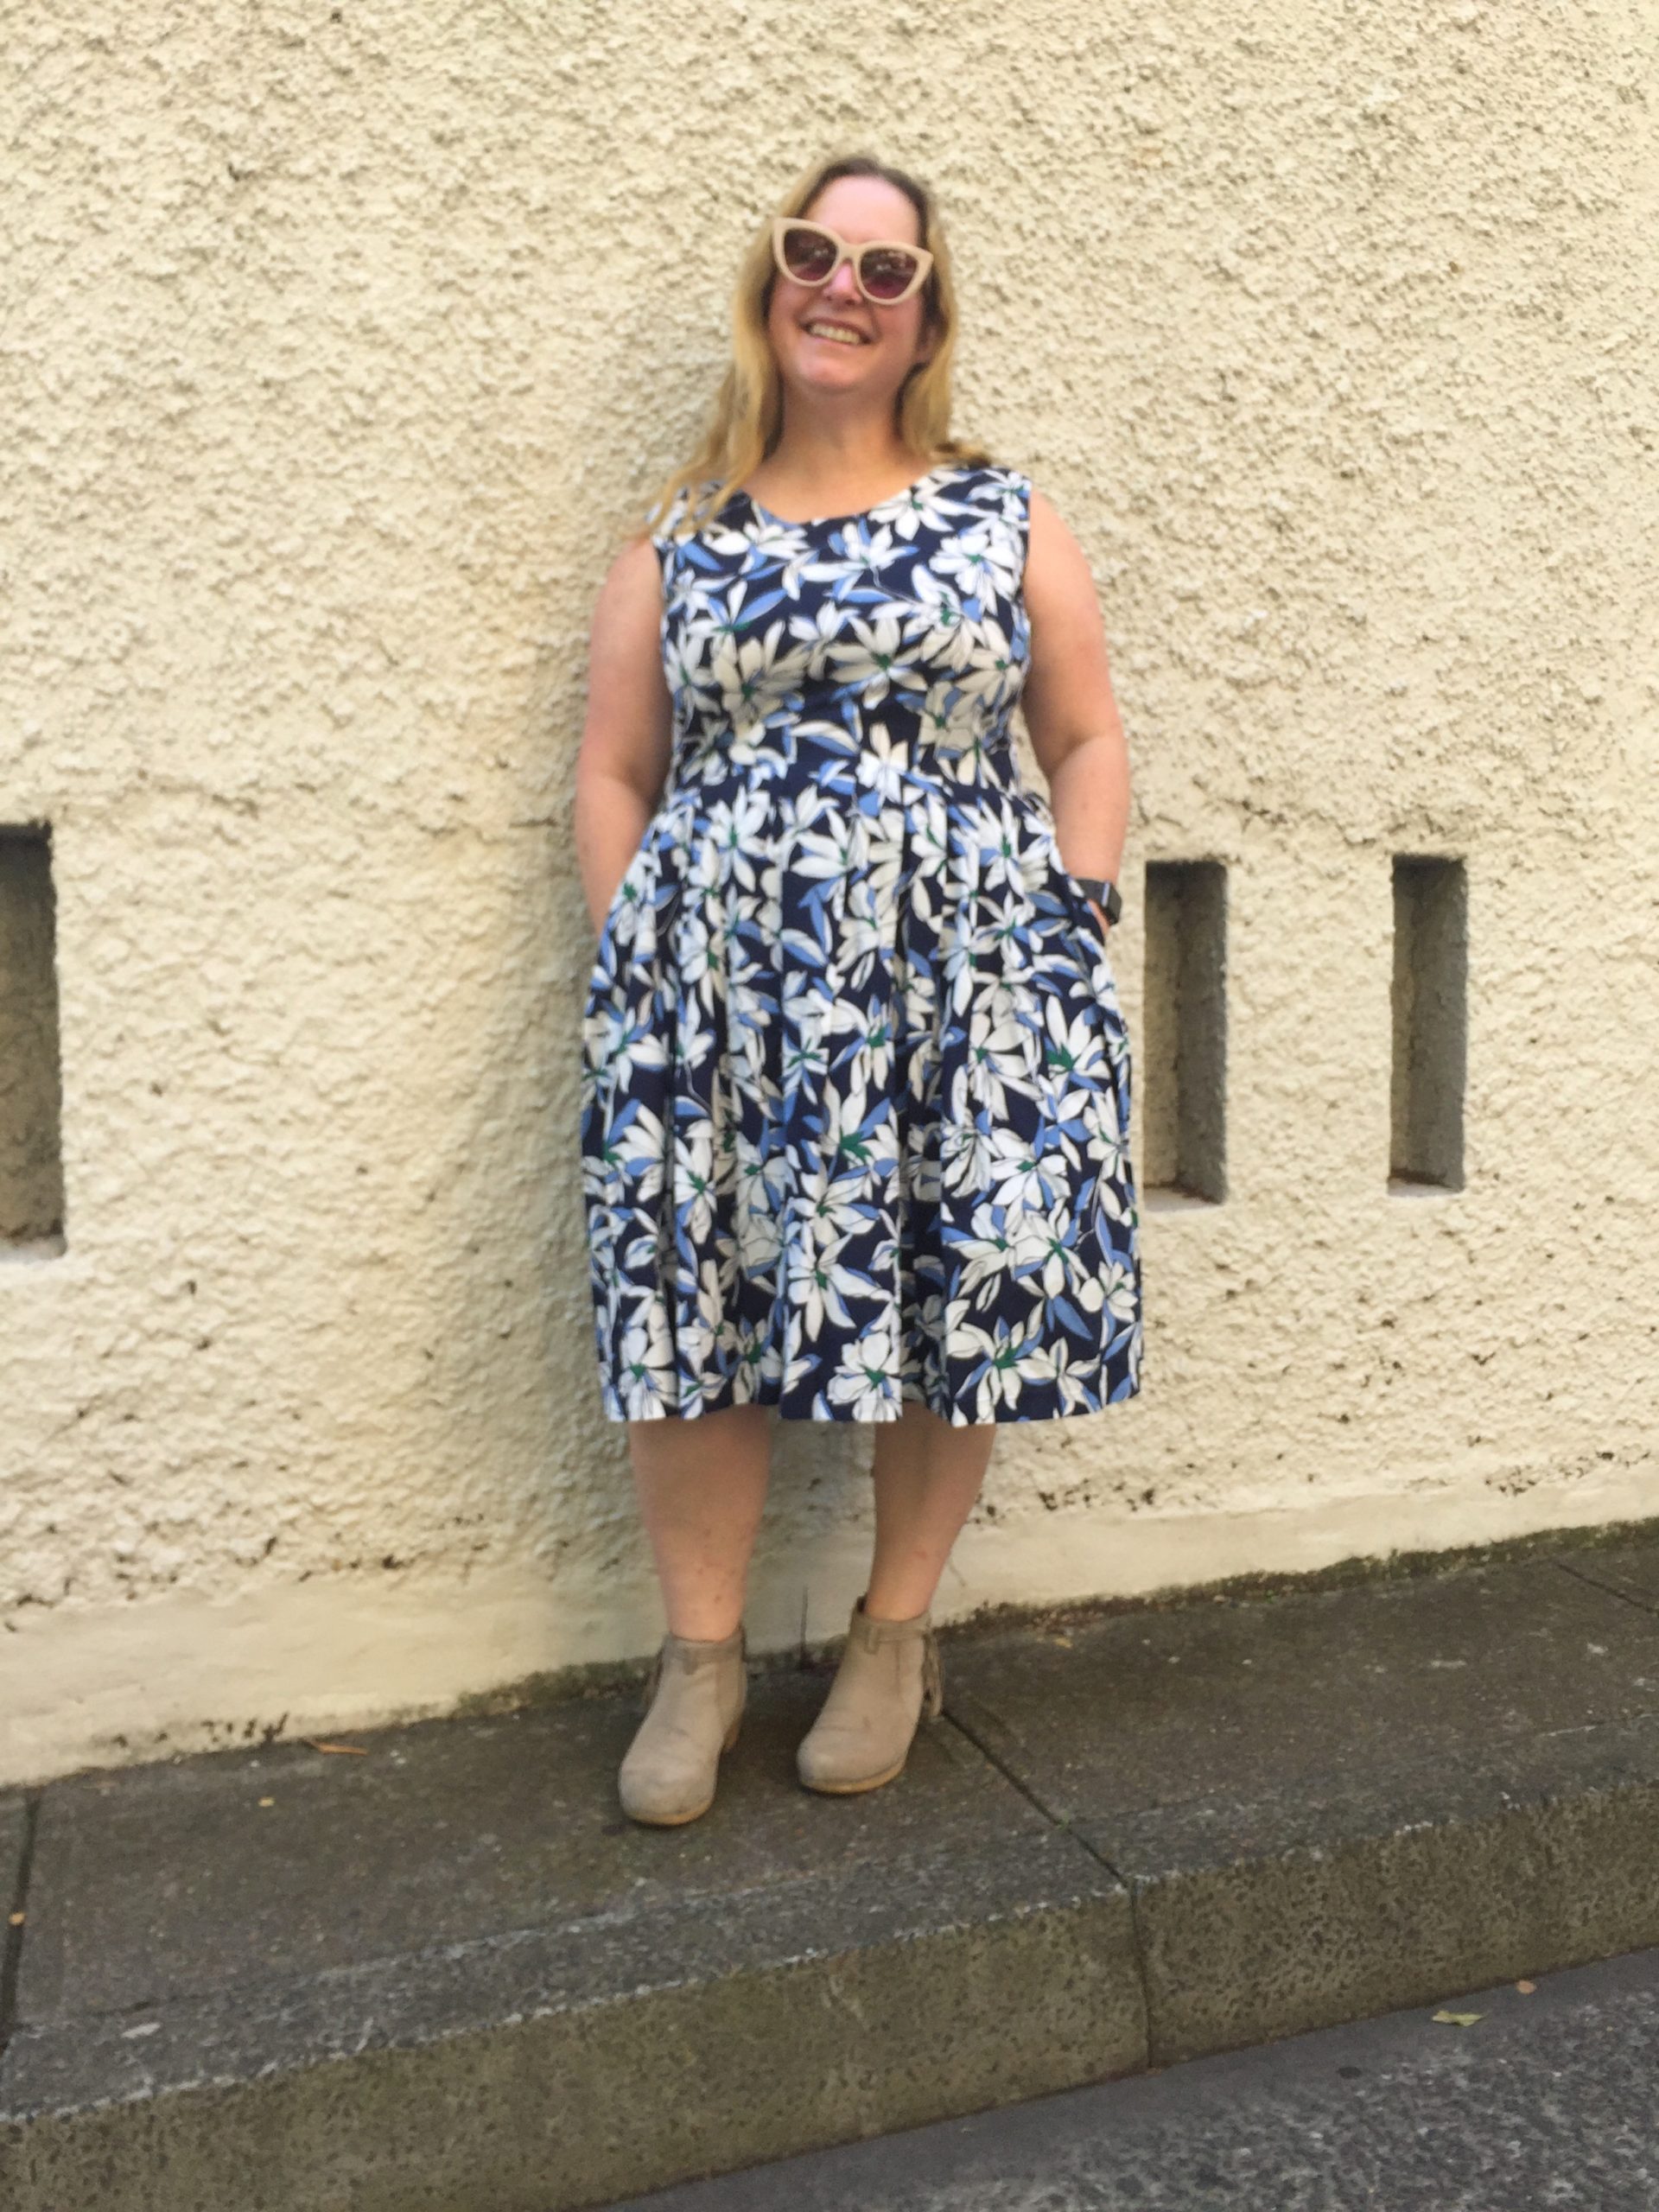
 Then you try the dress on immediately break the invisible zip, need to unpick, re insert, don’t like how it lines up, throw it in the naughty corner while you go overseas on holiday, come back re insert again and by now are so over it you don’t mind it’s not 100% lined up so you just finish it and be done. So yeah totally a fast sew..
 Pattern: My bodice block and skirt is the width of the fabric front and back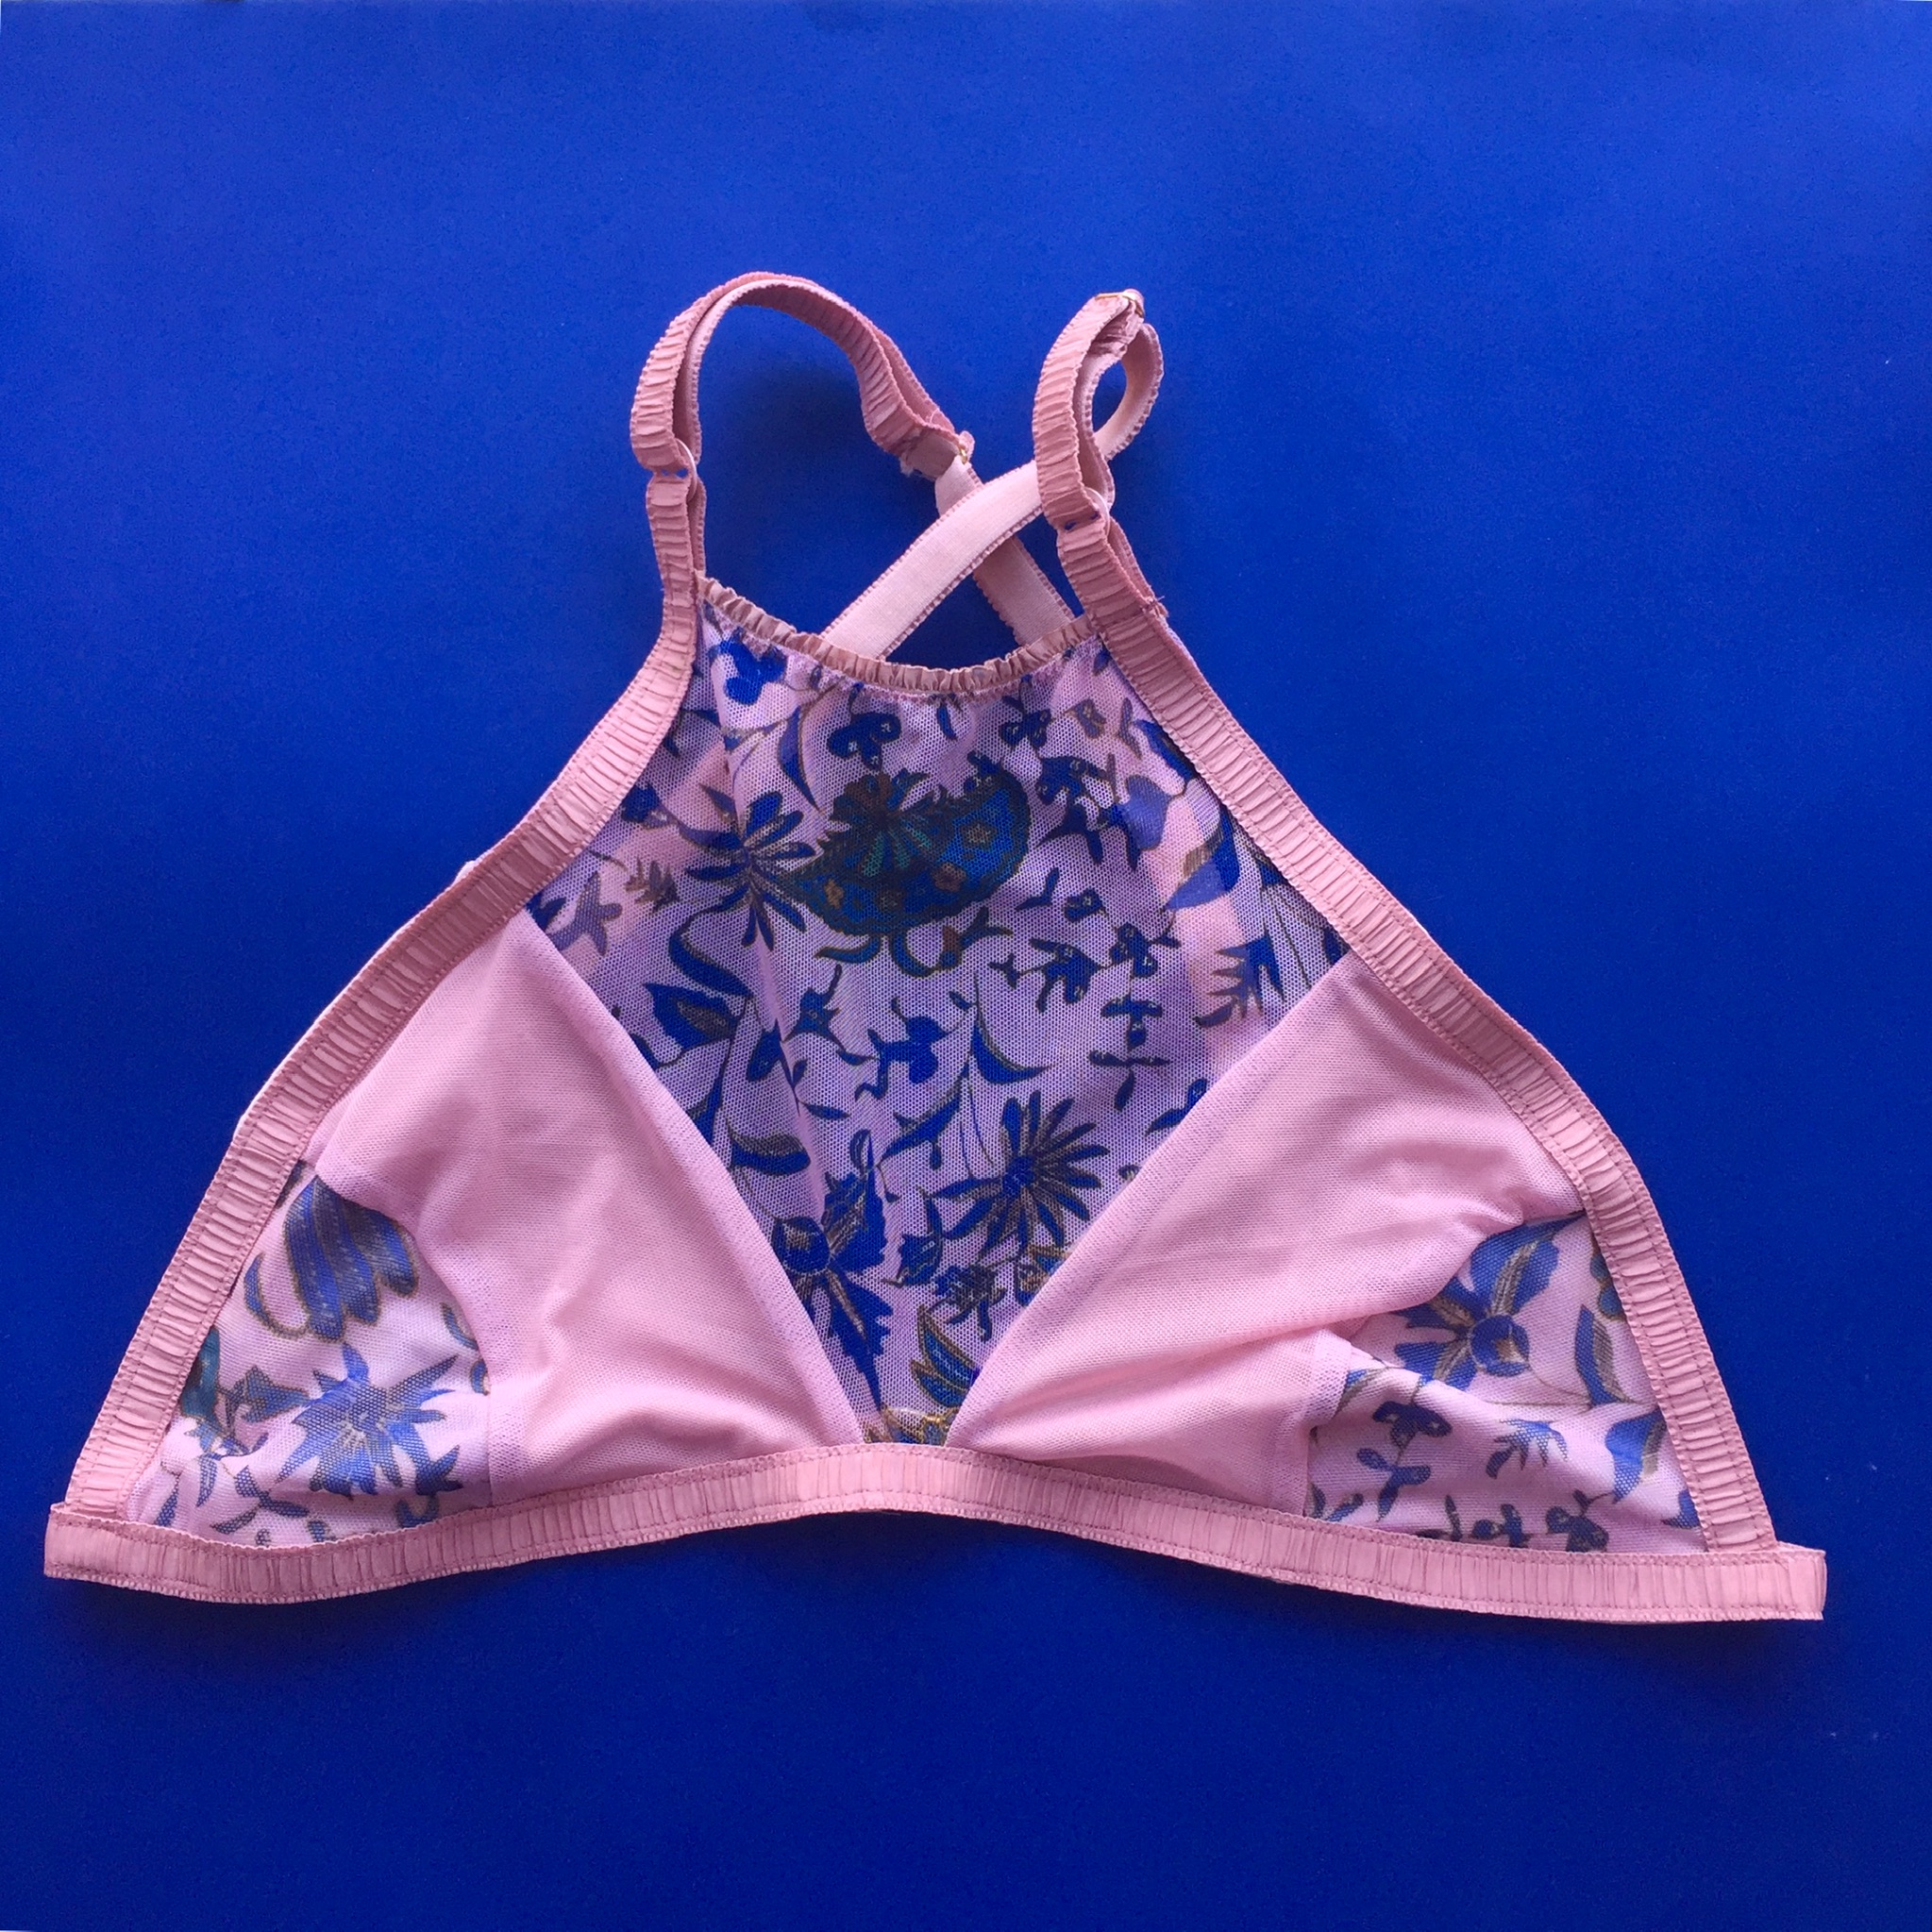
 Lower cups are lined in bamboo jersey with the upper fabrics being pink stretch mesh and printed stretch mesh. I basically used whatever trims I had in the stash that matched though I’m quite pleased at being able to use that little ruffle elastic for the neckline.

 Keeping the straps long I turned them into a cross over back which seems to suit the high neckline. It’s good on really hot days but the single line of elastic along the base can be slightly irritating. Next time I want to try adding a different back to see if it helps alleviate the slight cutting in feeling I get along my sides.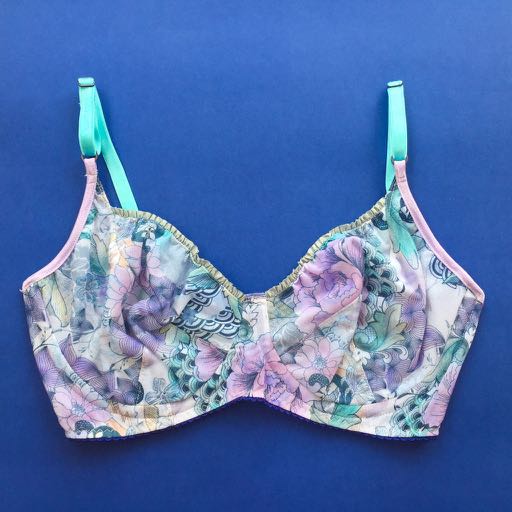
 Every so often I fall in love with a piece of fabric, colour and print and big motivating factors and well this fabric it was one of those swoon at first sight type moments. It came in during a shipment of designer fabrics when I was working at
  Then when making this bra I decided to take the multi hued elements of the print and step further and use non matching trims to make the bra. Bt rights, this many colours, types and print mixed together should be a dogs breakfast. But it’s not it all came together in one of my most favourite makes ever.
 The pattern is another Cloth Habit Harriet Bra with a few extra modifications. On my original I added some extra to the lower cup so I sat down into the cup more and adjusted the seam allowance at the bridge to allow it to be fractionally wider so the wires didn’t sit on top of each other.
 These changes I was happy with but I want a little bt more projection and lift. When I wear the pink one I totally want to pinch out a section at the top to bring everything up. So I did, well sort of. Using
  With these changes I think I’ve got the fit almost perfect for me, they are super comfortable to wear and I like the shape they give me, it’s not the high rounded shape of a full moulded foam cup but honestly am over that look anyway.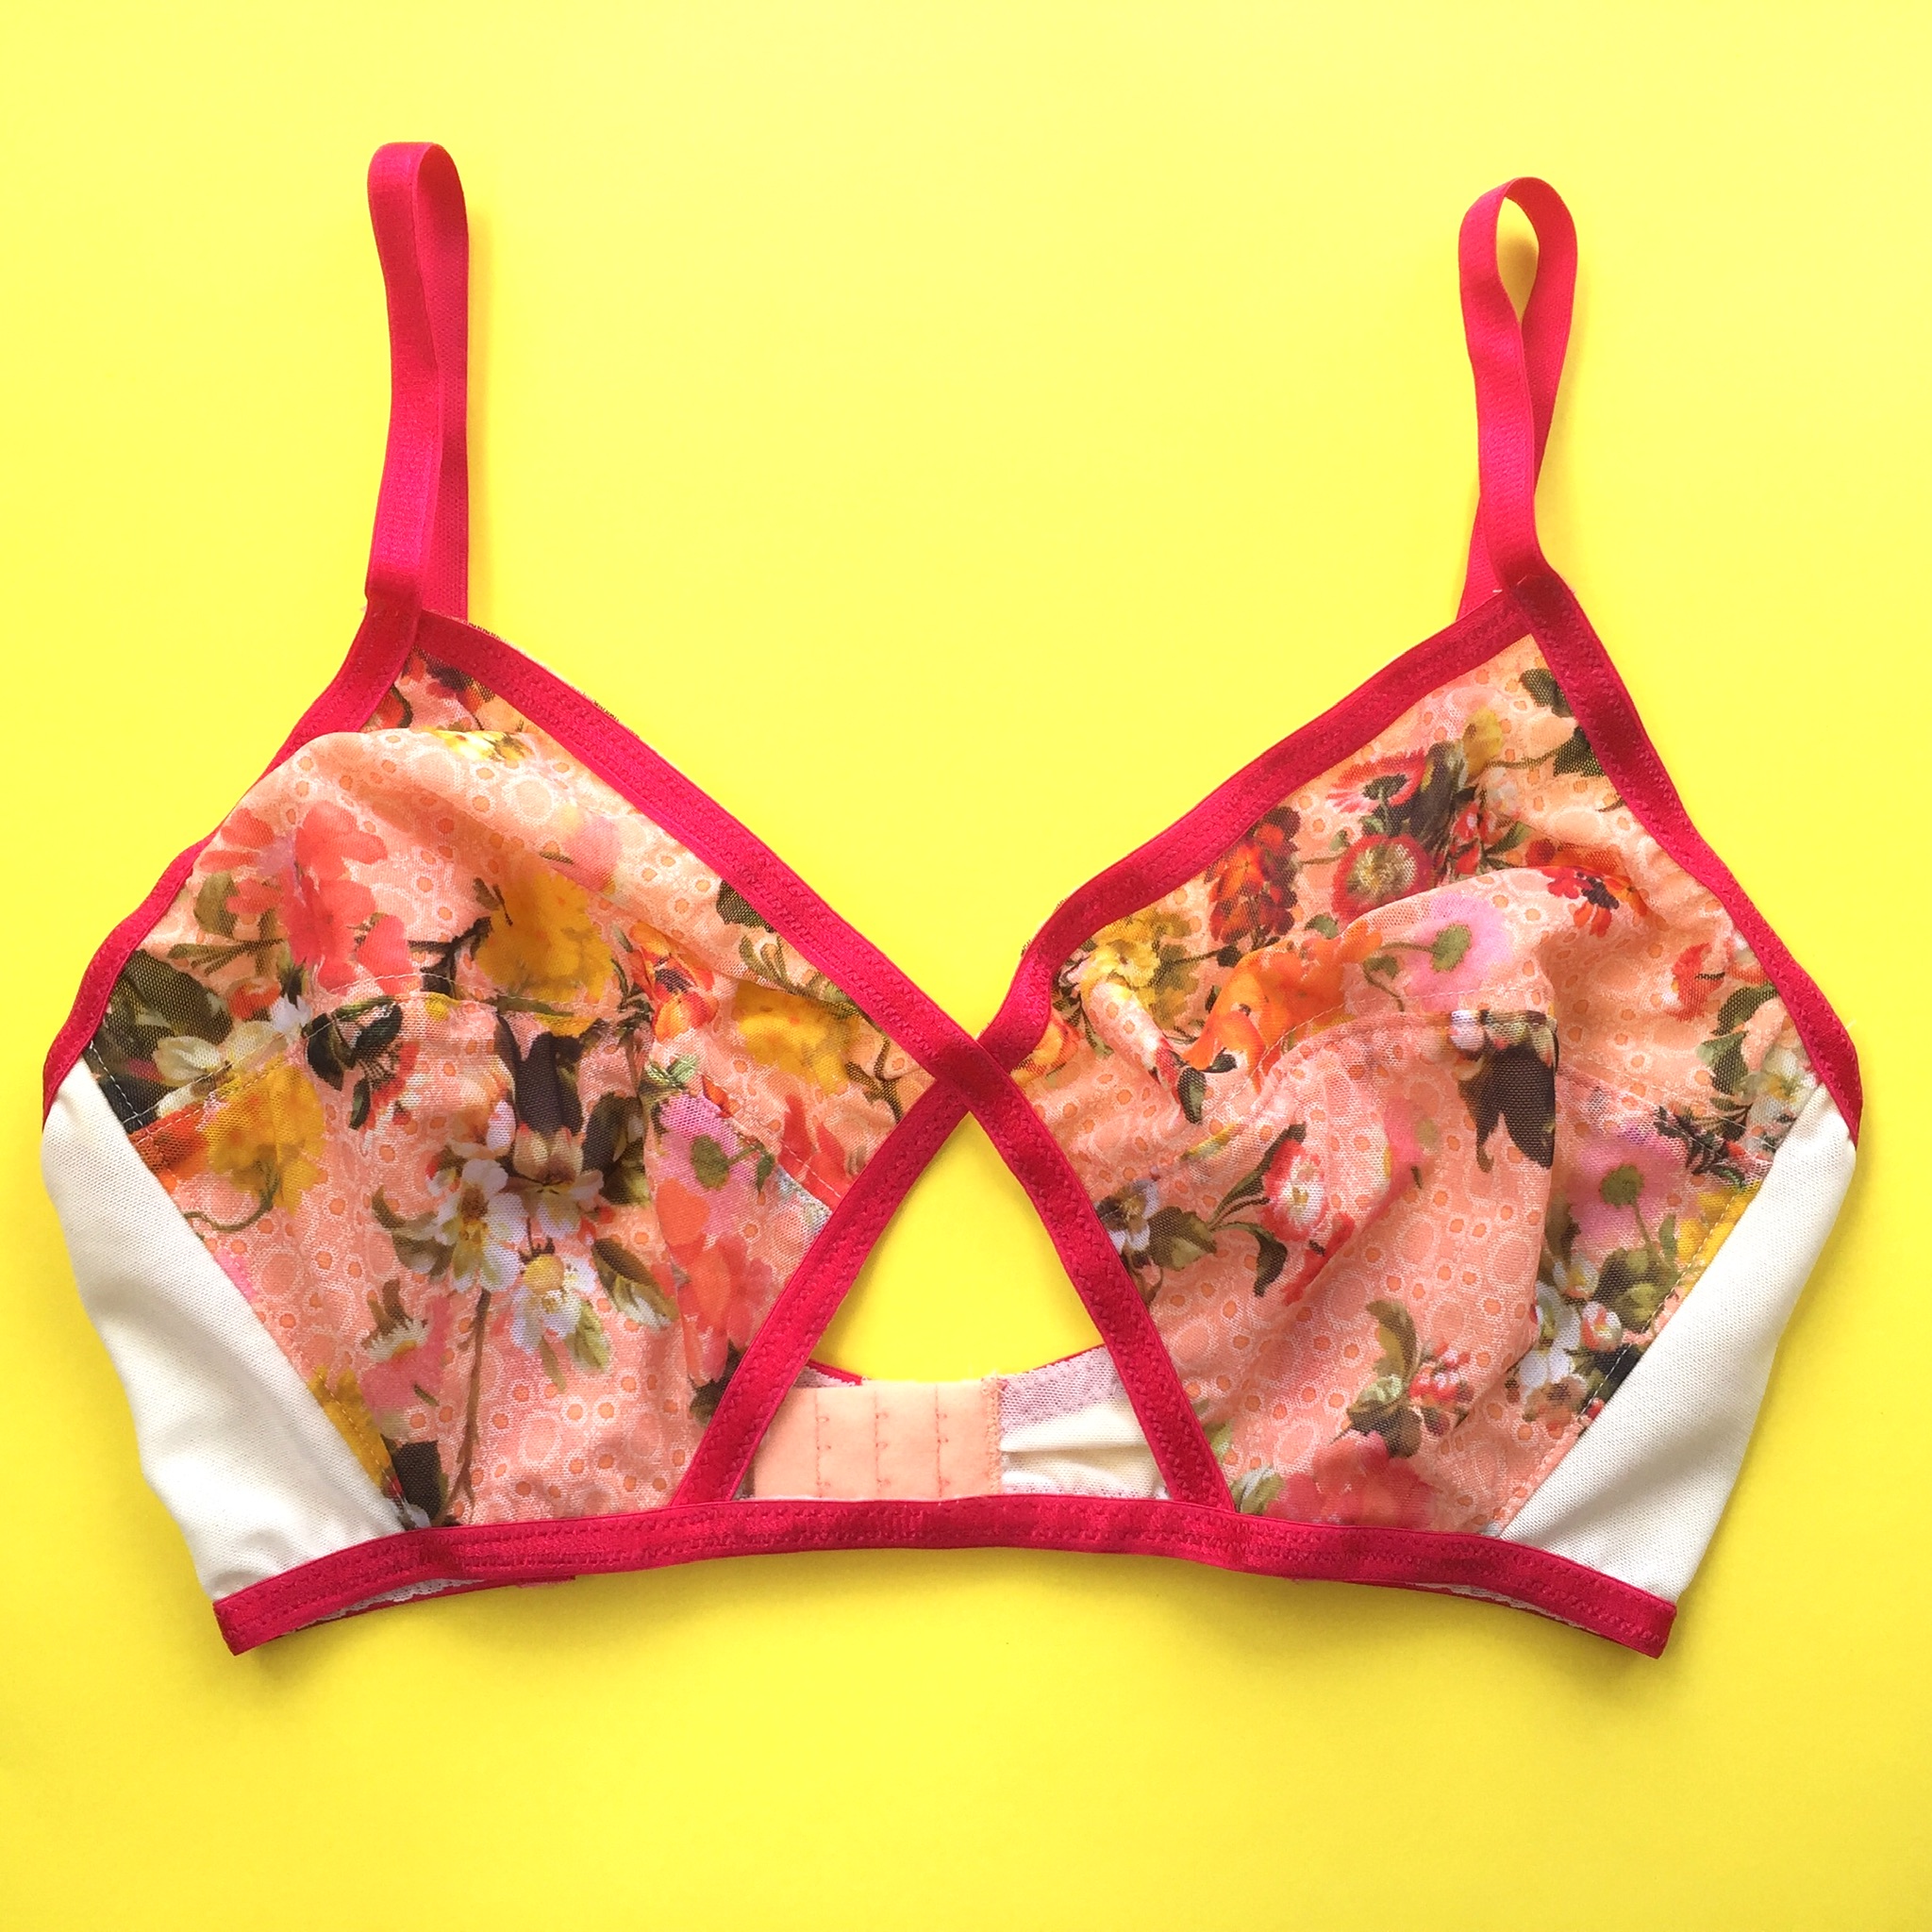
 The Lexington is a non wired bra that uses bra strapping to give shaping and definition with its cute cross over style. I had purchased it pretty soon after it came out with the hope that I could get it made up in time to wear on the plane for our trip. Sadly I ran out of time for that to happen so I was pretty glad when I had some spare time a few weekends ago to cut one out.
 Using a printed stretch mesh as the outer, a crystal lycra as lining and cream power mesh for the back (all from Pitt Trading). Initially when I cut the pieces they looked so big that I was a little worried. That feeling of them being too big lasted all the way till the first time I wore it and once it was on, it was so comfortable that I forgot about that entirely. It is very full coverage and I might slice the top down fractionally but it doesn’t look bad just kind of lots of fabric.
 Constructionally it went together well and the instructions are nice and clear. I also followed the online sew along on the blog that explains how to get the central cut out. The way the cut out is done is a bit clumsy, sewing a section in and then cutting it out just felt weird. You can see the remaining fabric around the central cut out. It looks kind of cute from the outside but the size of the cut out is way bigger than I was expecting. I like it but I think I want to try a version without it as I hope I like that even more.


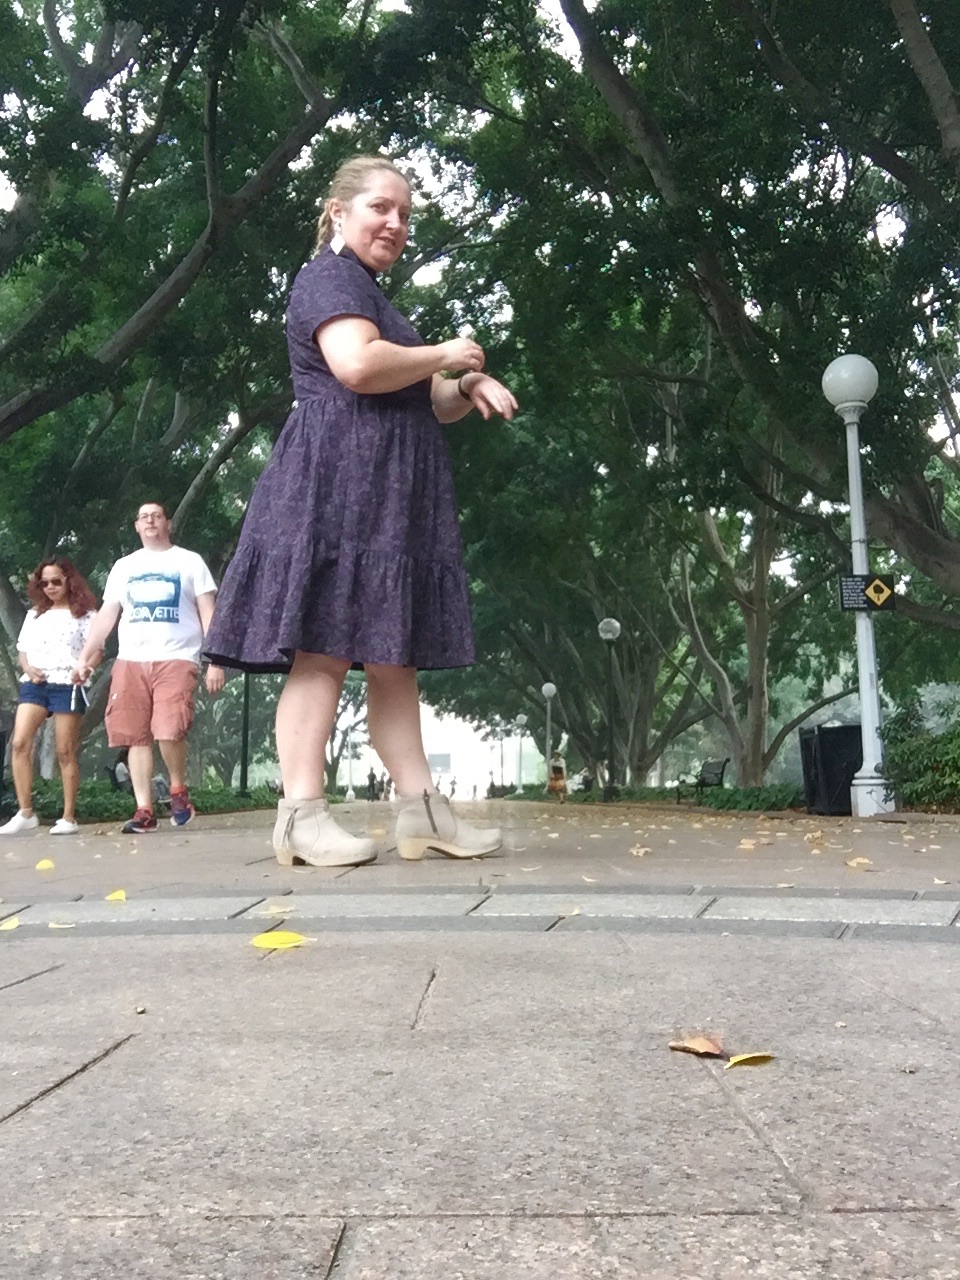
 I wanted something I could wear to work hence my choice of a darker style of fabric.
 These photos were taken on the way home from a full day at work so you can see at least it doesn’t wrinkle up too much despite a days worth of wear.
 Despite being much darker than I normally wear this one has been in heavy rotation during the holiday and then wearing it to work since then. I just wish it was as light and airy as my other lawn pieces which would be a great help in this sweaty weather.


