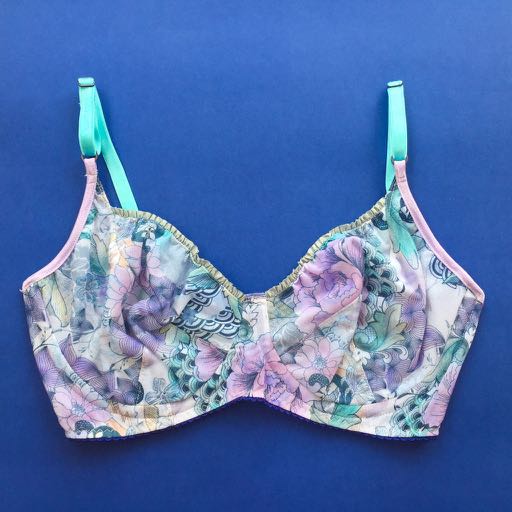
 Every so often I fall in love with a piece of fabric, colour and print and big motivating factors and well this fabric it was one of those swoon at first sight type moments. It came in during a shipment of designer fabrics when I was working at Pitt Trading and I was lucky enough to grab some before it was all sold out. Quite simply its gorgeous, based on some traditional Japanese style influences mixed together it’s exactly the kind of “lets put everything together and blend it” style print I’m drawn to.
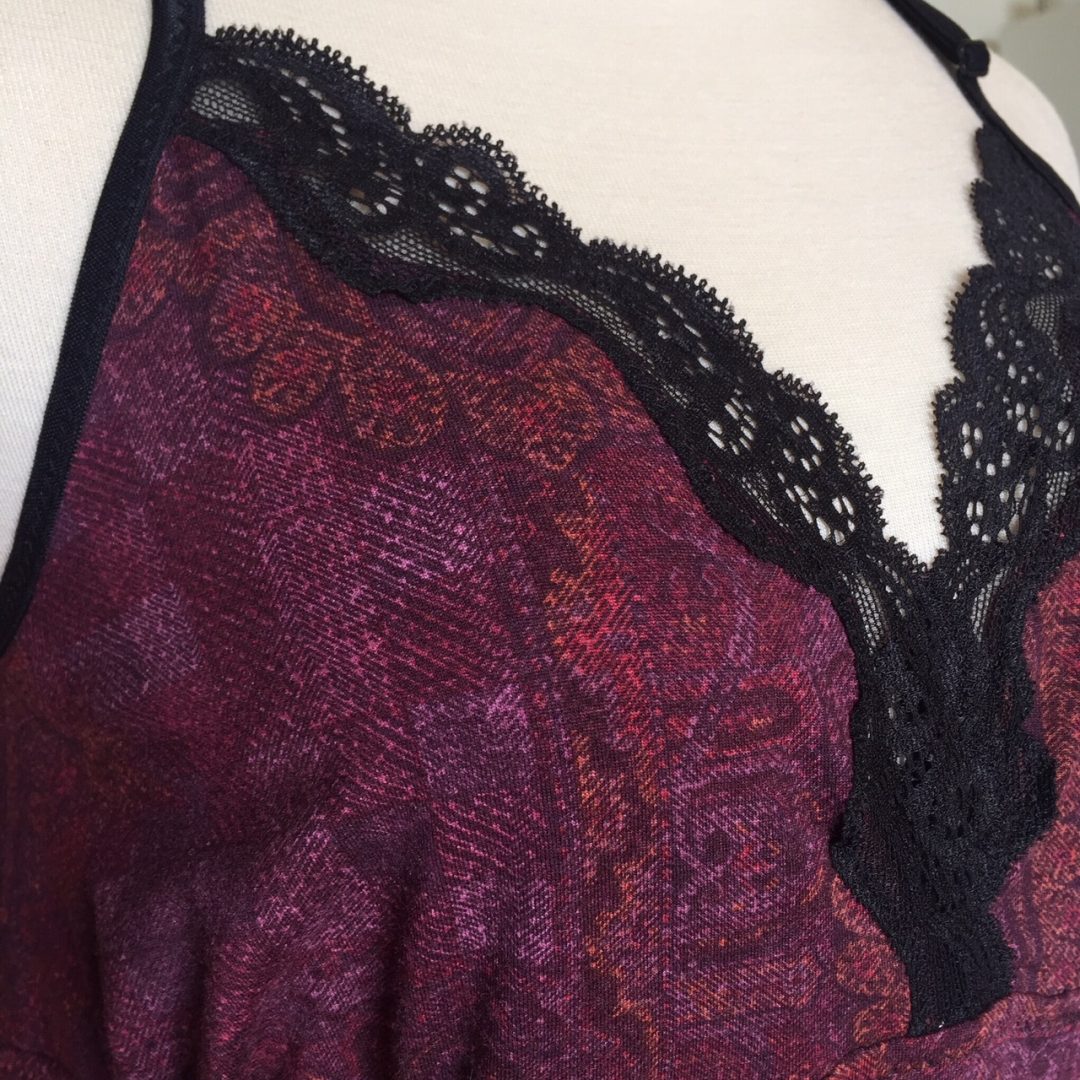
 Then when making this bra I decided to take the multi hued elements of the print and step further and use non matching trims to make the bra. Bt rights, this many colours, types and print mixed together should be a dogs breakfast. But it’s not it all came together in one of my most favourite makes ever.
 The pattern is another Cloth Habit Harriet Bra with a few extra modifications. On my original I added some extra to the lower cup so I sat down into the cup more and adjusted the seam allowance at the bridge to allow it to be fractionally wider so the wires didn’t sit on top of each other.
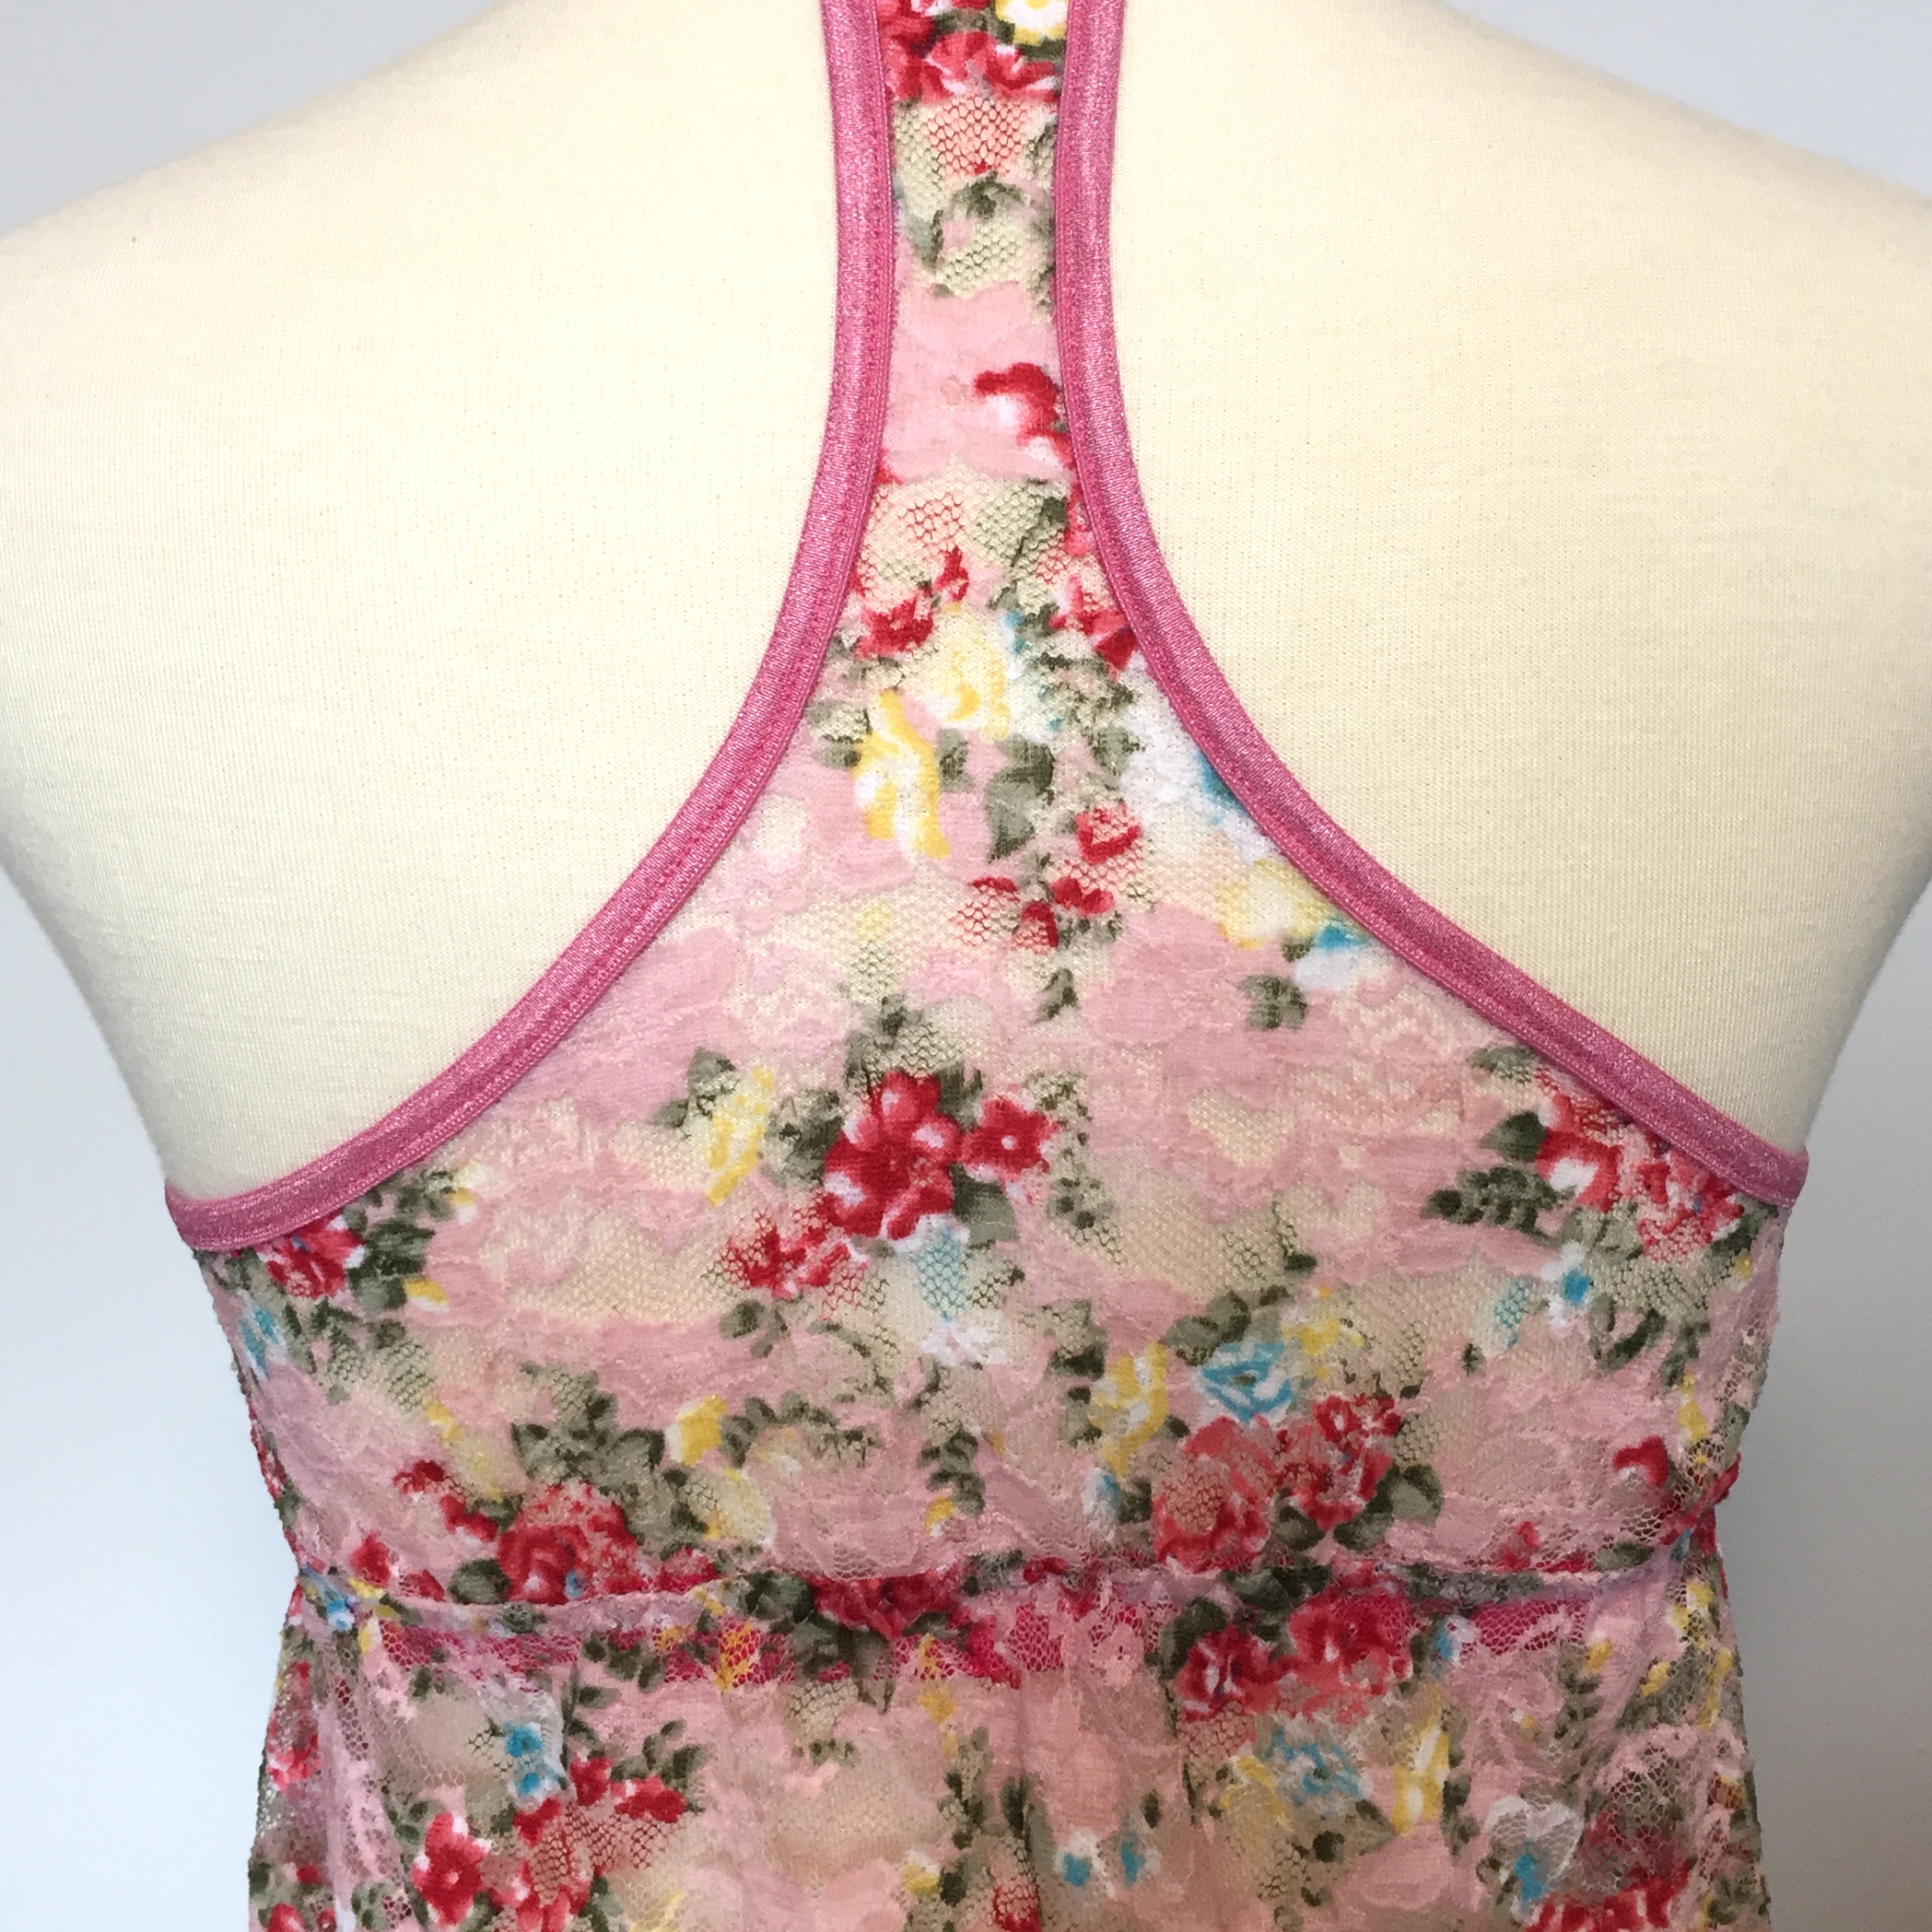
 These changes I was happy with but I want a little bt more projection and lift. When I wear the pink one I totally want to pinch out a section at the top to bring everything up. So I did, well sort of. Using this explanation from Emerald Erin I adjusted the upper panel and now I’ve got more lift and projection!
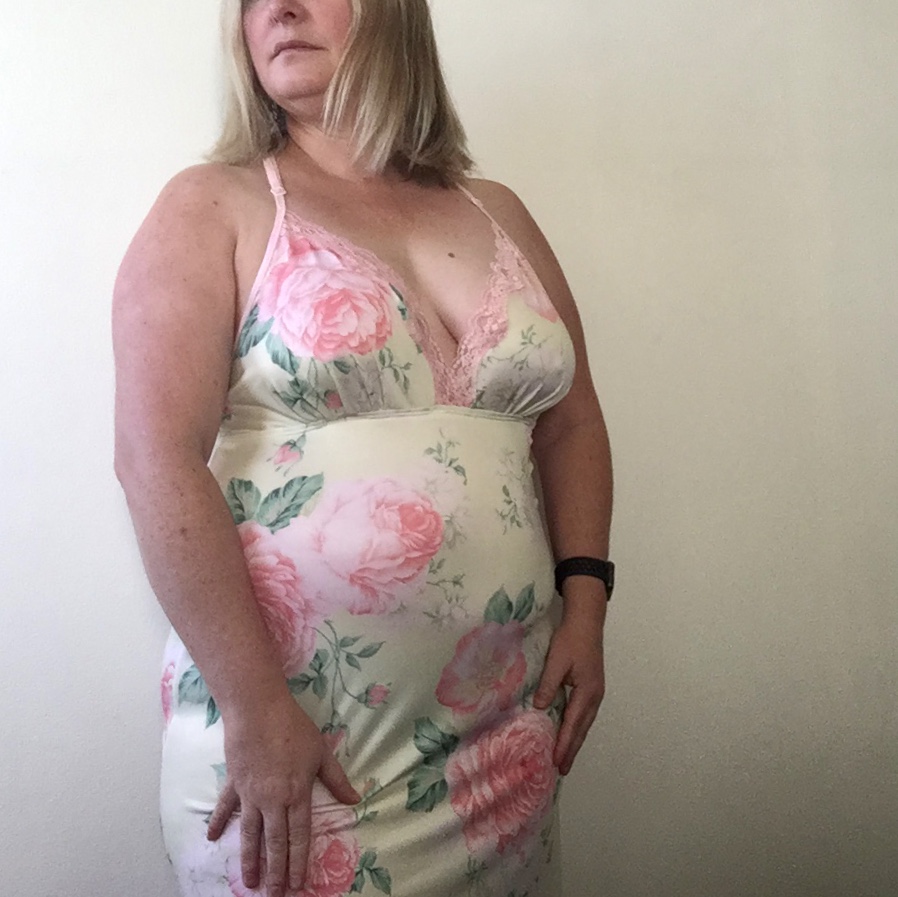
 With these changes I think I’ve got the fit almost perfect for me, they are super comfortable to wear and I like the shape they give me, it’s not the high rounded shape of a full moulded foam cup but honestly am over that look anyway.
Pattern: Cloth Habit Harriet Bra with modifications for fit
Fabric: printed mesh and trims from Pitt Trading Inner lining and back closure from Underwired.co
Alterations: I think I’m pretty close with what I’ve done already.
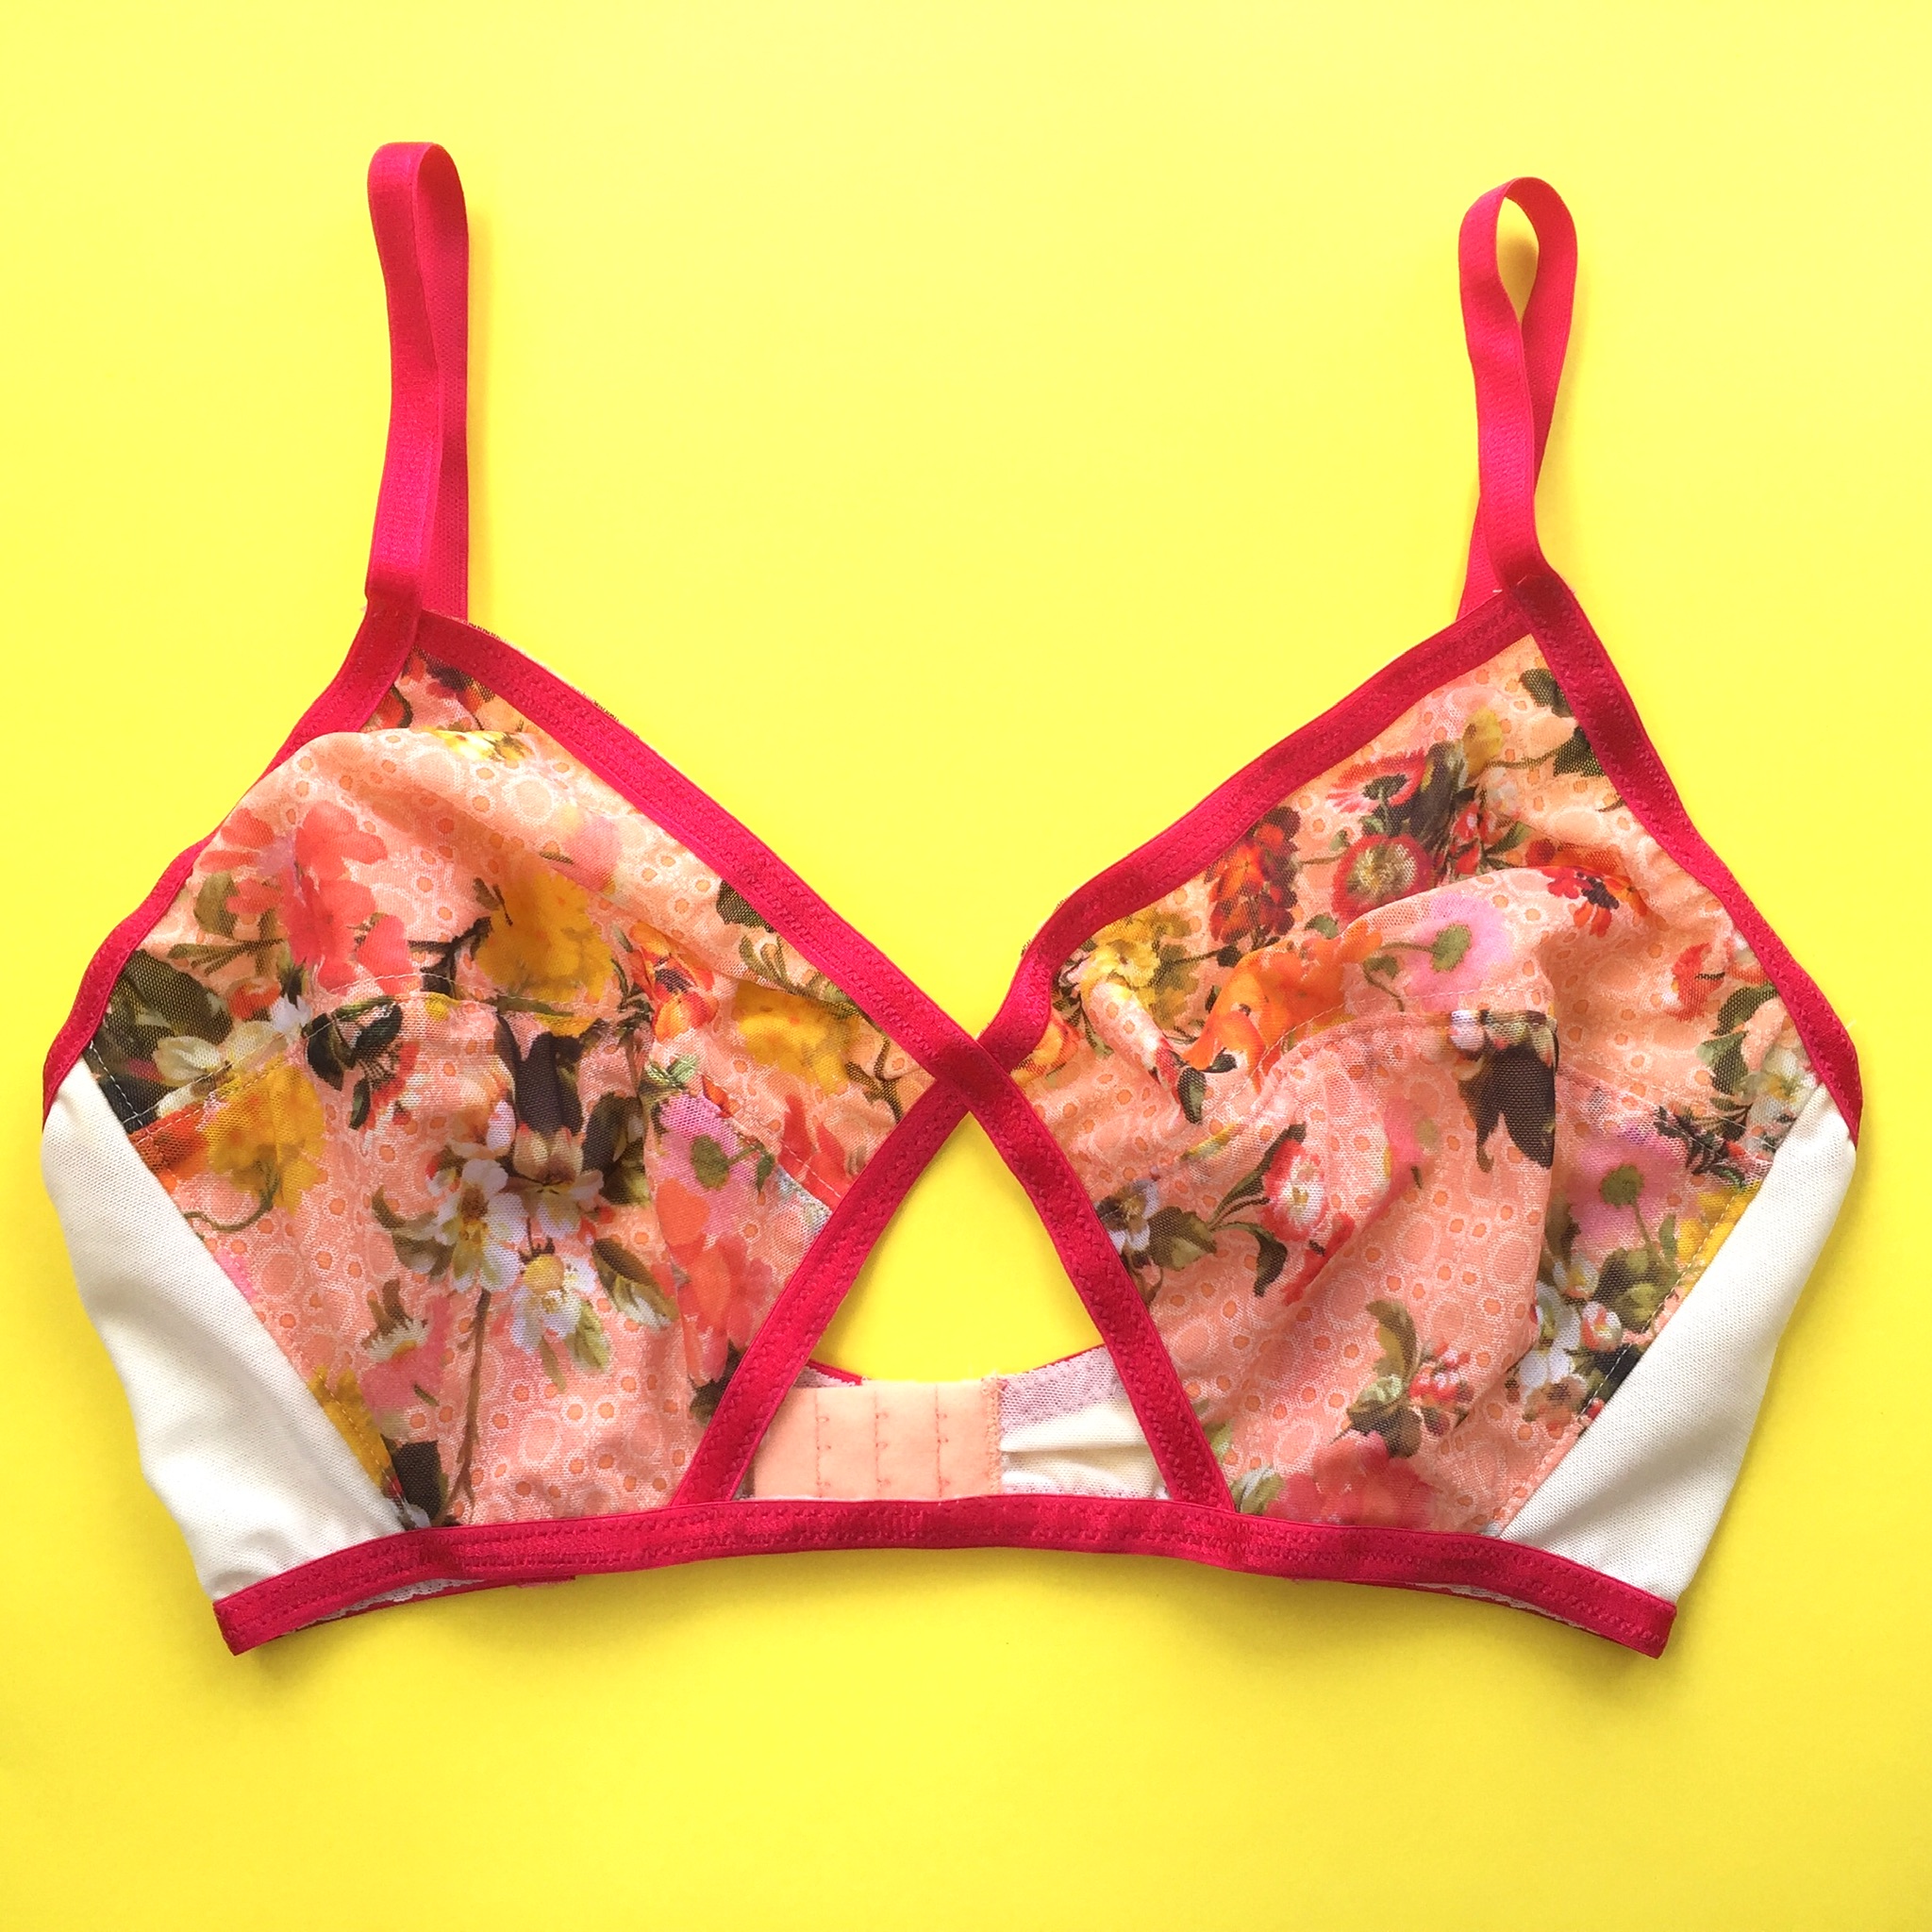
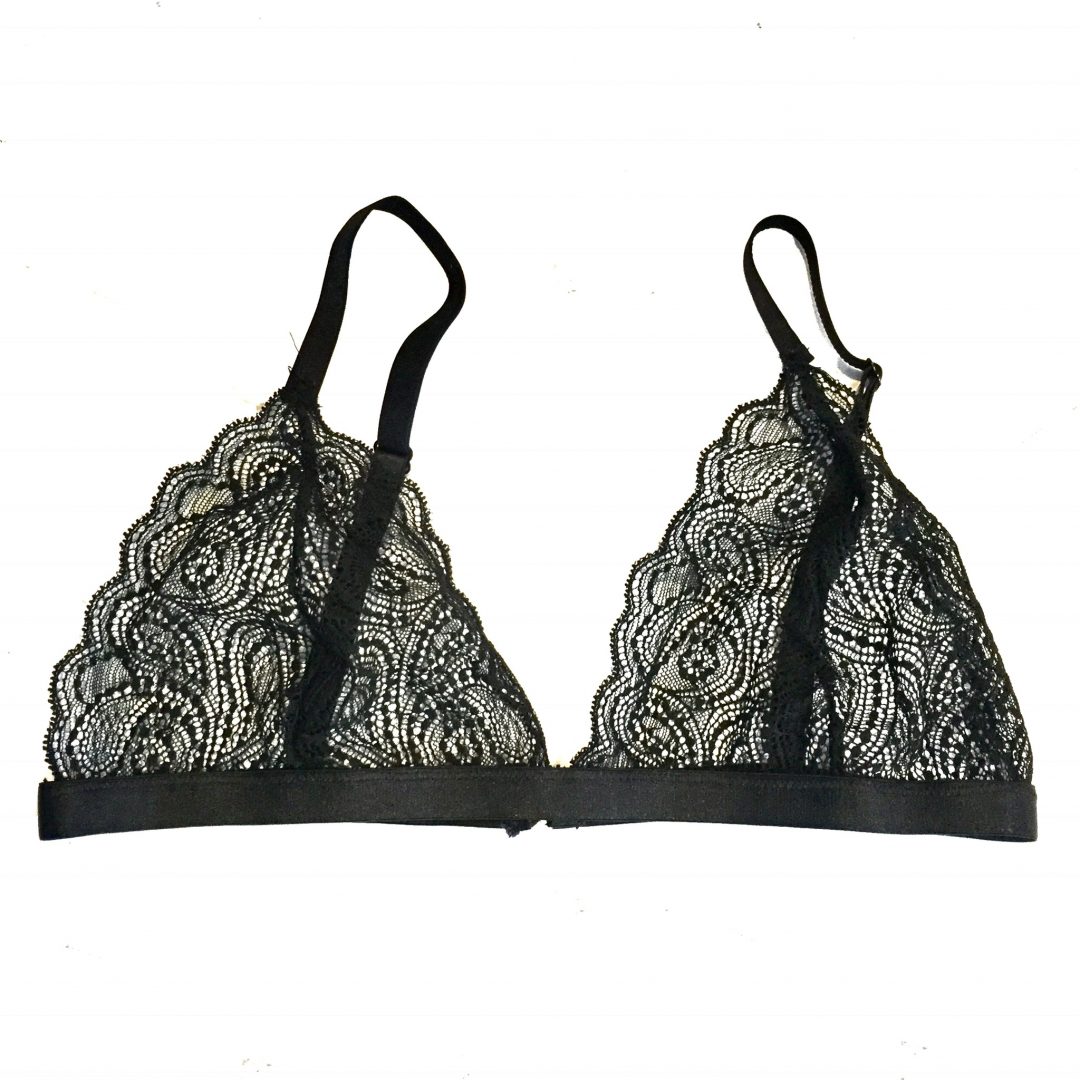
 The Lexington is a non wired bra that uses bra strapping to give shaping and definition with its cute cross over style. I had purchased it pretty soon after it came out with the hope that I could get it made up in time to wear on the plane for our trip. Sadly I ran out of time for that to happen so I was pretty glad when I had some spare time a few weekends ago to cut one out.
 Using a printed stretch mesh as the outer, a crystal lycra as lining and cream power mesh for the back (all from Pitt Trading). Initially when I cut the pieces they looked so big that I was a little worried. That feeling of them being too big lasted all the way till the first time I wore it and once it was on, it was so comfortable that I forgot about that entirely. It is very full coverage and I might slice the top down fractionally but it doesn’t look bad just kind of lots of fabric.
 Constructionally it went together well and the instructions are nice and clear. I also followed the online sew along on the blog that explains how to get the central cut out. The way the cut out is done is a bit clumsy, sewing a section in and then cutting it out just felt weird. You can see the remaining fabric around the central cut out. It looks kind of cute from the outside but the size of the cut out is way bigger than I was expecting. I like it but I think I want to try a version without it as I hope I like that even more.