Posted on 2 Comments

Sewing Adventures – Embroidered Stoat

Have you seen the adorable embroidery kits from Hawthorne Handmade? They are so cute and I love the fact that they use unusual animals in their designs its so nice not to just see a clip art bird on everything.


I picked up some supplies from them last year during their Black Friday sale and had it delivered to The Englishmans parents home as I knew we would be there for Christmas.
In theory the purchase was for my niece’s Christmas present. I wanted to give her something stitchy to do in the hope she will love it like I do. But I couldn’t resist sneaking in this stoat for myself.


The pattern comes pre printed on white cotton with the relevant coloured threads, a needle and a frame. Everything was very clearly laid out and simple to follow and a perfect gift for a beginner.


I finished it earlier in the year but never got around to properly framing it up ready to hang. To finish I’ve added a circle of white poplin to the back which I handstitched in place.
Now it’s all done and just awaiting a wall to go on.
Pattern: Stoat from Hawthorne Handmade
Fabric: All supplies (excluding scissors) are included in the pack
Changes: None except maybe to get some more!

Posted on Leave a comment

Sewing Adventures – Bingley Boxers Destination edition

Isn’t this fabric just adorable? I feel like it should be wallpaper gracing the walls of a quaint travel shop where people would go to book holidays to far off destinations. It’s a 100% cotton print from Pitt Trading and I couldn’t resist it.

Made up in The Bingley Boxer Shorts it makes the best presents for someone you love or yourself!

These were going to be for someone else but quite frankly I fell in love with them and quickly switched to making them for myself. I’ve used the super plush Prym elastic (in bright pink no less!) for the internal elastic and it looks so good.

Make wise these are fast with the fly being the only even slightly tricky bit. I highly recommend them as a fast stash buster, great for presents and perfect for your first foray into making pants or shorts.

Now I just need to find the perfect buttons to finish them off.

Pattern: The Bingley Boxer Shorts by Measure Twice Cut Once

Fabric: Destination from Pitt Trading, elastic from Prym

Alterations: next time I could make the elastic a touch more firm for myself?

Posted on 4 Comments

Sewing Adventures – Rope Bowls

Rope Bowls have been on my “must try” list for ages. I was motivated to finally go for it when I thought they would make great storage containers for the house.

I ordered an entire spool of rope from Lost Property HK on etsy. It was a lovely quality in a pale cream/off white colouring. If I was to do it again I think I would go with either a thicker diameter or a heavier weight as this was sometimes a little “squishy” feeling under the machine. When I asked for pointers in my Instagram stories quite a few fellow sewists suggested that softer rope was actually harder to control.

Despite this I found the entire process incredibly fun and one I would repeat again. I used a heavyweight needle, Rasant thread and a large zig zag. Once you got the spiral started it grew quickly and is fast! Within an hour I had 4 bowls and apart from the fact dinner needed to be cooked I would’ve kept going.

The next day I finished off the entire spool. One spool yielded 6 bowls which stack inside of each other with each one getting wider and taller than the last.They are not perfect but they are very practical and beautiful in their tactileness.

For the moment I’ve left the top join raw but am considering dip dying the bottoms in indigo and dyeing some cotton tape to match and then finishing off the raw join with a loop?

Pattern – made it up as I went and watched lots of youtube videos

Fabric – spool of cord from Lost Property HK

Alterations – change up weight of cord? figure out how to get bottoms to sit flat (I think it’s a tension thing)

Posted on 1 Comment

Sewing Adventures – Elite Directo Bike trainer cover

I think this make gets filed under “weird things I have sewn”.

The Englishman uses a bike trainer to supplement his training. During the winter months he uses it to get more of a workout by riding it after work a few nights. During the summer when the daylight hours are longer it tends to get packed away some of the time.

To help protect it from dust and cat fur he asked me to make a cover. I took some measurements, way over calculated how much fabric I would need and got to work.

The outer fabric is from Pitt Trading and one side of the inner has a fake suede lining leftover from my Gainline Yates coat.

From the basic pattern it took some tweeks to get it to slip on and off easily but not too floppy.

Once we were happy with the shape I overlocked in the lining, topstitched the bottom of the lining down and did a 2cm hem all the way around the bottom.

Pattern: Elite Directo Trainer Cover – self drafted pattern
Fabric: Japanese style cats from Pitt Trading, leftover fake suede also from Pitt Trading

Alterations: None so far but it will be interesting to see how it stands up to the job of protecting the trainer.

Posted on 2 Comments

Sewing Adventures – Pink Shibori Fibers to Fabric Dress

Both a happy and a sad day today as I lost a dress and gained a dress. I unpicked my second favourite dress (you can see my original post about it here). It was however in a good cause, I want to remake my bodice block and since I know this dress was made from the original one and it fits well it was a good place to start.

Once unpicked I ironed it out straight and then used it as a guide to cut a new version using this lovely Pink Shibori Fabric.

The fabric is a lightweight cotton sateen. It has a lovely smooth sheen to it and drapes like a lawn. It was given to me as a collaboration with Fibers to Fabric Using many traditional techniques they have a lovely range of fabrics and it was hard to choose what to use!

On cutting out I made the decision to cut on the cross grain. It’s something that I rarely do but with the skirt panels being cut long and wide it was actually more efficient to do it that way.

Once cutting out was done I assembled the darts, shoulders and attached the skirt before hanging to allow it to drop. The skirt has some bias angles happening so I always like to give it a bit of time to see if it will move or not before I continue.

The fabric was lovely to sew with and has a nice polished cotton like sheen to it but weight wise it’s dense like a poplin yet drapes like lawn. It’s actually really nice and I can imagine on a hot summers day it’s going to be cool. I used a fine sharps needle and found that it worked very well.

Sadly my decision to cut on the cross grain came back to bite me. The back ripples a bit where the zip has gone in. I know its because the weave shifted during hanging (which is the exact purpose of hanging) but I must not have got it back to true before sewing. It also makes the bodice have slightly less give. Totally my own fault for rushing in and cutting without thinking it through. I’m convinced it will give with wear and all will be fine.

Sadly my outdoor photos aren’t showing the pink to it’s true potential. It’s been raining (which is great we need the rain) but makes blog photos hard. I rushed out to get these and the sun got so bright it washed out the dress colour. Also wind. Photographing skirts in wind is the worst!

Dress Pattern: My own bodice block and skirt from Simplicity 8048. Remade from a premed garment.

Fabric: Shibori Print Indian Cotton from Fibers to Fabric

Alterations for next time: slow down and be more careful of cutting.

Posted on Leave a comment

Sewing Adventures – Wee Braw Bags

Do you make Christmas presents for your friends and family? I always have great plans to and almost always fail to make everything I have planned. Not this year! this year I’m organised and already have sone done. (oh if you are one of the people who normally get presents from The Englishman and myself, well perhaps don’t read anymore ok? or practice your surprise face, your choice).

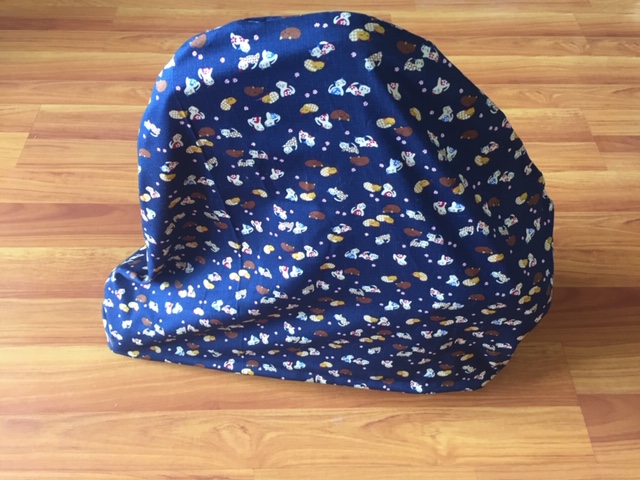
I spotted the weebrawbag via Instagram and was immediately charmed by it’s adorable shape. A few clicks later and I had the pattern downloaded and drawn up to the correct sizes. I’ve gone with the wee size and 3 of the bigger knitter sizes. It’s possible that if you are a knitter you may want an even bigger size as this seems a little small if you were working on a big project. In fact I’ve already made one and blogged it here

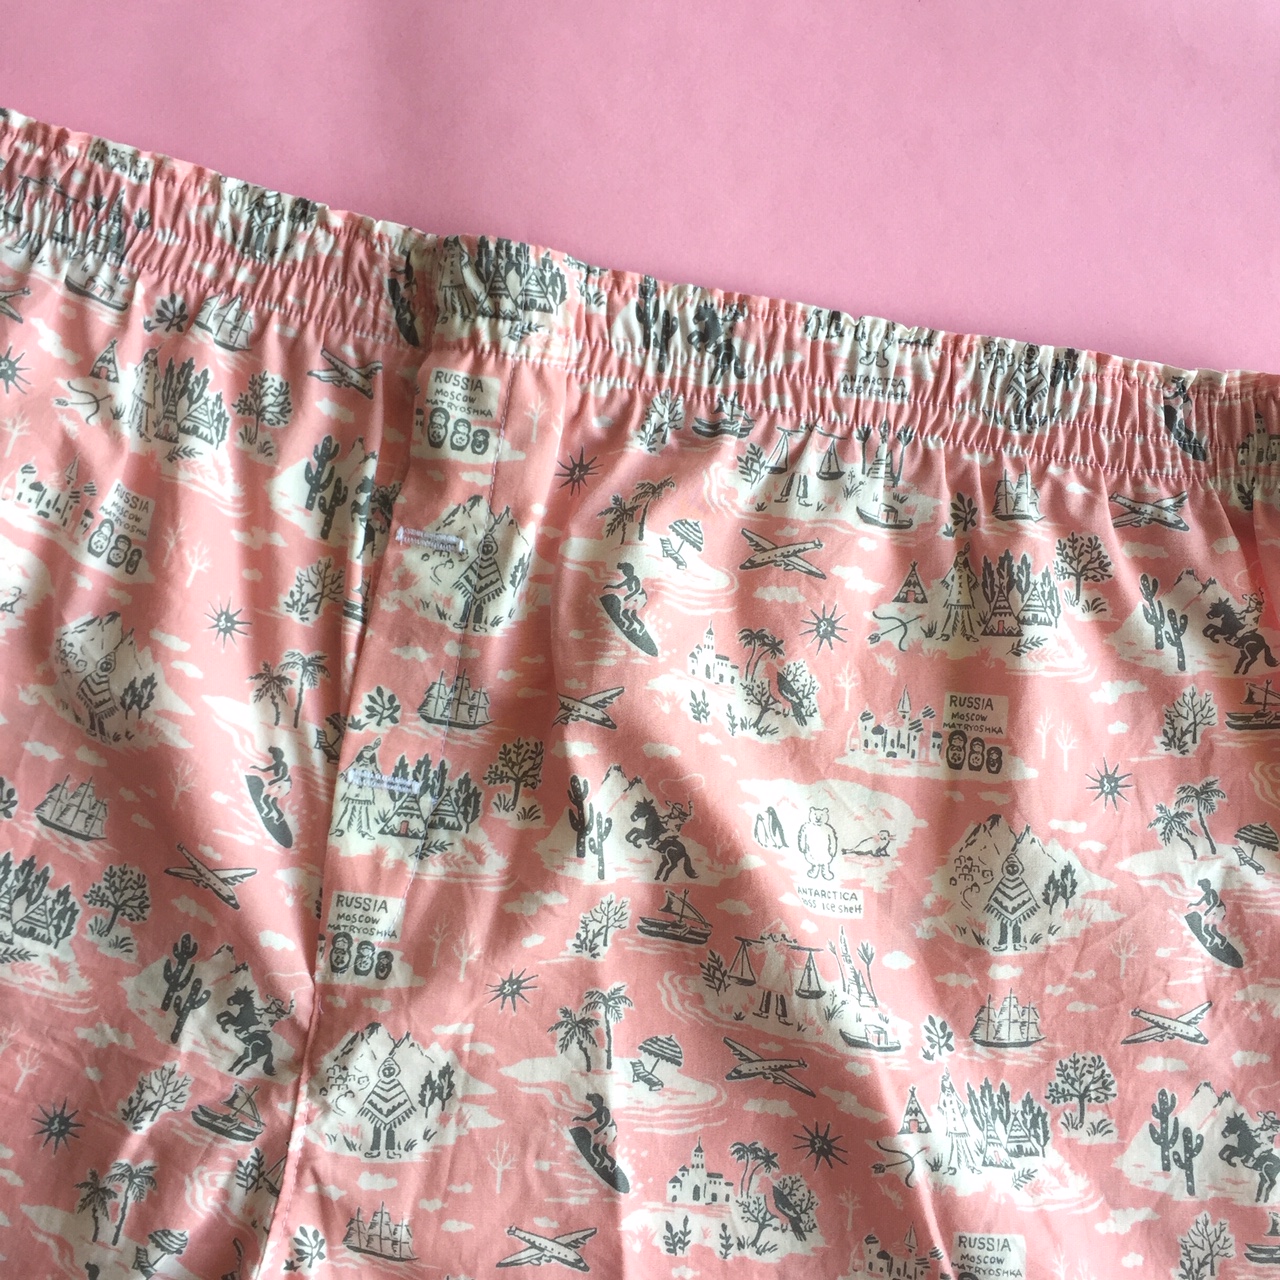
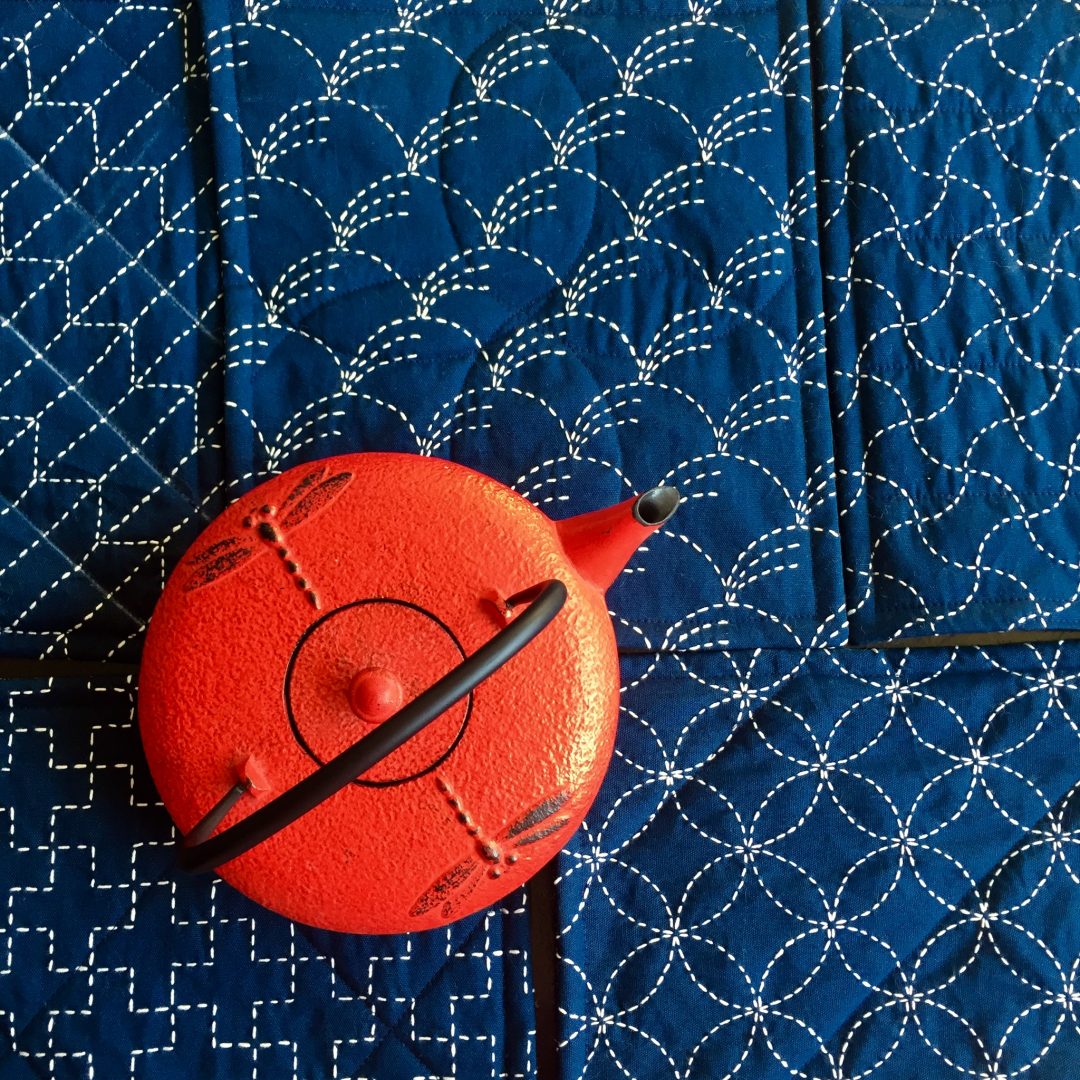
Fabric wise I didn’t have much that would work so went to Quiltsmith in Annandale to have a look. Sadly the store is no longer there. I’d been in a few times but rarely use quilting fabric, quilters who I know are devastated at the loss of such a good local store (support your local stores!!). I came away with a few cat prints, I know total shock that I chose cat prints. A navy and hot pink print featuring pattern shapes and a favourite cotton and steel print that shows thread reels. The reels say Measure Twice Cut Once on them! love them. Plus sloths because well, sloths.

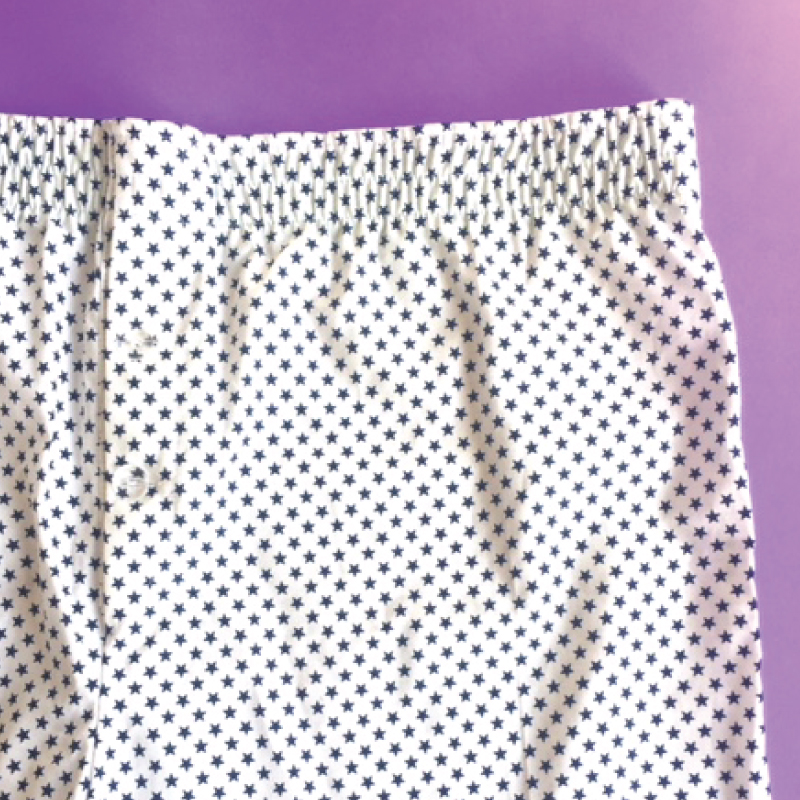
Using my Prom cutting mat, ruler and rotary cutter I had fun mixing and matching prints in an utterly madcap manner. Some of the combinations clearly work better than others but I love the freedom to play about and have no “rules” to it. I added a Star print from Pitt Trading that I had used for The Bingley Boxers and had scraps for leftovers.

The bags go together in maybe 15 minutes once you get the hang of it? Batch sewing certainly sped the whole process up. I went without any of the internal batting because a) didn’t have any b)I’m not sure they needed any?

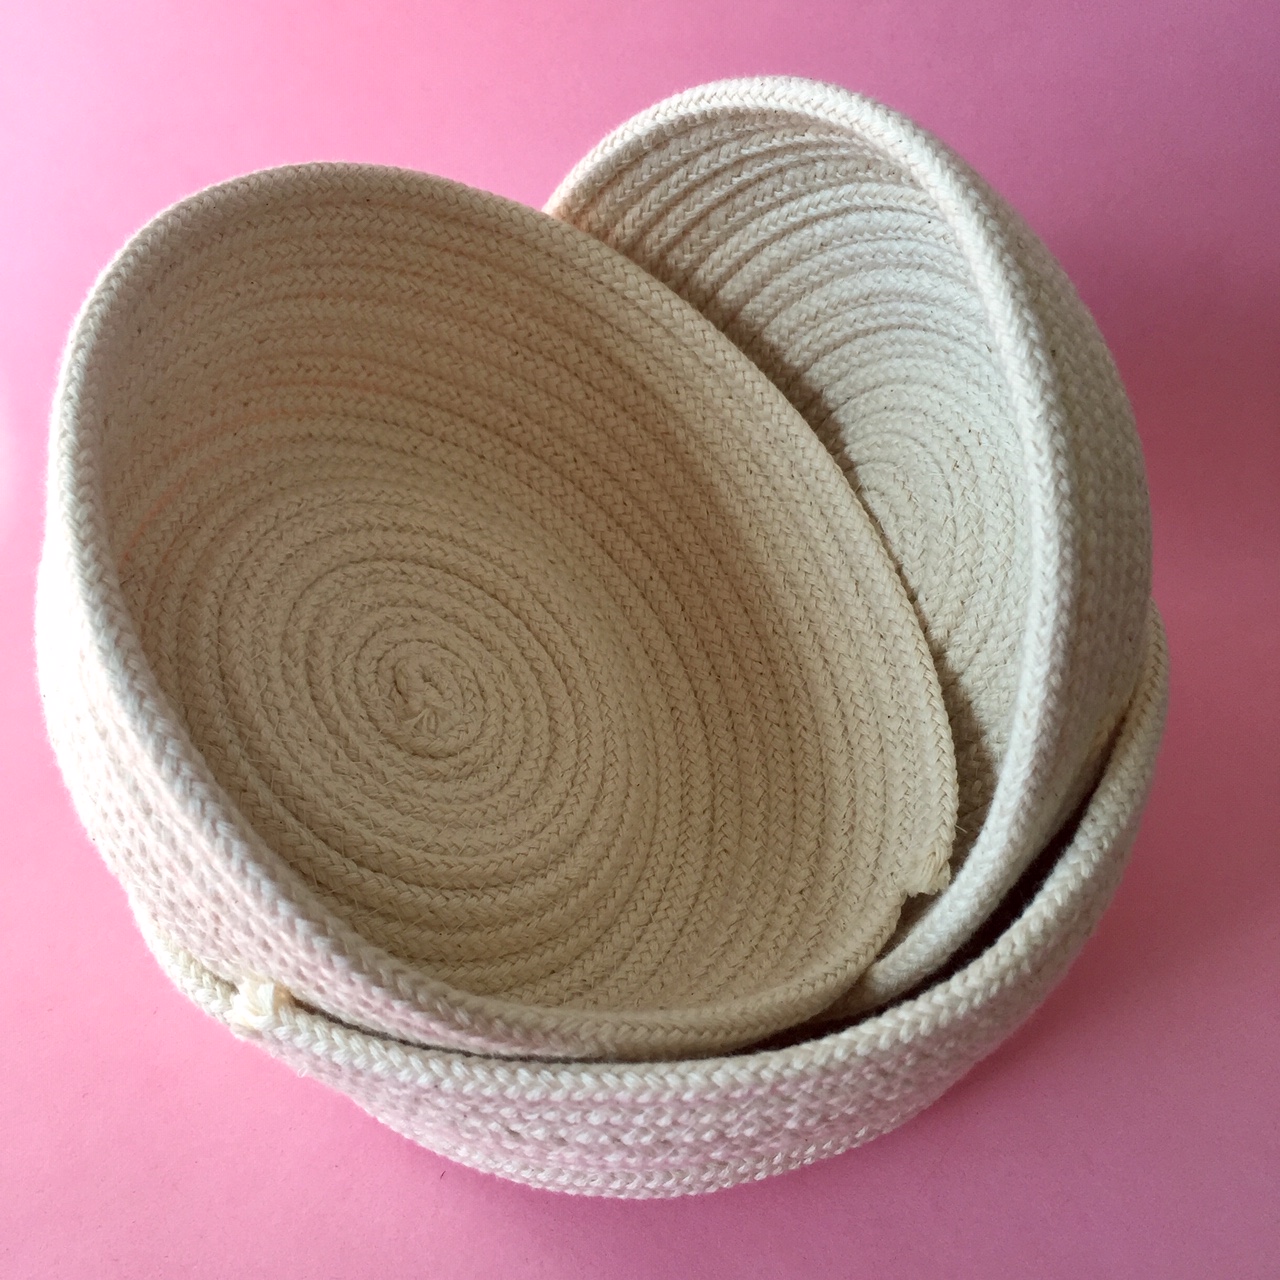
Once done I used some lovely teal cord from Pitt Trading to create the drawcords and voila! Christmas presents ready to go…now I just have to finish all the other ideas I have for presents.

Highly recommend pattern for presents, anyone who needs to sew for school fairs, teacher presents and scrap busting. I also thing it would be a great project to do with kids, it’s all straight sewing but has some techniques which would be a good learning tool.

Pattern: Wee Braw Bag pattern by Laura Zuckerkuss

Fabric: cats x 3, Cotton and Steel Reels, Pattern Shapes and sloths from Quiltsmith stars and drawcord From Pitt Trading

Alterations: didn’t use interfacing because I didn’t have any to hand

Posted on 2 Comments

Sewing Adventures – Sashiko placemats

Some friends just bring light into your life and CL aka Claire Louise The Thrifty Stitcher is one of the best. Separated by distance we still try to chat via messenger and she does wonderful things like send me video messages on the morning of my surgery last year or listened to me cry about losing most of my stash to the fire we suffered in December. Being the ace person she is, she organised for a gift voucher to BeBeBold so I could get myself some Japanese embroidery supplies.

It was such a touching and thoughtful gift and I wanted to make sure I remembered not only her kindness but the kindness and support of the entire sewing community by making something we could use everyday and be thankful for those who helped.

I ordered some pre printed panels and sashiko thread. I got them delivered to Pitt Trading as we have no postal address to send anything to and have been in almost 10 different locations while awaiting our apartment to be ready to move back in. These panels have been stitched in all of those locations with the aim of turning them into placemats, pot holders and useful everyday pieces that are beautiful and sentimental.

Once stitched I’ve cut the panels out, added a heat proof wadding and Japanese print backing (both picked up at HobbySew Top Ryde while purchasing replacement machines). Placed right sides together with the wadding onto of the embroidered panel I stitched around, clipped the corners and turned them right way round through a small hole I’d left on one side. Once the corners were nicely pointed I stitched the width of a machine foot in around the entire rectangle, topstitched the opening closed and then practiced quilting by drawing different lines using my Prym chalk tool across the backs and stitching through all layers.

They turned out even better than expected and when showing a friend she exclaimed they were too beautiful to be put to practical use and should be displayed. But I love the idea of being surround by beautiful meaningful things and these are special to me on so many levels. a gift from a wonderful friend, hours of meditative stitching in what has been an incredibly stressful time and now we have something to add to our home.

These are the first 5 finished and I still have some more panels in varying sizes to go so am keen to find more practical and beautiful ways to use them, the red teapot was at one of the places we have staid this year and matched in so well it made the perfect photo prop.

Pattern: pre printed panels from BeBeBold

Fabric: from BeBeBold and Hobbysew Top Ryde

Alterations: none that I can think of right now


Posted on Leave a comment

New Pattern: The Bingley Boxers

One of the most requested patterns I get is for a version of the Darcy Boxer Shorts but with the elastic covered not exposed. It’s actually a simple modification but plenty of people want a pattern they can just cut and make or they aren’t yet up to doing pattern modifications.

So here it is, The Bingley Boxer Shorts, a classic boxer short with workable button fly. Now available in the webstore for $2.50.

The Bingley Boxer Shorts is a digital PDF pattern, when you purchase you will receive a link to download a .zip file. Upon opening the zip file you will have access to the following

Download includes

  • sizes XXS  to XXL / 6 to 18 – Australian sizing, see size chart for more details
  • pattern includes seam allowance of 1cm/10mm
  • multi page PDF pattern suitable for Letter or A4 page size
  • Copy shop pattern – see file name for paper size required
  • Instruction booklet
Posted on Leave a comment

New website Look! and file downloads for existing orders

The last few weeks I have been working hard behind the scenes to refresh the website and give it a bit of a new look. Mostly it went well but I had one huge problem with the downloadable pattern files. So if you’d tried to purchase over the last few weeks you might have ended up with a Whoops! File not found error message when trying to download your file.

I am so sorry if that happened but you will be pleased to know that the problem is all fixed. But it means that your existing file links won’t work. If you need to re download your files please do the following

  • if it’s for the Darcy Boxers please just go and re “buy” the pattern and you will receive a new link to use
  • if it’s a paid for pattern that you have already purchased please email me measuretwicecutoncepatterns @ gmail.com (take out the spaces) with your order number and I can manually reset your order

Sorry it’s a bit of a pain but the old links simply won’t work and trying to rebuild the links was beyond my capabilities so I’ve gone with a solution that works and that I know I can fix if anything should go wrong again (which fingers crossed it won’t).

If you find any other issues with the website please drop me a line and I’ll take a look and sort them out, I know there is always a few new bugs to iron out the more I use it.

Thanks again and I hope you like the new look!

Posted on 4 Comments

Sewing Adventures – Pre Printed Tights panels from Pitt Trading

After the success of my coloured Jalie tights I was on the lookout for some more fabric that was suitable for tights and Bam a huge selection arrived at Pitt Trading.

Pitt Trading buy excess fabric from many high end designers so you can access some incredible fabrics, these came from a high end Yoga design firm and they are lush. Thick but not too thick, don’t grin white when stretched and a nice amount of breathability and stretch.

Many of the panels come pre printed so it’s pretty much a case of cut out and go. Some of the panels were printed oddly so across the width you’d only get 3 right legs.

Both the pink pairs were like that. Now this is one of those times where being short rocks! I used my Nike run tights as a rough guide and by lining them up at the crotch and not the waistband I managed to cut a right leg panel into a left leg panel. It worked because I could shuffle it down so I was pretty excited, plus I had a cute catternweight to help. If you are longer limbed it would work just as well you just might not get full length ones?

On the black/pink spot ones I feel like the ankle could be a little narrower so I’ll probably skim them in a bit more.

Sewing wise I used the 4 thread overlocker for the inside leg and crotch seams, waistbands were overlocker together at the top edge while adding in some 6mm swimwear rubber. Turn the right way out and used the coverstitch to twin needle the top edge. The bottom edges were then placed together and overlocked straight onto the tights. I’ve kept my waistbands nice and high to hold everything in and as a result am getting no irritation around my scar or the areas where I have some residual issues from surgery.

The hems were then finished with the coverstitch machine.

A super fast super satisfying make and they spurred me into action and I’ve  been running again! Am taking it slow and relearning how to do some things now my body is operating with less muscles (literally) but overall it’s going pretty well.

Pattern: mostly from the pre printed tights with a little bit of help from a RTW pair

Fabric: Pre printed tights panels from Pitt Trading

Alterations: the cherry blossom ones are the best waistband, next time just copy everything I did on that one.