There are days when working in a fabric store is every part the dream job most sewers envision it to be. When silk like this comes in from a top end designer its one of those days.

When the owners of Pitt Trading decide they want to team up with Papercut Patterns to use their patterns to showcase said amazing silk when then that’s a really good day.

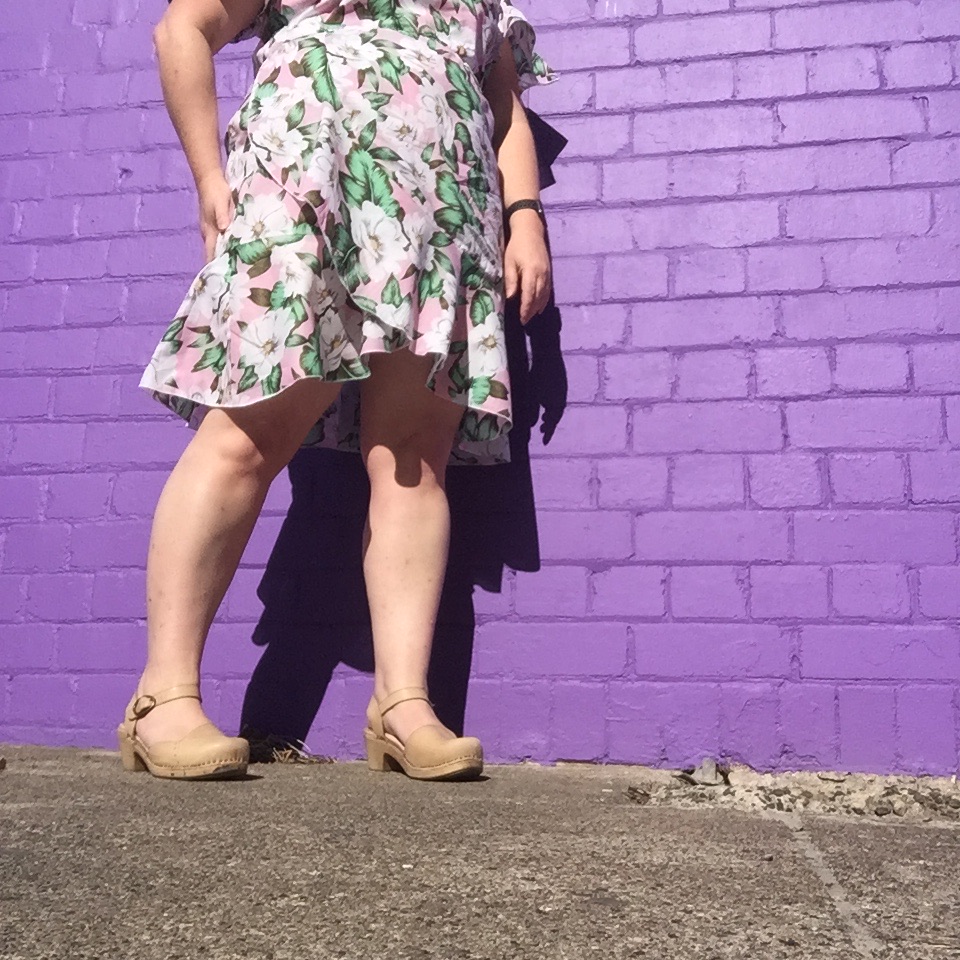
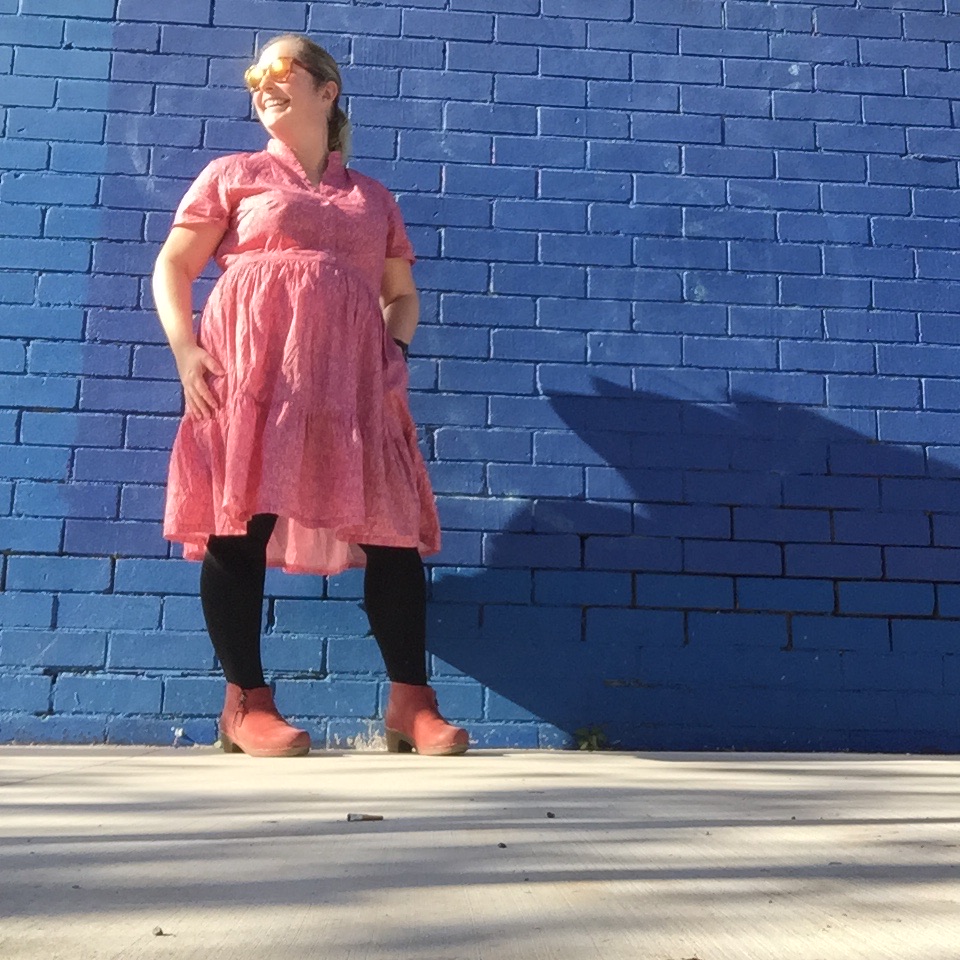
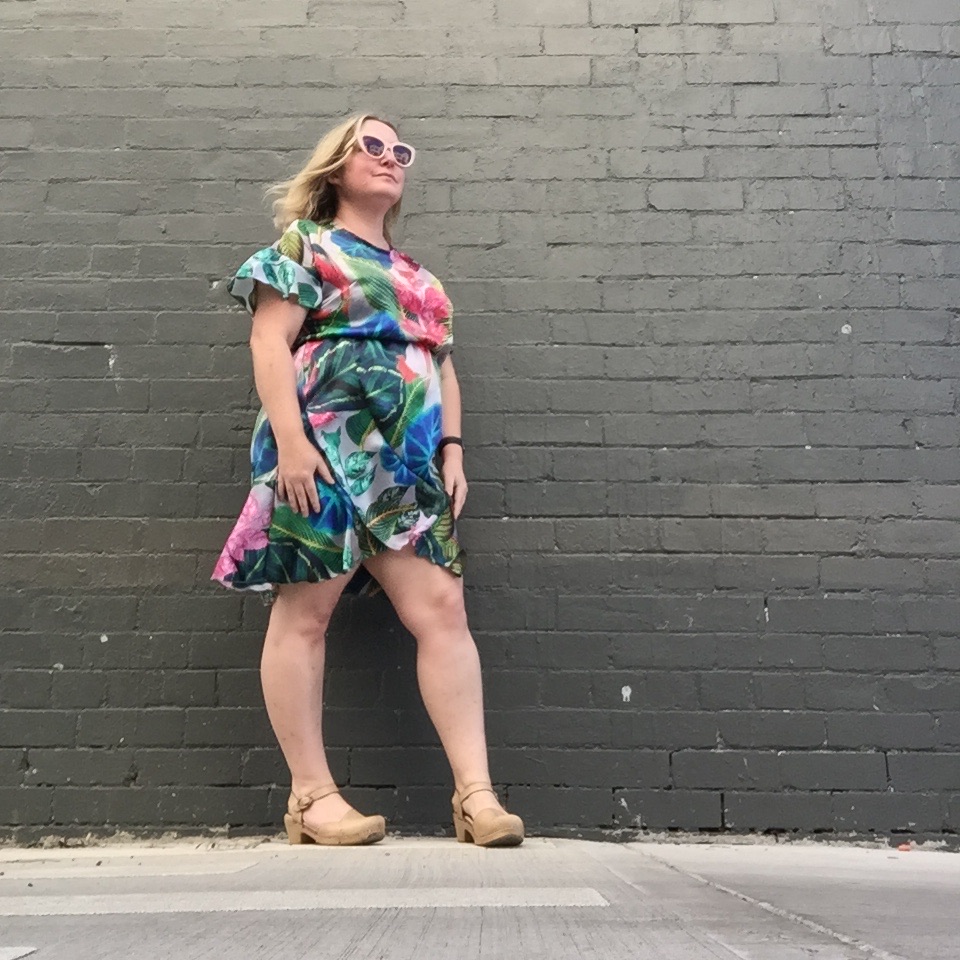
I immediately put my hand up to make up the Adrift dress as I’ve always thought it so pretty and it looks like an easy to wear pattern. I read some reviews online and mostly everything was positive except a few people mentioned it’s a bit on the short side. Being a bit on the short side myself I didn’t think that would be a big problem but as always I started with measuring the pattern to choose my size.

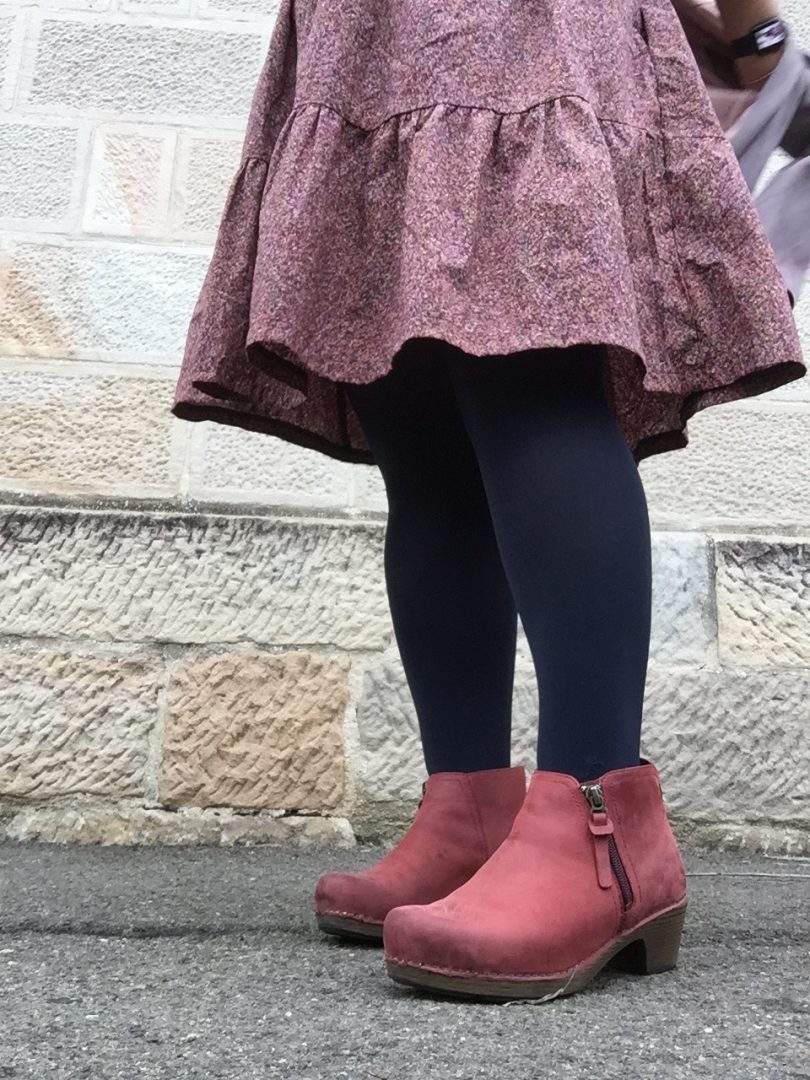
After measuring up the pattern I decided to go with the longest skirt and ruffle lengths and add a bit of width into the back skirt panel. I also did a super sneaky change and swapped the skirt ruffle to finish on my right hand side and not my left hand side. My right is where my surgery was and I’m lopsided there and the ruffle adds a little bit more visual camo.

For the back skirt I added 4 cm at the fold line (so 8cm in total) and the same amount to the ruffle. It gave me a bit more space over my bottom and ensured the dress wouldn’t be tight as I wanted to maintain the loose silhouette.
I also eliminated the drawstring as I have to be slightly careful around my scar area. I sewed lingerie elastic onto the seam allowance of the waist join stretching it as I went to create the gathering. It worked well and provided a nice soft finish.
The final addition was to block the neckline in a little. The original neckline is more boatneck width and that’s fine in a cotton on me but in the silk I wanted it a little closer. Instead of using the facings provided the neckline was finished with a fine satin bias binding.

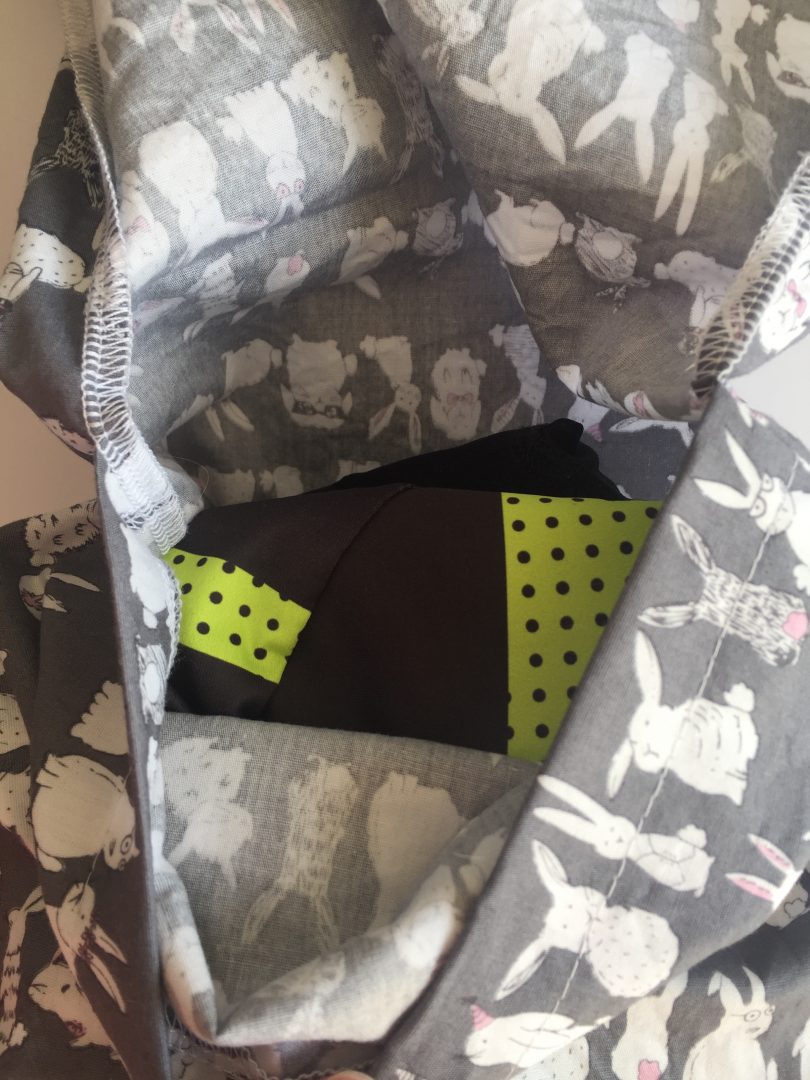
The silk is a dream to sew, not too shifty took a nice Sharps needle well and even cutting out it didn’t move about so that was good. The print is so beautiful and oversize that I didn’t bother with any pattern matching apart from placing the front bodice panel to get the maximum amount of pink on it.

My new Bernina overlocker does a really nice roll hem so I finished the ruffles on the skirt and sleeves with that. It looks nice and neat and not like it was “just” overlooked. It’s a good way of finishing a hem that may have proven tricky using other methods.
Wearing wise I’m loving the change of silhouette, it’s soft yet feminine, it feels a little short to me but I’m getting used to that and I don’t feel like I’m flashing people or anything like that. Silk is dreamy against the skin (it’s not lined) and I wore it out for my birthday to have a degustation menu and the elastic waist was in it’s element!
Pattern: Adrift dress by Papercut Patterns. Generously provided by them in order to make the samples.
Fabric: Printed silk from Pitt Trading. Generously provided by them in order to make the samples.
Alterations: added 4cm to CB skirt fold, swapped skirt ruffle closure to other side, blocked in neckline, elastic waist