
Some things are impatient and just push their way to the front of the sewing queue, these bras were certainly one of the ones that jumped the list. With the pandemic continuing and the potential for more lockdowns coming the need for some comfortable work from home bras was increased.

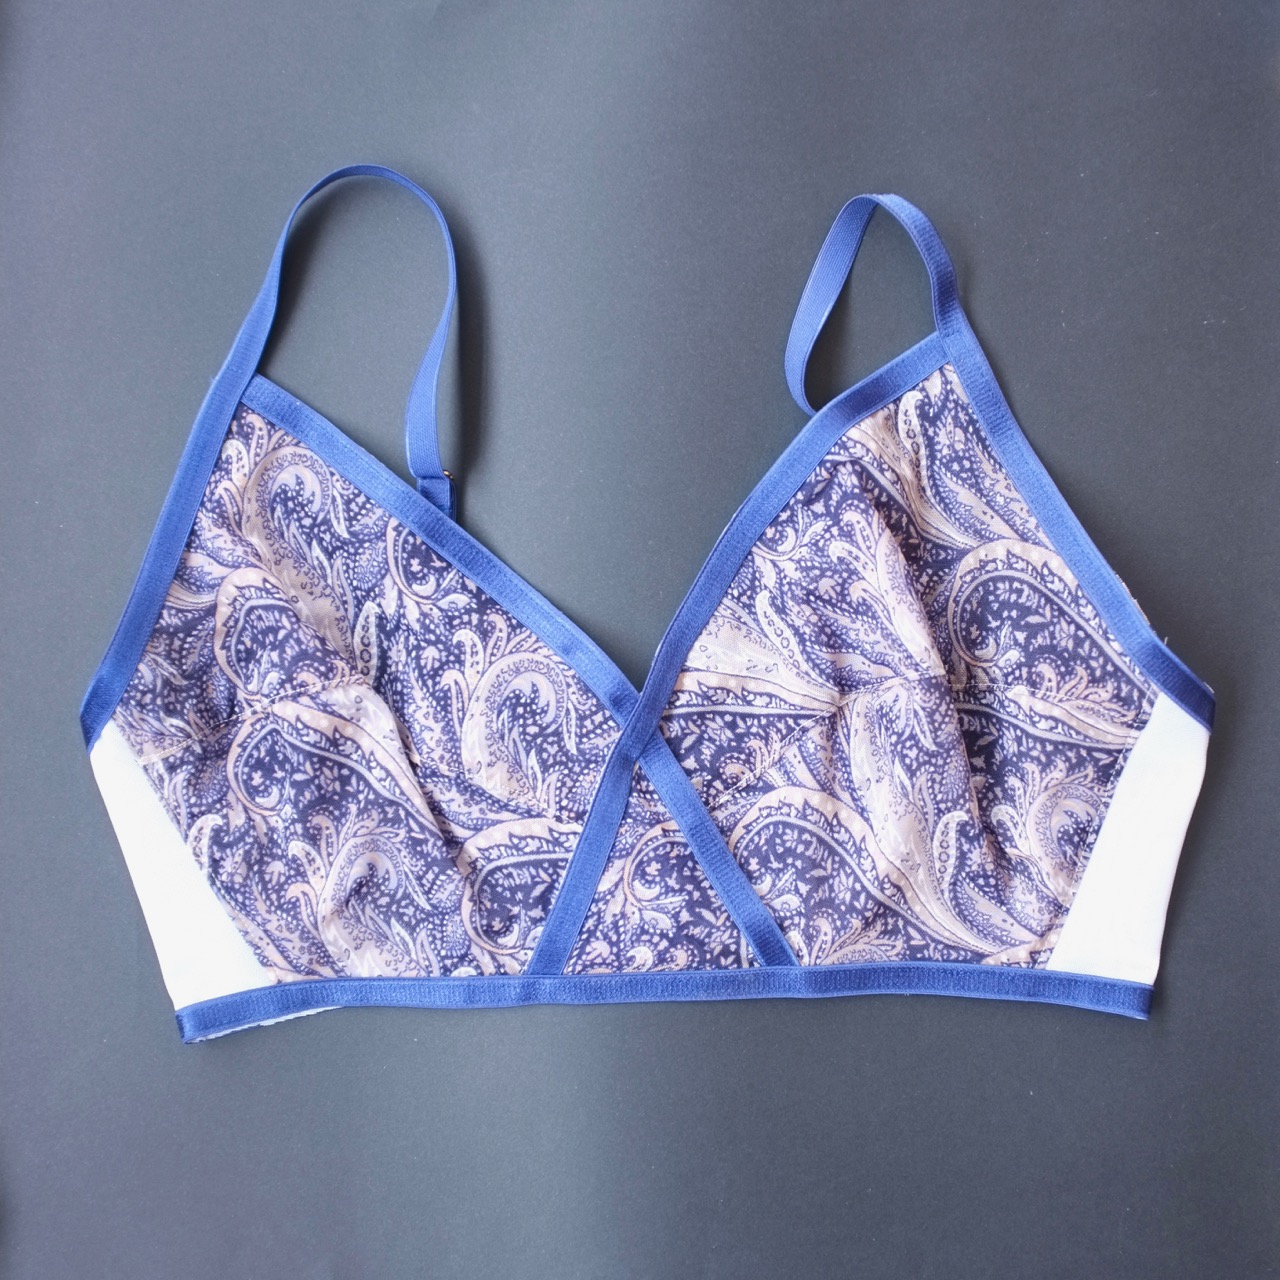
I’ve made the Lexington Bra from Orange Lingerie twice before. The first time was as the pattern was as, the second time I split the lower cup to add in a little more volume. This time I kept the volume on the lower cup and shortened the lower cup, front triangle and back bands by 5mm.

On the ones I had made previously I was finding towards the end of the day the lower elastic had flipped up. At first I put this down to it being too tight but after some investigation I realised the bra was too long for me. I’m only 5 foot tall. I’m well used to having to adjust patterns to my proportions. In hindsight it’s actually surprising I didn’t pick this up earlier.
Technique wise I tried something new, using my overstitch machine I attached the elastic using the single needle chainstitch. The outside looks so neat and I’m so pleased, the inside I’m less pleased with as the loops of the chain stitch shows up so much on the mesh. I’m hoping it wears well but am already thinking I’d like to try the wide twin needle to attach the elastic with as well. It’s always neat to be able to keep trying and learning new things.

As it is a few hours sewing, 2 more beautiful bras and my lingerie drawer is well on it’s way to being the riot of pattern and colour I’ve always wanted. As always I’m using what I have on hand so the back clasp on the blue one isn’t 100% the correct shade of blue and on the blue/grey I went with a contrast of a peach closure. I love the fact it’s not 100% matching as I feel better about having something using up what I have already.

Pattern: Lexington Bra by Orange Lingerie
Fabric: patterned mesh, power mesh and lightweight mesh, elastics, hardware all from Pitt Trading, back clasp from Booby Traps
Alterations: so far pretty good but lets see how these ones wear in
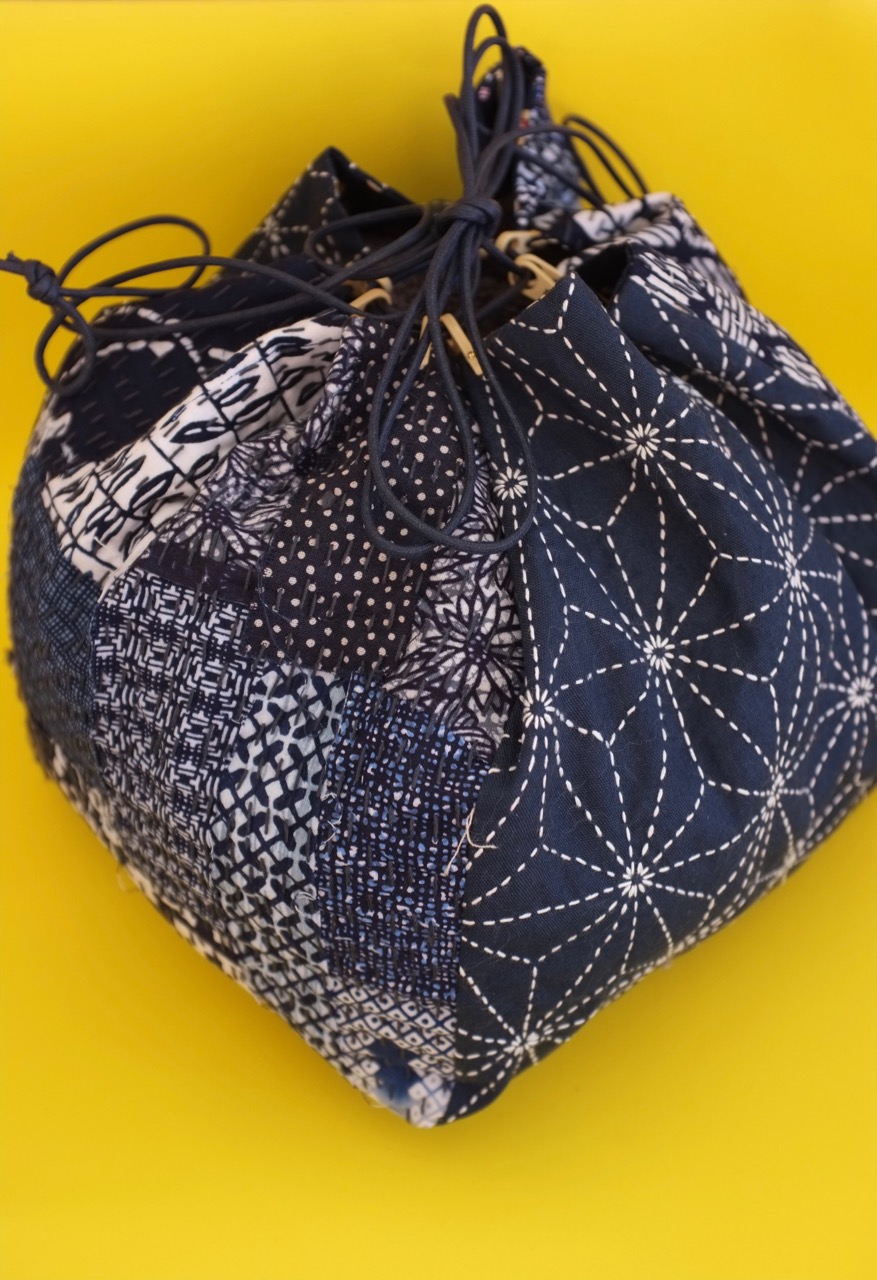
 So far I’ve turned panels into placemats, coasters and now I’ve combined pre printed panels and boro stitching together to make a kinchaku or rice bag.
 The original pattern is from BeBeBold and meant to be quite a bit smaller than the one here. But I didn’t want to cut down my pre printed panels so I supersized the pattern to create this.
 Construction wise it’s a square bottom and 4 rectangular sides (same for the lining) all sewn together and pulled through an opening in the lining to end up fully lined. After closing the internal opening up these nifty little plastic hooks were added to the outside. The plastic has a U shape that slides down over the top edge of the fabric. A metal nail is then inserted into the hole of the plastic hook, through the fabric, through another hole on the other side of the plastic hook and out again. Bashing it down and flat with a mallet ensured it stays in place and there is no pointy bit to scratch your hands as you enter and exit the bag.
 Waxed cotton cord is then thread through from either end to create a double sided drawcord. It really was a super simple make and I love the final shape it’s so lovely. I can’t wait to make some more!
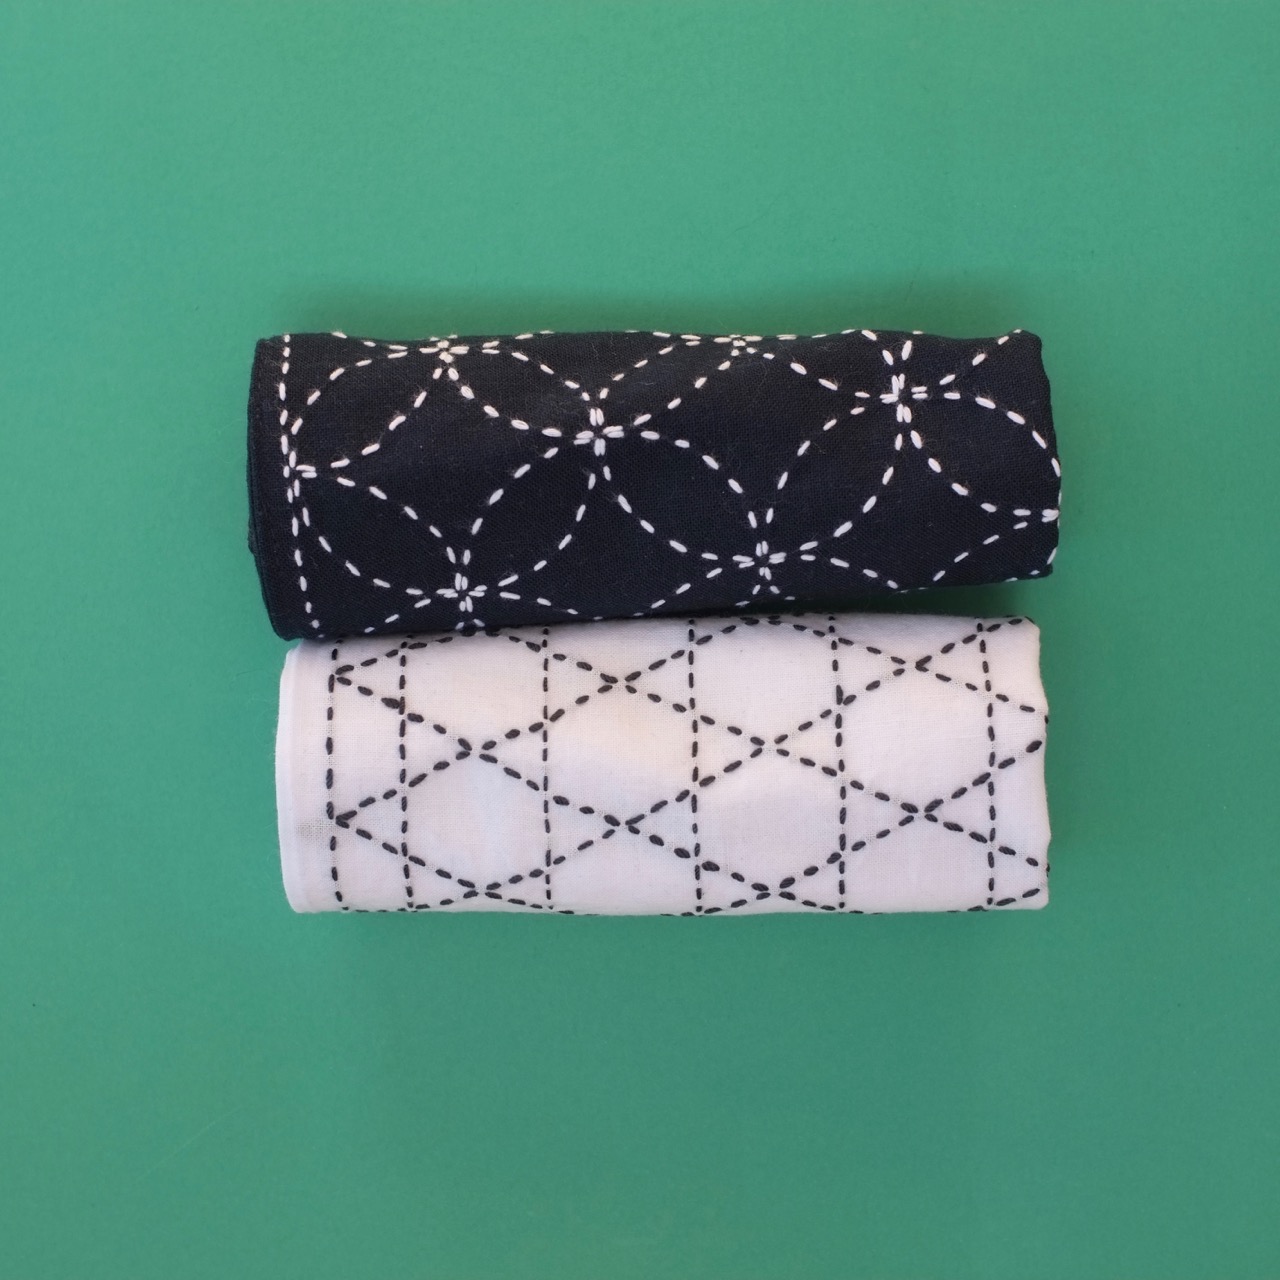


 The sheer number of changes and alterations are kind of making me think while I started with one pattern it’s certainly only going to resemble a fraction of the original by the time I get done. I’ll try with the changes listed above and if I’m not liking the results then I think it’s time to ditch this pattern and spend time finding a more accurate pattern.
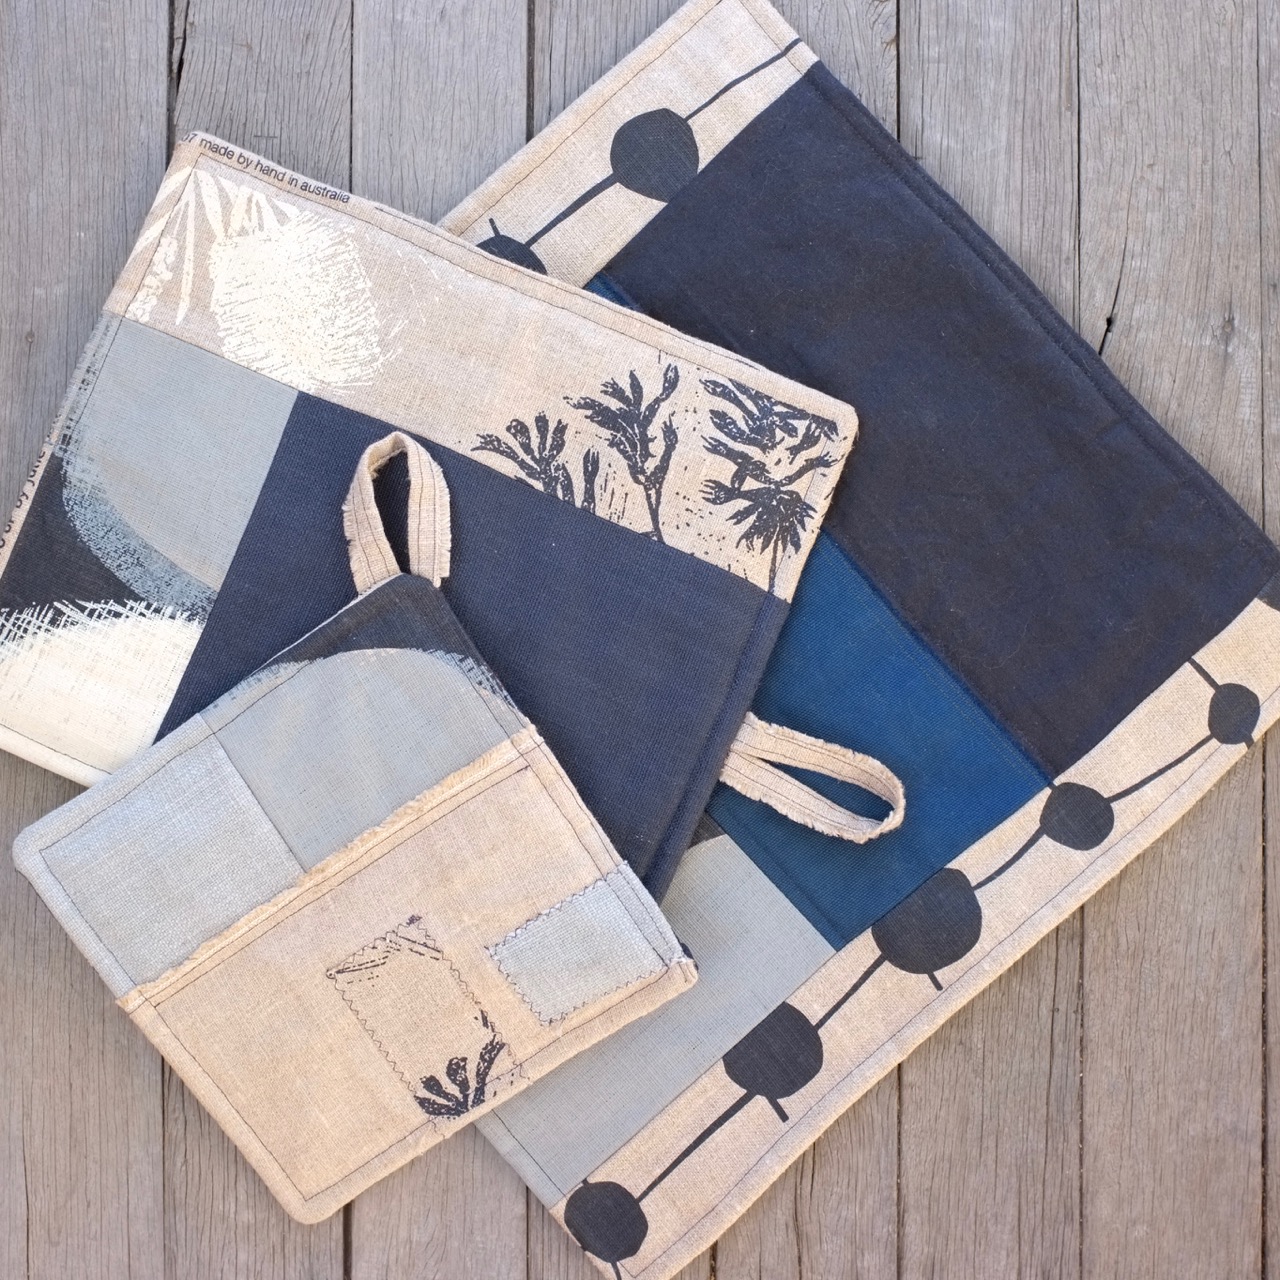
 Today I’m sharing what I did with the navy set. Prior to getting the remnants I’d done some research into what I wanted/needed. Recently we invested in a cast iron pan for cooking. It’s a big skillet perfect for hearty one pot meals and can be used on the stove top and in the oven as well as on the BBQ. Apart from being incredibly useful its also big, heavy and retains heat for ages…all good things for cooking all bad things for tiny kitchens with no space. What I needed was an oversize potholder type thing to rest the pan on. Some oversize pot holders to actually get the thing in and out of the oven would also be handy.
 With that in mind I’d ordered in some heat reflective wadding as well as some bamboo wadding to layer up to help insulate the surfaces. I’ve used the heat reflective one before and one layer is fine for say a bowl of soup but for getting pans in and out of the oven I find myself folding them in half or over again to give more layers of heat protection than what is available.
 The beauty of the packs was that it made it easy for everything to coordinate as they were already so perfectly put together. In order to use some of the pieces more fully I added some decorative touches like topstitching using a zig zag stitch or sewing so the selvedge was visible. Being able to do this really brought the pieces to life and added to the joy of sewing them together.


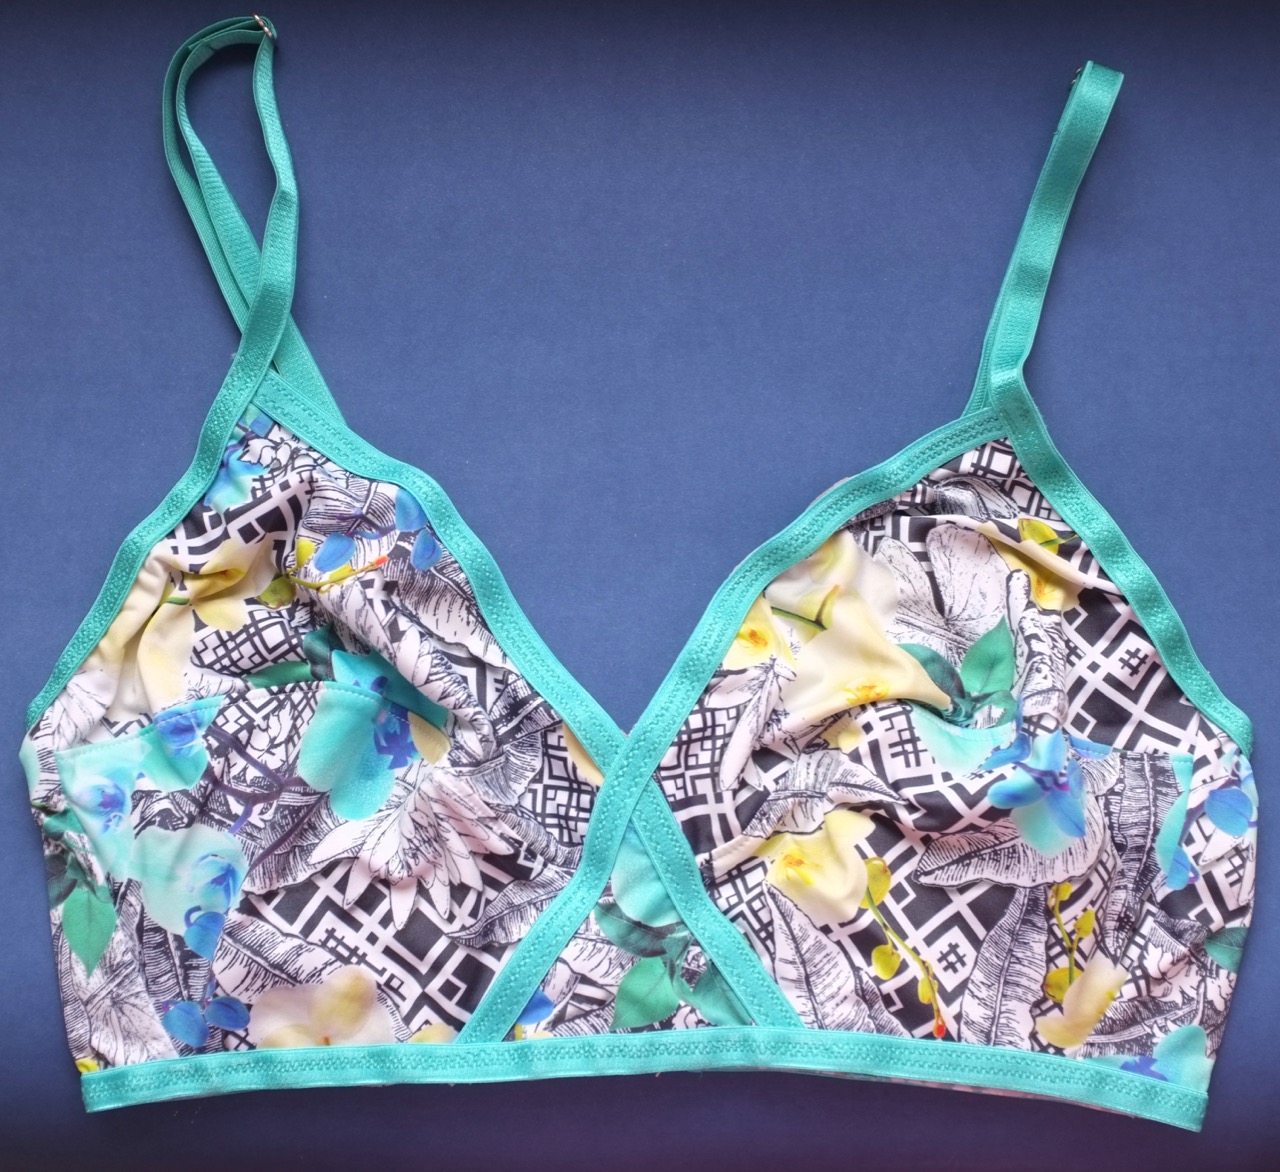


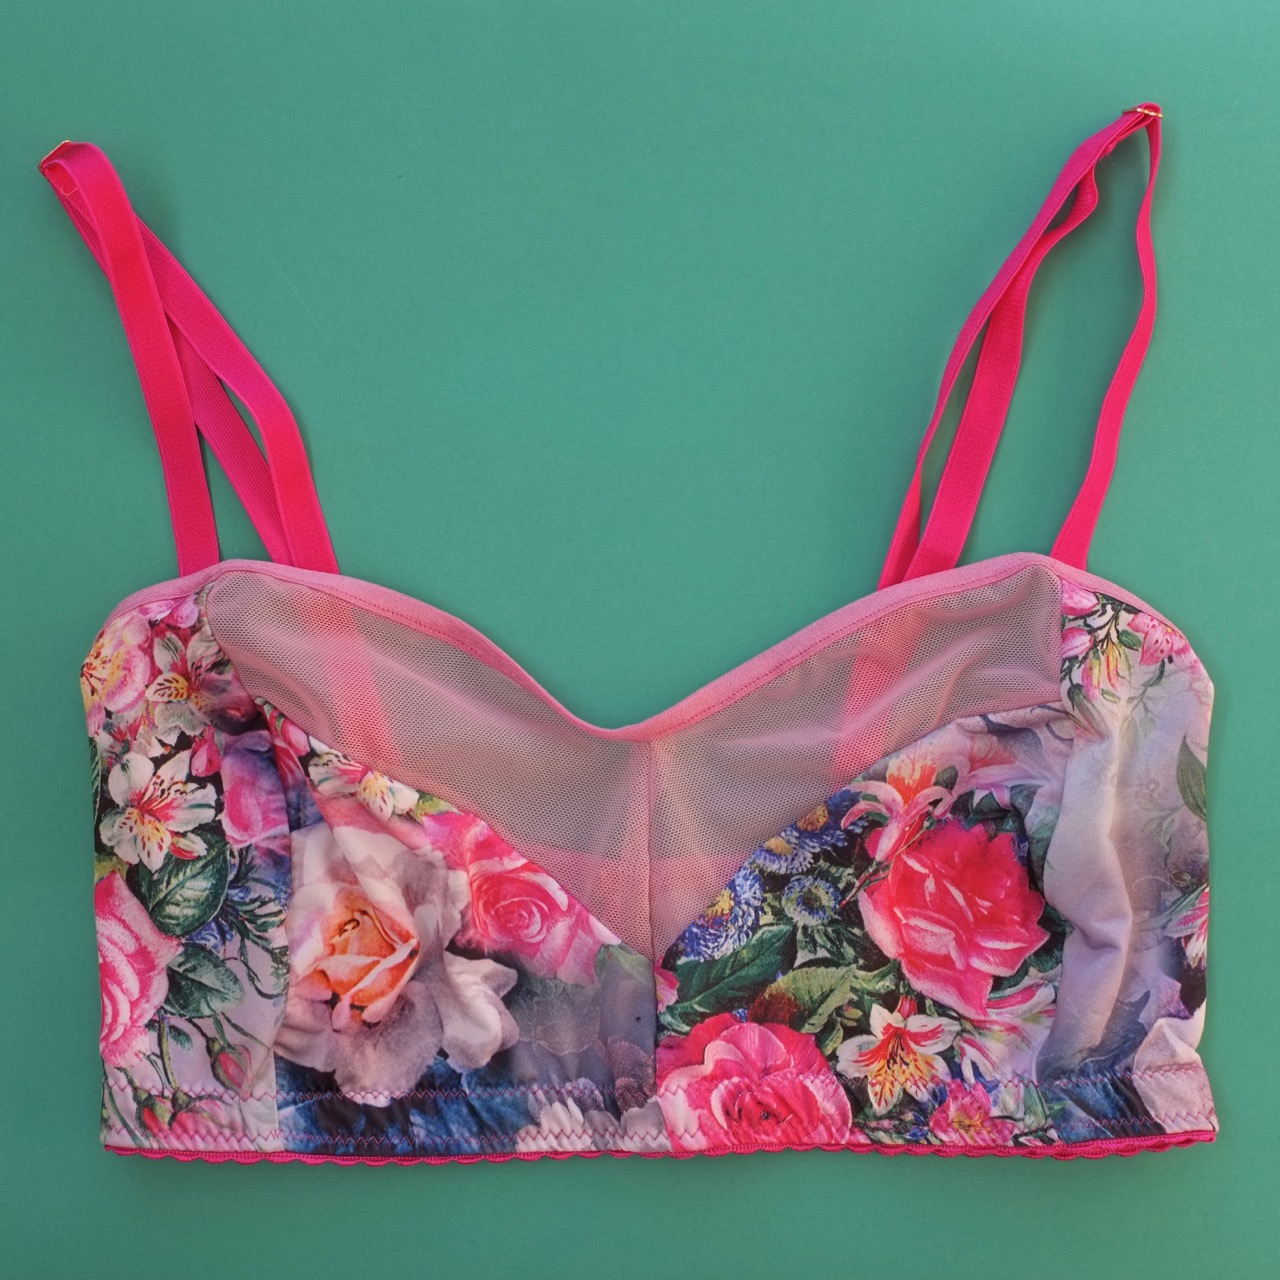

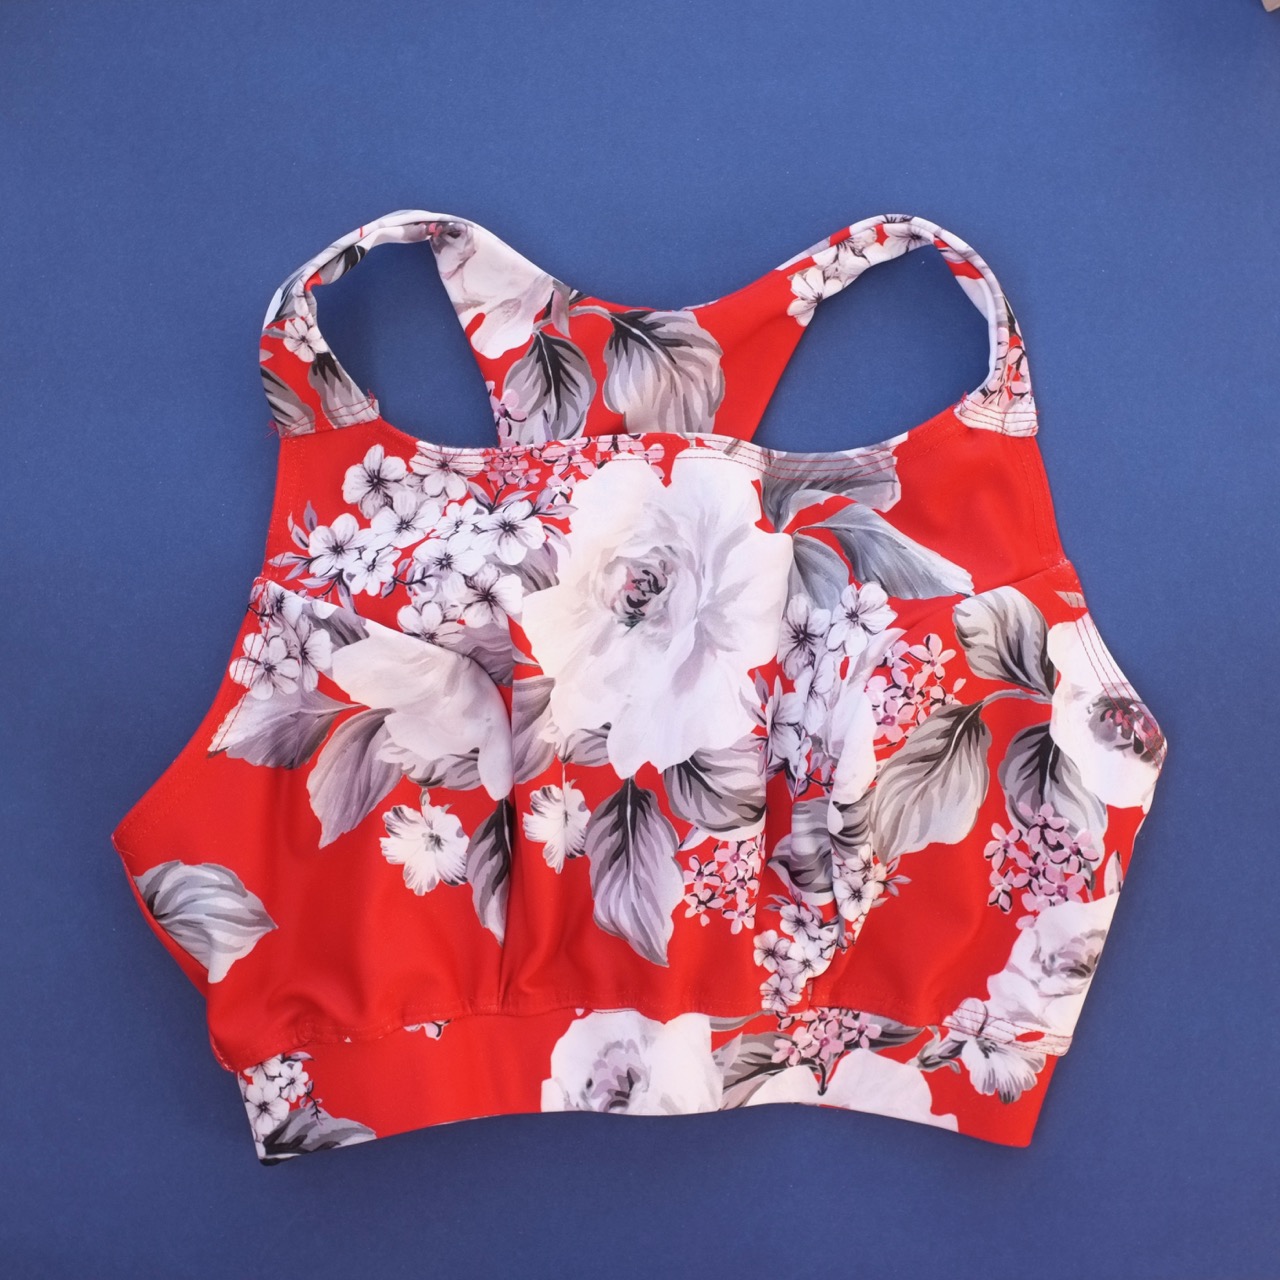
 After attaching the lower picot elastic I thought I should check the sizing and while the cups were ok, the band was way too big. Mostly because the fabrics I’m using are super stretchy, especially the floral it’s got lots of give to it. So I cut the panels back thinking I’d swap it to a pull on style as this is essentially a tester to see if I like the style and if it’s comfortable. Cut off what I thought was excess and finished it all off. Now it looks small and it’s a slight wriggle to get on. Have I made it too small now?
 I’m going to wear it for awhile and see what I think. In the meantime it’s looking super cute and I’m hoping I have enough leftovers to make matching knickers!
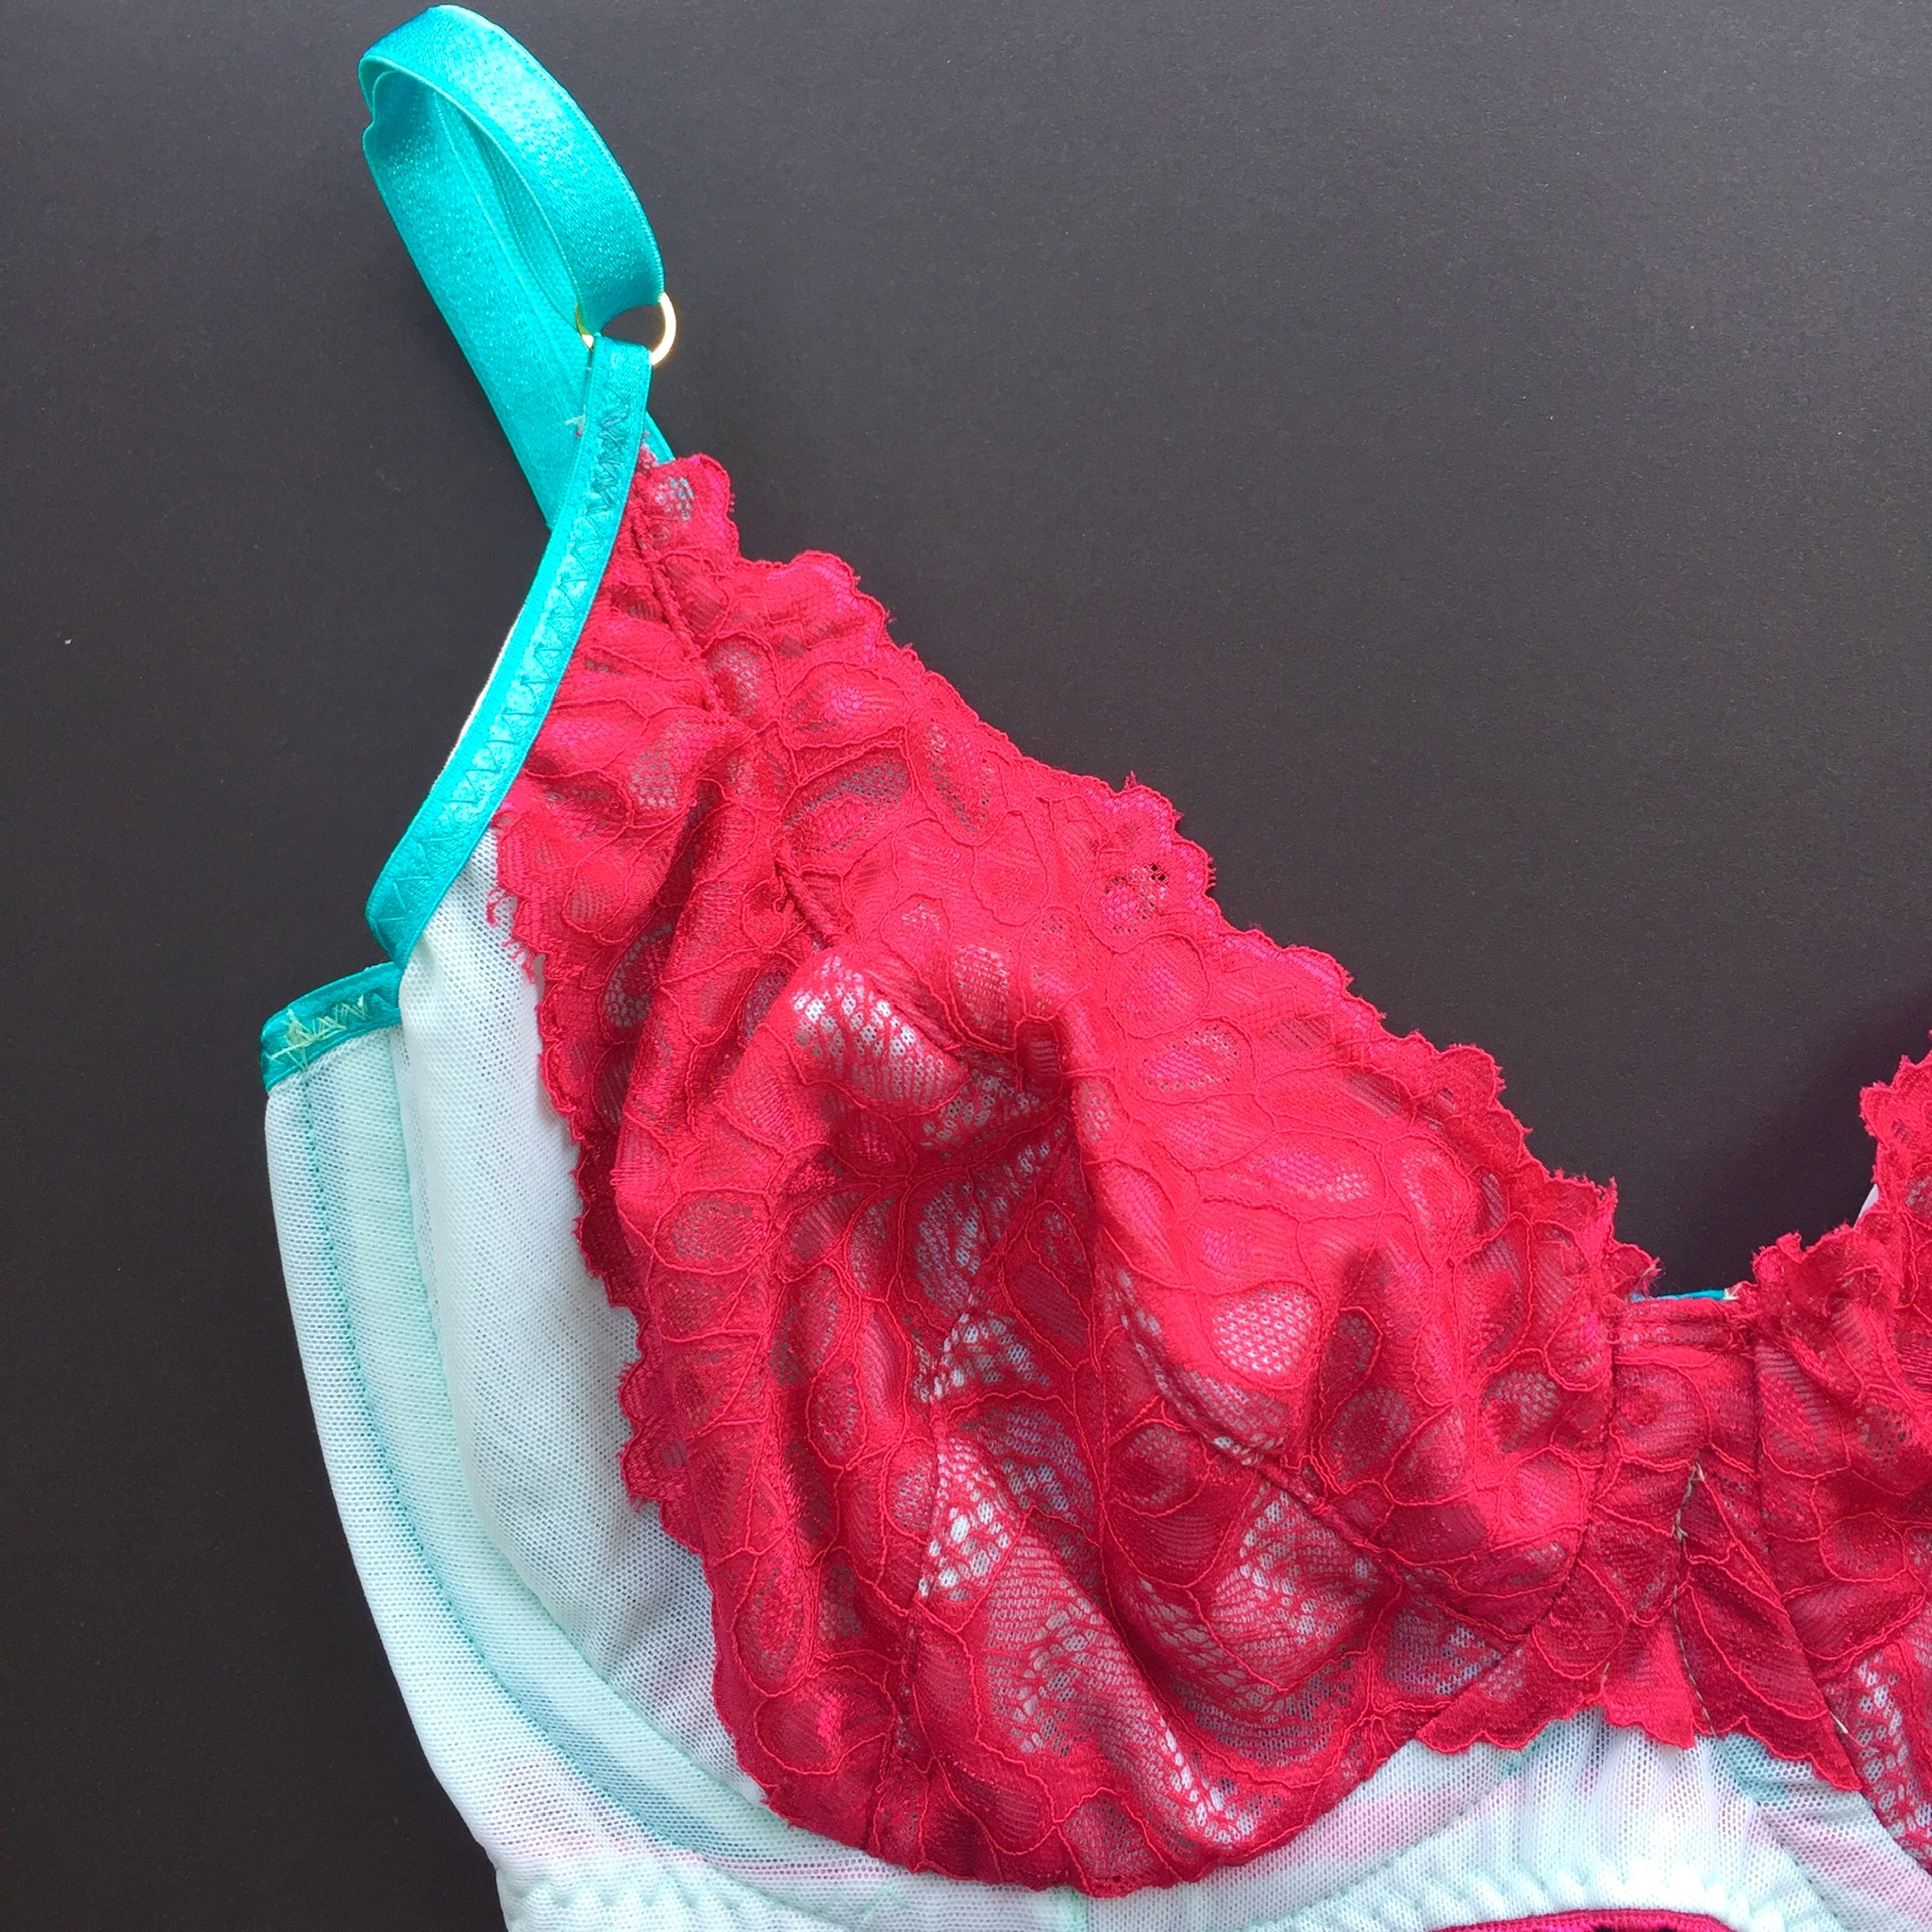
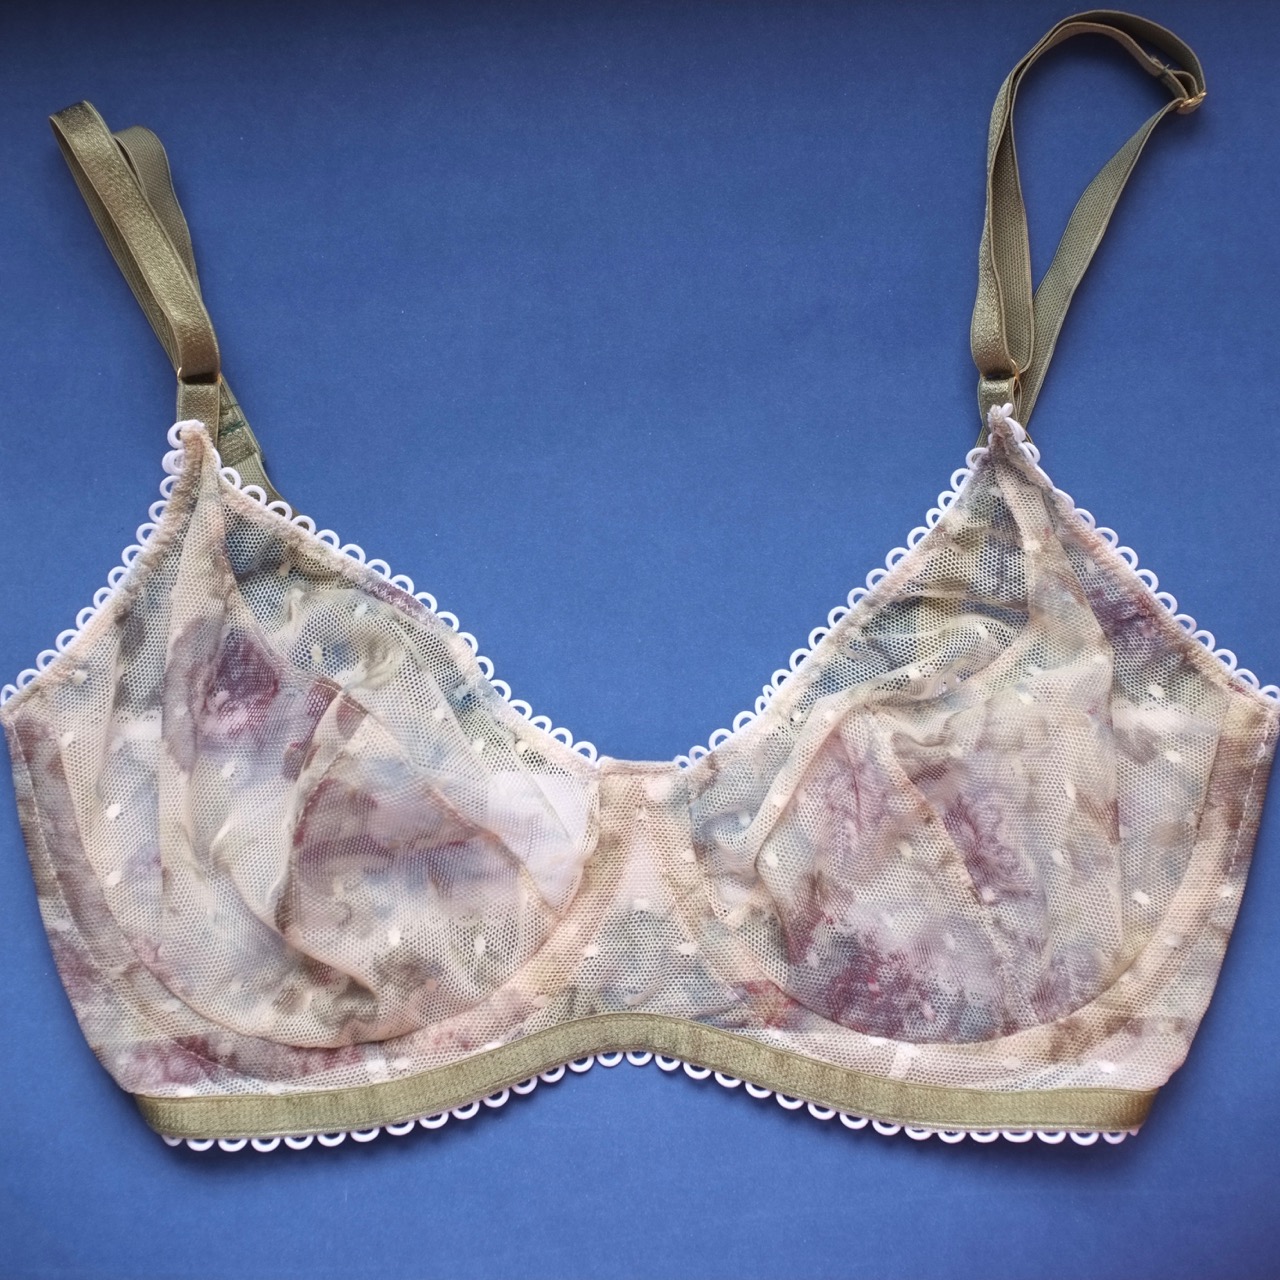
 It’s the Harriet Bra from Cloth Habit with the adjustments mentioned here and here. Essentially this is meant to be the same as the blue printed mesh version I made but here are just some of the mistakes I made
 Apart from the issues it looks amazing and I really like the fit. With a limited amount of lace I feel like I managed to cut it so it looks like it was planned that way and not just a result of “making it work” I’ll definitely be using similar methods in the future.
 Pattern: Cloth Habit Harriet Bra – with fitting modifications
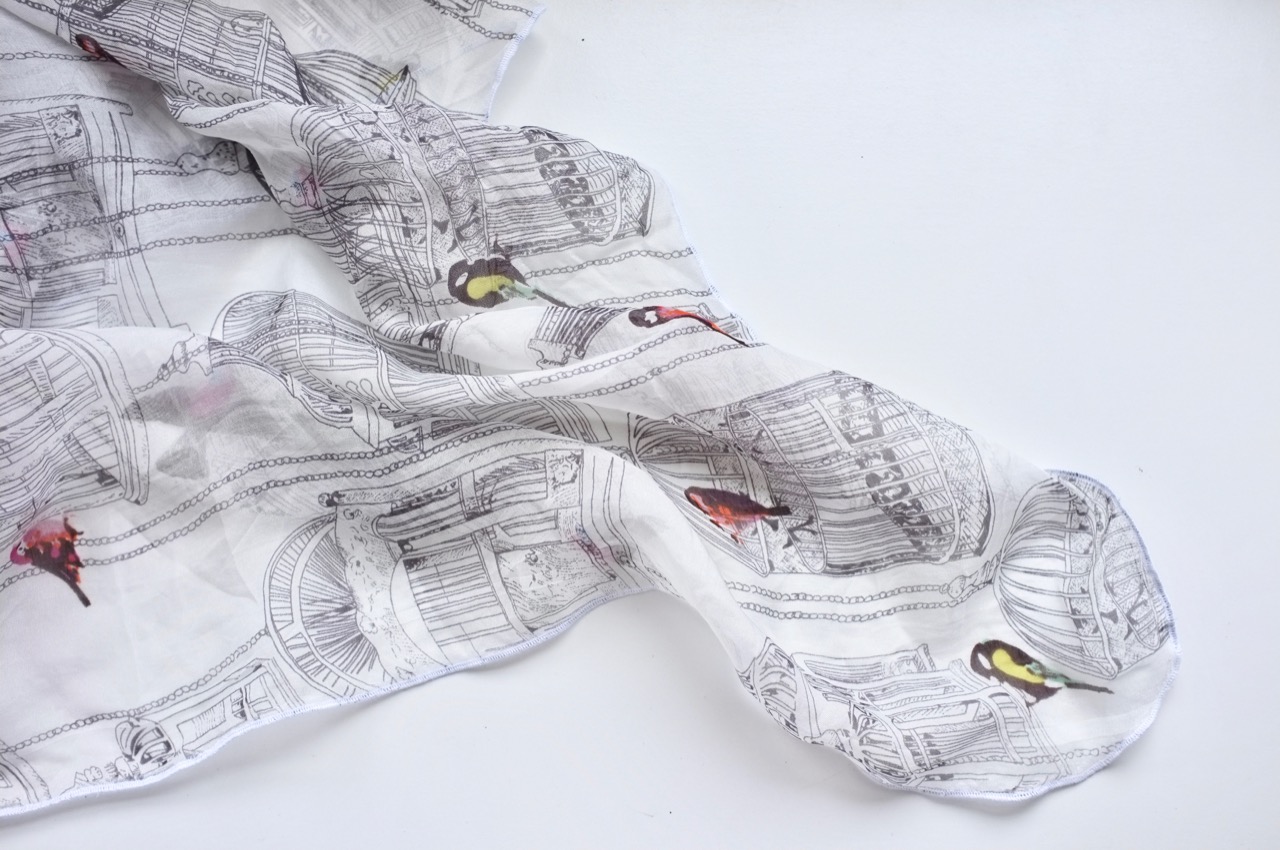
 That’s a little how I feel about this project, it’s less sewing and more just assembly. The silk is from
  Initially I had thought of making a blouse but honestly it’s so lightweight and lovely as it is I didn’t want to mess with it too much. Cue putting it away for a bit of time until I decided what to do with it? I found it again as I was hunting for something else special I had tucked away and knew immediately what I wanted to do.
 Swapping my overlocker into roll hem mode I went around the entire outside edge, smoothing off the corners to be slightly rounded. If I include the resetting of the dials on my overlocker the whole thing took less than 10 minutes. Sewing win! and I have a pretty new scarf all ready for the cooler weather (if it turns up).


